How to Fix a Coffee Maker Leaking Water
My Coffee Maker's Leaking Again? Let's Figure Out Why (and How to Fix It!)
My coffee maker is leaking again? That puddle on your counter can really put a damper on your morning caffeine ritual. Don't worry, though; most of the time, these leaks are totally fixable without needing to buy a whole new machine.
We're going to walk through this step-by-step to get your brew back on track.

Image source: Bing (Web (fair-use with source credit))
Quick Answer
To fix a coffee maker leaking water, first pinpoint the leak's origin. Common culprits include the drip tray, water reservoir, or internal hoses. Cleaning, descaling, or replacing damaged parts usually resolves the issue.
First Things First: Where's the Water Coming From?
This is the most crucial step because it tells us exactly where to look. Grab a towel, and watch your coffee maker closely while it's brewing or just after it finishes. Try to see if the water is pooling from underneath, the side, the top near the brew basket, or directly from the water reservoir itself.
Your observation here is key to narrowing down the problem and finding the right fix.
Identifying the Leak Source
The location of the leak is your primary clue. Different parts of the coffee maker are responsible for holding or channeling water. If you see water pooling on the counter, it's usually escaping from a compromised seal, a cracked component, or a loose connection somewhere in the water path.
Common Leak Spots and What to Do
Let's break down the usual suspects based on where you're seeing that unwelcome water.
Leaks From Underneath the Machine
This is a super common spot for leaks. It often means something is either overflowing or has sprung a leak internally.
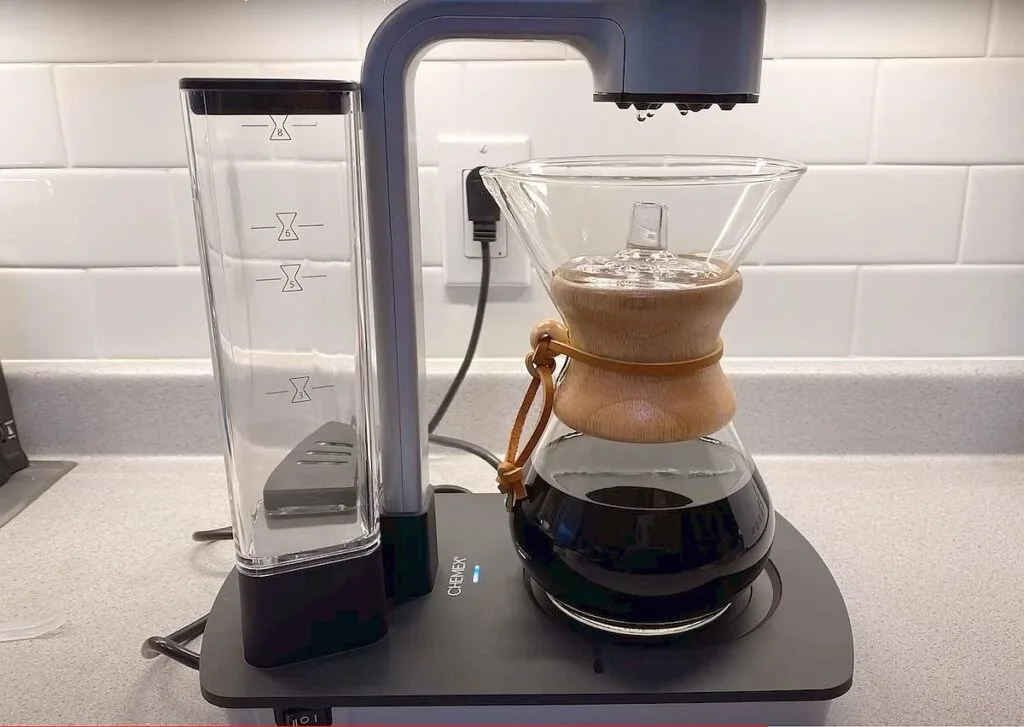
The Drip Tray
- Seriously, sometimes it’s that simple. Make sure your drip tray is properly seated and not overflowing. If it’s cracked, it’s time for a replacement.
Internal Hoses or Connections
Over time, the rubber hoses that carry water from the reservoir to the heating element and then to the brew head can become loose or develop small cracks. This usually requires a bit more hands-on investigation.
- What to do: Unplug the machine and let it cool down completely. Carefully tip it or lay it on its side (after emptying the water reservoir, of course!). You might need to unscrew a base plate to get a good look. See if any hoses look crimped, disconnected, or have visible damage. If a hose is loose, try gently pushing it back onto its fitting. If it looks cracked, you might be able to find a replacement hose from the manufacturer or a specialty appliance parts dealer, but be sure to match the size and type precisely.
Pump Issues
- Less common, but the water pump itself could be failing and leaking. If you see water seeping directly from the pump housing, this might be the issue. Addressing a pump leak typically involves replacing the pump assembly, which can be a more involved repair.
Leaks From the Side of the Machine
If the water is appearing on the side, we're likely looking at a couple of specific components.
Cracked Water Reservoir
- Take the water reservoir out and hold it up to the light. Any visible cracks? Even a hairline fracture can let water escape during brewing or when the reservoir is full.
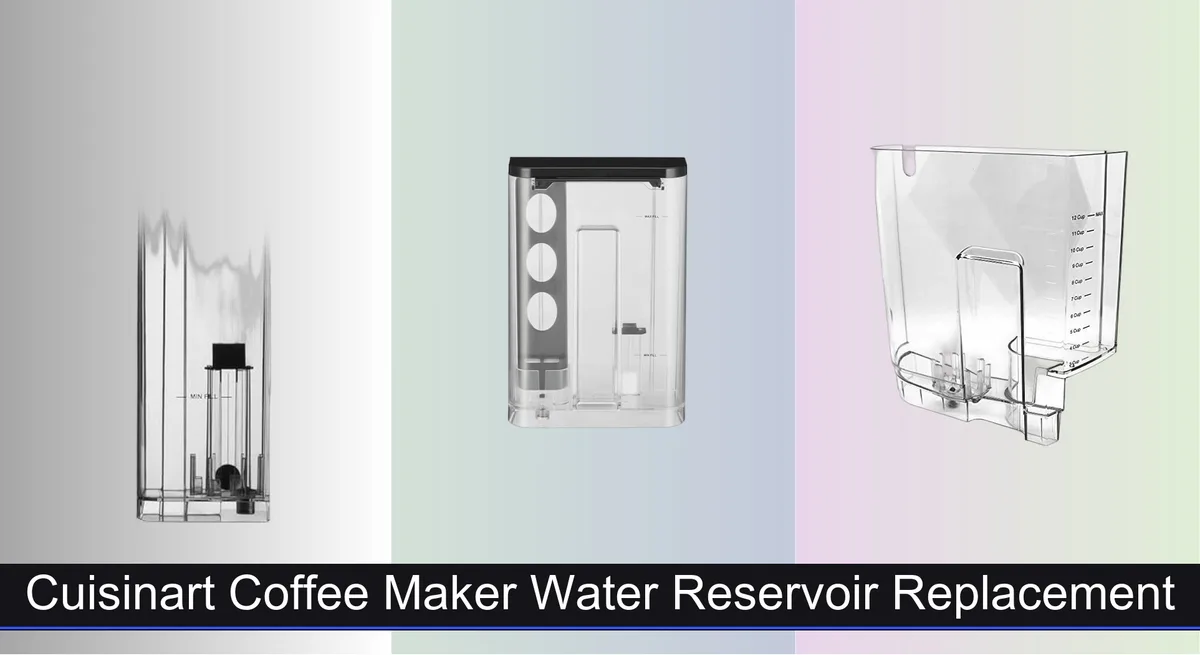
* **What to do:** If the reservoir is cracked, you'll need to replace it. Most manufacturers sell specific replacement reservoirs, or you can often find universal ones that fit by checking dimensions carefully.
Faulty Valve or Seal
- Some machines have internal valves or seals that can wear out, leading to leaks on the side of the unit. This can be harder to pinpoint without taking the machine apart more extensively to trace the water path.
Leaks From the Top or Around the Brew Basket
This is often related to how the coffee grounds are handled or how the water is being dispensed during the brewing cycle.
Overfilling the Brew Basket
Are you using too much coffee grounds? Or is the grind too fine? This can cause the water to back up and overflow the filter basket.
- What to do: Try using slightly less coffee or a coarser grind. Make sure the filter paper is seated correctly and not folded over, which can also cause water to escape.
Clogged Brew Head
The little holes where the hot water dispenses can get plugged with coffee oils and mineral buildup. This can make the water spray out unevenly or back up into the brew basket.
- What to do: This is where regular descaling comes in handy. Running a descaling solution (or a vinegar and water mix, about 50/50) through your machine helps break down these deposits. After descaling, make sure to run a few cycles of plain water to rinse out any residue. You can also try gently poking a toothpick into the holes of the brew head (when the machine is off and cool, of course) to clear stubborn blockages.
Lid Not Sealing Properly
- If the lid that covers the brew basket isn't closing all the way, steam and water can escape from the top of the machine during brewing. Ensure it's firmly in place.
Leaks From the Water Reservoir Itself
If the water is definitely coming from the reservoir area, even when the machine isn't brewing, it points to an issue with the reservoir or its connection.
Crack in the Reservoir
- As mentioned before, check the entire reservoir for any cracks or damage. Even a small fissure can cause a leak, especially when it's filled to capacity.
Seal Around the Reservoir Base
Sometimes, the seal or gasket where the water reservoir connects to the main machine body can get dirty or damaged, preventing a watertight seal.
- What to do: Remove the reservoir and inspect the gasket or seal at its base. Clean it gently with a damp cloth, ensuring it's free of any coffee grounds or mineral deposits. Make sure it’s properly aligned and not hardened or cracked. If the seal looks damaged, it may need to be replaced.
General Maintenance Tips to Prevent Future Leaks
An ounce of prevention, right? Keeping your coffee maker clean and well-maintained is your best defense against leaks and ensures it performs reliably. Regular upkeep can save you a lot of hassle down the road.
- Descale Regularly: Mineral buildup from your water supply is a major enemy of coffee makers. It can clog internal components and lead to leaks or poor performance. How often you need to descale depends on your water hardness, but aim for at least once a month. A descaling solution or a 50/50 mix of white vinegar and water can work well.
- Clean the Brew Basket and Carafe: Wash these parts after each use. Coffee oils can build up over time, becoming sticky and contributing to clogs or bad tastes. It’s good practice to wash them by hand with warm, soapy water to remove residue.
- Wipe Down the Exterior: Keep the outside of your machine clean, especially around the base. This not only looks better but also helps you spot any small leaks early before they become big problems. A damp cloth is usually all you need for exterior cleaning.
- Check Hoses Annually: Once a year, if you're comfortable, unplug your machine and give any visible internal hoses a quick check for signs of wear or loose connections. This proactive step can catch minor issues before they escalate.
FAQs About Coffee Maker Leaks
### Why is my coffee maker leaking from the bottom?
Leaks from the bottom typically indicate an issue with the drip tray (overflowing or cracked) or a problem with internal hoses or the water pump that's allowing water to escape the main housing.
### Can I use vinegar to fix a coffee maker leak?
Vinegar is excellent for descaling and clearing mineral buildup, which can cause leaks by clogging components. However, vinegar itself won't seal a crack or reattach a loose hose; it addresses a root cause of some leaks.
### How often should I descale my coffee maker?
You should descale your coffee maker at least once a month, but this can vary based on your water's mineral content. Hard water areas may require more frequent descaling.
### Is it safe to drink coffee from a machine that was leaking?
If the leak was due to a simple overflow or a minor external issue, the coffee itself is likely safe. However, if the leak suggests a problem with internal electrical components or contamination, it's best to address the leak first before brewing.
### How long does it take to fix a leaking coffee maker?
Simple fixes like cleaning the drip tray or reseating a hose might take only a few minutes. Replacing a cracked reservoir or internal hose could take 30 minutes to an hour, depending on your comfort with appliance disassembly.