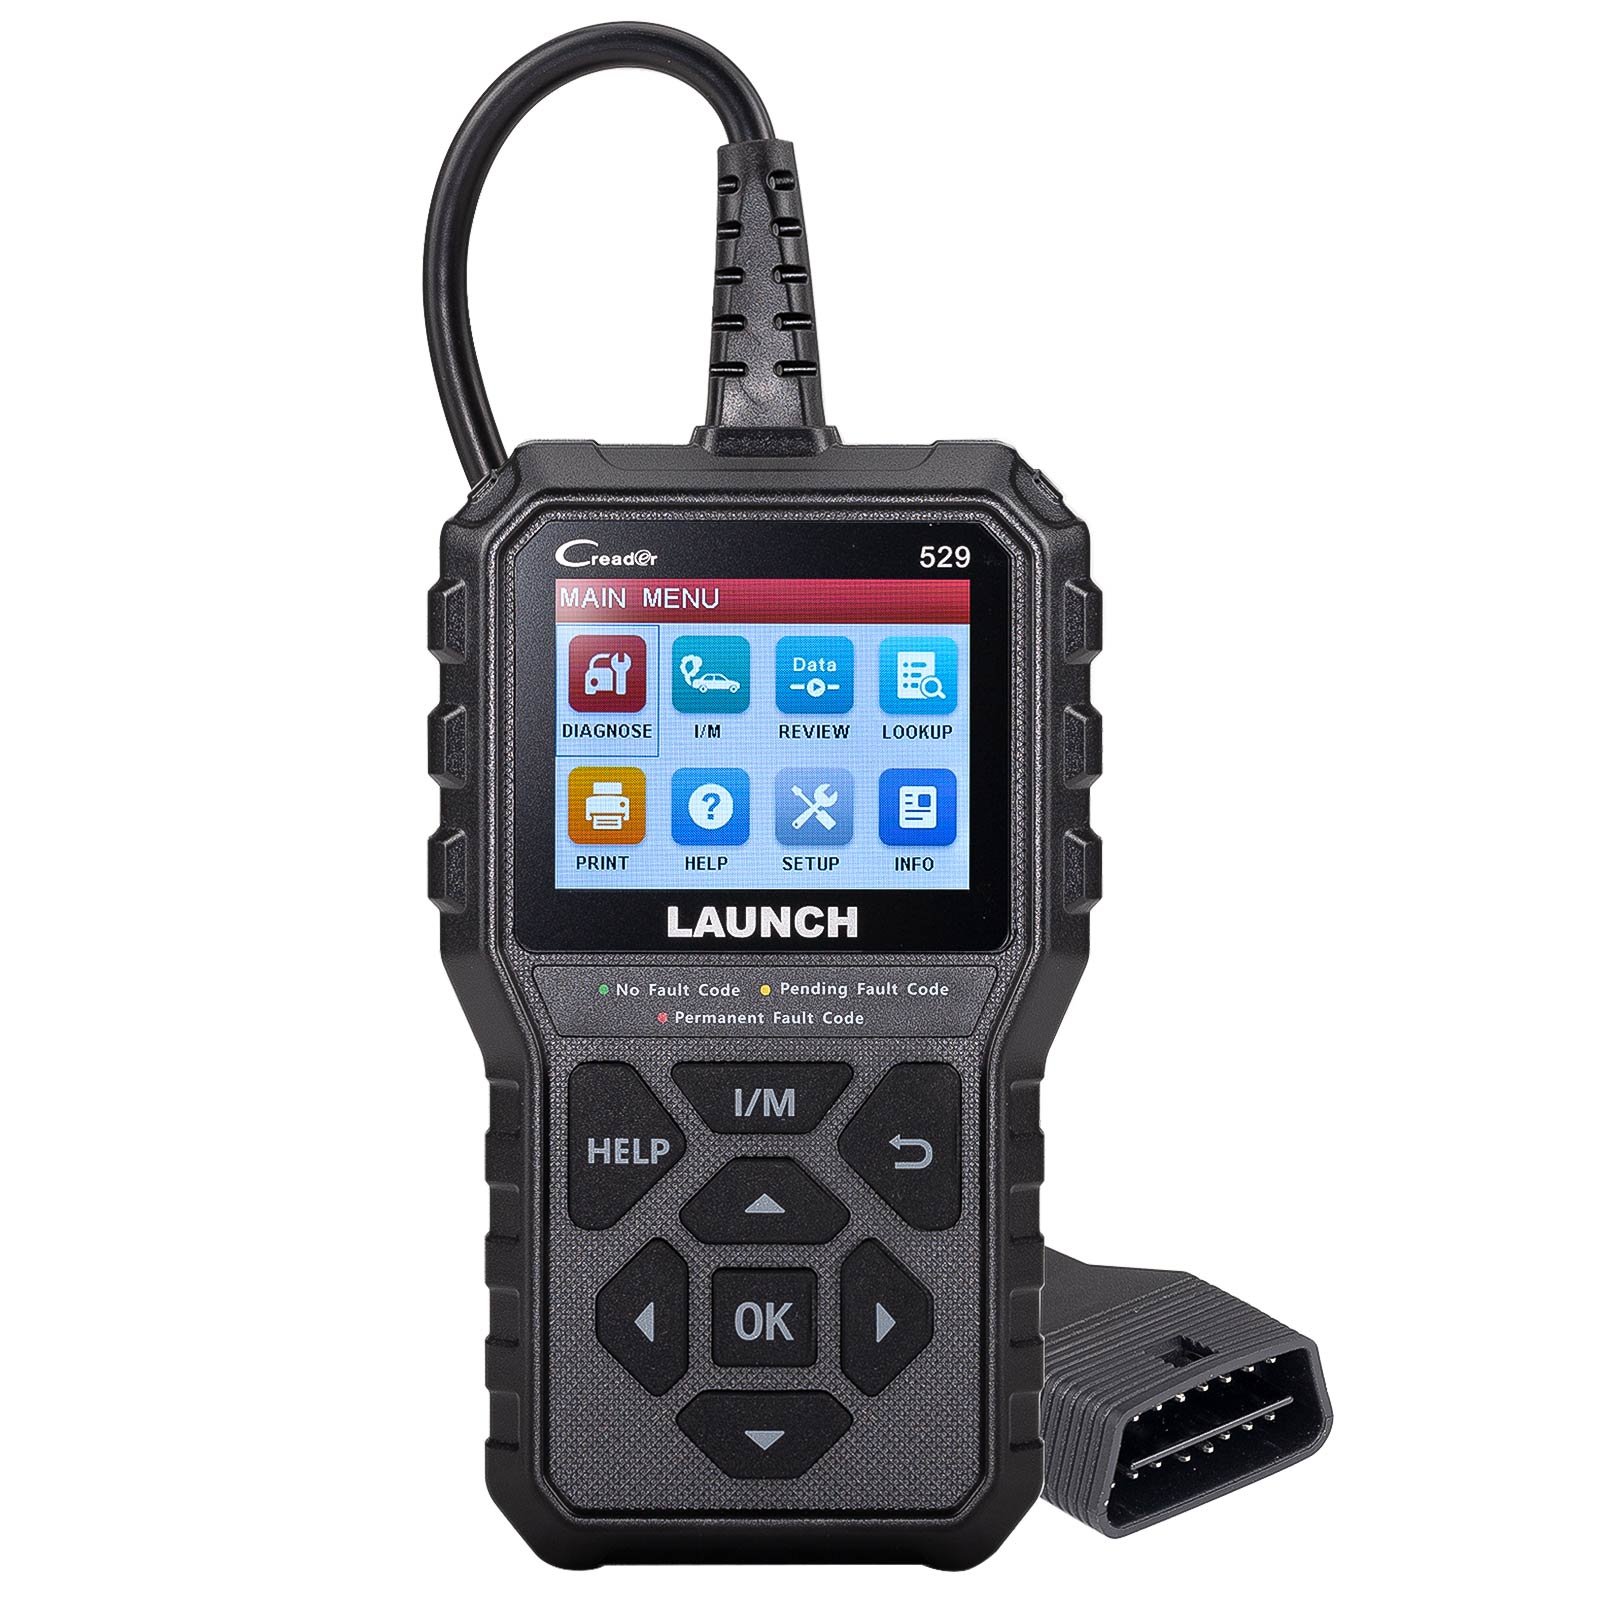
How To Clear Codes With An Obd2 Scanner: Quick Guide
You can clear OBD2 codes by connecting the scanner, reading the fault codes, and selecting erase after repairs.
If you have ever seen a check engine light and wondered what to do next, learning how to clear codes with an OBD2 scanner can save time, stress, and a trip to the shop. I’ve used OBD2 scanners on everything from simple loose gas cap warnings to stubborn sensor issues, and the key lesson is this: clearing codes is easy, but clearing them the right way matters even more. In this guide, I’ll walk you through the full process, explain what the code reset really does, and show you how to avoid the common mistakes that can make the light come right back on.

What an OBD2 scanner does and why code clearing matters
An OBD2 scanner is a diagnostic tool that reads trouble codes from your vehicle’s onboard computer. These codes help point to a problem in the engine, emissions system, transmission, or other monitored systems. When the check engine light comes on, the scanner gives you a starting point instead of forcing you to guess.
Knowing how to clear codes with an OBD2 scanner is useful because it helps you confirm a repair and turn off the warning light after the issue is fixed. But that is also where many people rush. Clearing the code without fixing the root cause is like silencing a smoke alarm while the toast is still burning.
In my own experience, the best use of a scanner is not just erasing codes. It is reading the codes first, checking the freeze frame data, and then deciding whether the repair is truly done. That small habit has saved me from repeating the same diagnosis twice.
When you should clear codes with an OBD2 scanner
There are a few good times to clear codes, and they all depend on the situation. The scanner is most useful after a repair, after a false alarm, or after you have verified that the problem is gone. It can also help you reset the system before an emissions test, if that is allowed in your area and the vehicle is ready.
You should clear codes with an OBD2 scanner when:
- The repair has been completed and you want to confirm the fix
- You have checked the code and resolved the cause
- The check engine light came on from a temporary fault that no longer exists
- You need to see if the same code returns after a test drive
You should not clear codes just to hide a problem. If the issue is still active, the code will likely return, and sometimes the car may drive worse while the computer relearns its settings.
What you need before clearing codes
Before you clear codes with an OBD2 scanner, it helps to have a few basics ready. A scan tool, a vehicle with a working OBD2 port, and the ignition key are usually enough. For most cars made in 1996 or newer in the US, the OBD2 port is located under the dashboard near the steering wheel.
Here is what I recommend having nearby:
- An OBD2 scanner, either basic or advanced
- The vehicle key or push start access
- A notebook or phone to save the trouble code
- A repair plan if the code points to a real fault
If your scanner has live data, freeze frame, and readiness monitor features, even better. Those tools help you make a smarter decision before you erase anything. A basic scanner can still do the job, but more data usually means less guesswork.
Step-by-step: how to clear codes with an OBD2 scanner
Clearing codes is usually simple, but the steps should be followed in order. If you skip the diagnosis part, you may erase useful information that helps you find the real issue. I always tell people to treat the scanner like a notebook, not just an eraser.
Step 1: Find the OBD2 port
Locate the diagnostic port under the dashboard. On most vehicles, it is near the steering column or lower left side of the dash. It is a trapezoid-shaped connector that only fits one way.
Step 2: Plug in the scanner
Insert the scanner firmly into the port. Make sure the connection is snug, because a loose plug can cause communication errors. If the scanner powers from the car, you may see it light up right away.
Step 3: Turn the ignition on
Turn the key to the ON position without starting the engine, unless your scanner or vehicle instructions say otherwise. Many scanners need the ignition on so they can talk to the vehicle’s computer. If you are using a push-button start, press it without pressing the brake pedal.
Step 4: Read the trouble codes first
Before clearing anything, choose the option to read codes. Write them down or save them on your phone. This is important because once you clear the codes, you may erase the clue that tells you what went wrong.
Step 5: Review the freeze frame data if available
Freeze frame data shows what the vehicle was doing when the code set. It may include engine speed, coolant temperature, fuel trim, and load. This helps you understand whether the fault happened at idle, on the highway, or under heavy throttle.
Step 6: Repair or verify the problem
If the issue is something simple, like a loose gas cap, tighten or replace it first. If the code points to a sensor, misfire, or emissions issue, confirm the repair before clearing it. In my own work, this step is where patience pays off more than speed.
Step 7: Select the erase or clear codes function
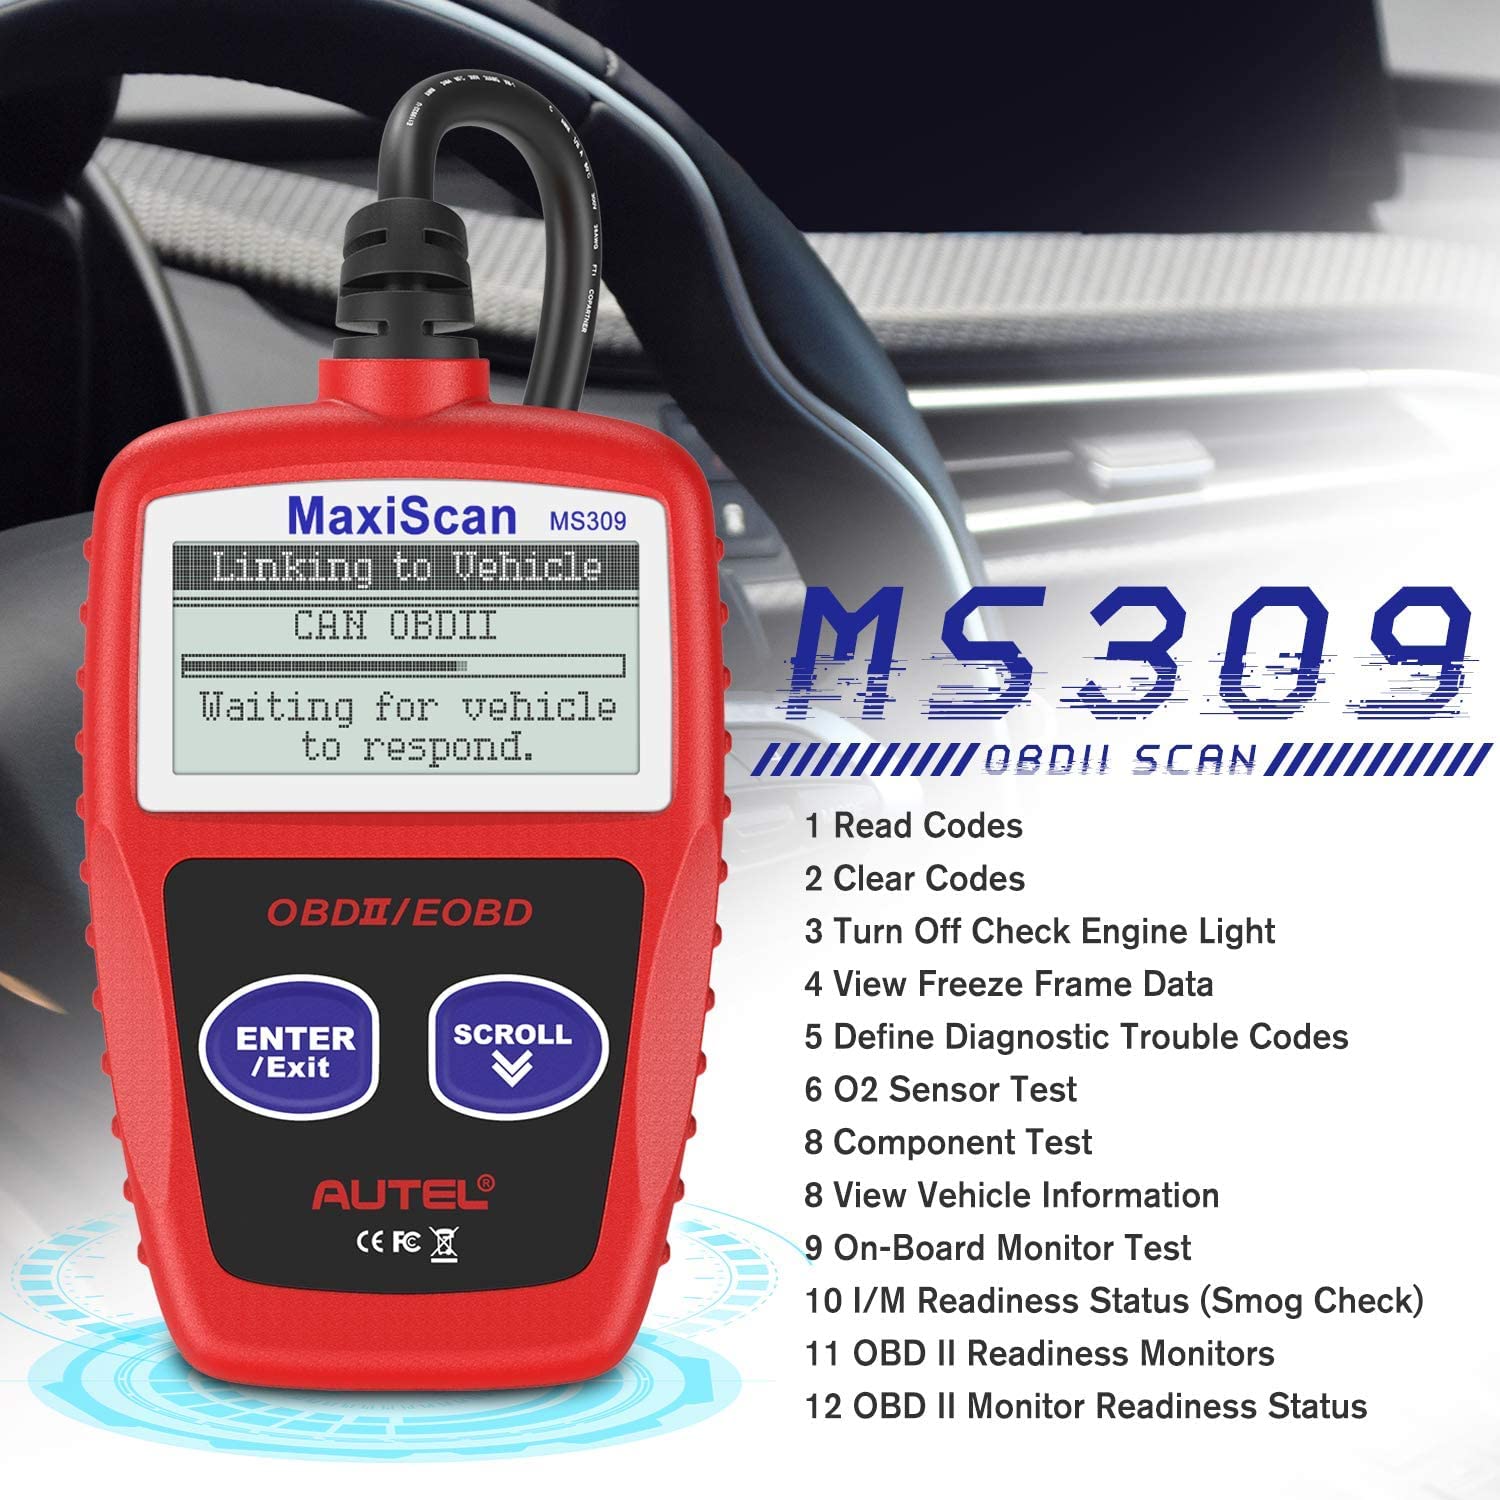
On most scanners, you will see a button or menu option labeled Erase Codes, Clear Codes, or Reset DTCs. Choose that option and confirm when prompted. The scanner will usually warn you that stored trouble codes and sometimes readiness data may be erased.
Step 8: Wait for the scanner to finish
Do not unplug the scanner too early. Let the process complete fully so the vehicle’s computer can reset the stored fault information. Some vehicles also clear the check engine light only after the scanner finishes communicating with the module.
Step 9: Turn the ignition off and restart
After the codes are cleared, turn the ignition off for a few seconds. Then restart the engine and check the dashboard. If the repair worked, the check engine light should stay off.
Step 10: Drive the vehicle and monitor it
Take the car for a normal drive. Watch for the light to return and listen for unusual noises or rough running. A code that comes back quickly often means the real issue was not fixed.
What happens after you clear codes
When you clear codes with an OBD2 scanner, the vehicle’s computer usually erases stored trouble codes and turns off the check engine light. It may also reset some readiness monitors, which are self-tests the car must complete before passing emissions testing. This is one reason to avoid clearing codes right before an inspection unless you know the vehicle has had time to run its monitors.
You may notice a few changes after the reset:
- The check engine light turns off
- Some readiness monitors go back to not ready
- Fuel trim or adaptive memory may reset on some vehicles
- The vehicle may need a short drive cycle to relearn data
This is normal. Think of it like rebooting a phone after fixing a glitch. The system often needs a little time to settle back into normal operation.
Common mistakes to avoid when clearing codes
One of the biggest mistakes I see is clearing the code before writing it down. That removes the main clue that helps with diagnosis. Another common mistake is assuming the light is gone forever after one reset, when the fault may simply need more driving conditions to trigger again.
Here are the most common mistakes:
- Clearing codes before checking what caused them
- Ignoring freeze frame data
- Erasing codes without fixing the problem
- Disconnecting the scanner too early
- Forgetting that emissions monitors may reset
- Assuming a loose gas cap is the only possible cause
I once helped someone clear a code for an oxygen sensor issue, only to find the real problem was a cracked vacuum hose. The scanner did its job, but the real fix came from careful inspection. That is why the best results come from diagnosis first, clearing second.
Will clearing codes fix the problem?
No, clearing codes does not fix the problem by itself. It only removes the stored fault information and may turn off the warning light for a while. If the issue is still there, the computer will likely detect it again.
This is an important point because some drivers think a reset is a repair. It is not. It is more like wiping a message off a whiteboard. If the cause remains, the message will come back.
The right approach is:
- Read the code
- Diagnose the cause
- Repair the issue
- Clear the code
- Test drive and recheck
That simple flow keeps you from chasing the same light over and over.
Can a scanner clear all codes?
Most OBD2 scanners can clear engine-related diagnostic trouble codes stored in the powertrain control module. Some advanced scanners can also clear codes from systems like ABS, airbag, transmission, and body modules. A basic code reader usually clears only emissions-related engine codes.
If your scanner has limited functions, it may not reset every system. This is normal and depends on the tool, the car, and the module type. Always check the scanner’s menu and your vehicle’s support list before assuming it can clear everything.
How long does it take for the check engine light to stay off?
If the repair is correct, the light may stay off immediately after you clear the code. But in some cases, the problem may not reappear until the vehicle reaches certain driving conditions. That means the car may seem fine at first, then the light may return after a few miles or even a few days.
This is why a good road test matters. Drive in mixed conditions if possible, including city and highway speeds. If the light stays off and the code does not return, that is a strong sign the fix worked.
Tips for better results when using an OBD2 scanner
A scanner works best when you use it with a little patience and a calm process. I have found that people get the best results when they slow down and gather a few details before pressing clear. That habit leads to better diagnosis and fewer repeat repairs.
Helpful tips:
- Always save the code before clearing it
- Check the fuel cap, hoses, and connectors for simple issues
- Look up the code meaning for your exact vehicle
- Use live data if your scanner supports it
- Drive the car normally after clearing codes
- Re-scan after a few trips to confirm the issue is gone
If the same code returns, do not keep clearing it over and over. That only hides the symptom and wastes time. It is better to chase the cause once than to reset the light five times.
When you should see a mechanic instead
An OBD2 scanner is a great tool, but it has limits. Some codes point to problems that need professional testing, special tools, or deeper electrical checks. If the car runs rough, stalls, misfires heavily, or shows multiple related codes, a mechanic may be the safest next step.
You should get help if:
- The check engine light flashes
- The engine shakes or loses power
- The same code comes back right away
- You see multiple complex codes
- The scanner cannot communicate with the vehicle
A flashing check engine light can signal a serious misfire that may damage the catalytic converter. In that case, clearing the code is not the answer. Fixing the cause quickly is.
Frequently Asked Questions of How to clear codes with an OBD2 scanner?
Do I need to start the engine to clear codes with an OBD2 scanner?
Usually no. Most scanners only need the ignition in the ON position so they can connect to the vehicle’s computer. Some tools or vehicles may have special steps, so it is smart to follow the scanner instructions.
Can I pass emissions after clearing codes with an OBD2 scanner?
Not always right away. Clearing codes often resets readiness monitors, and those monitors may need time and drive cycles to complete before an emissions test. If the monitors are not ready, the vehicle may fail inspection even if the check engine light is off.
Why did the check engine light come back after I cleared it?
That usually means the problem was not fixed, or the vehicle detected the fault again during driving. It can also happen if the issue only appears under certain conditions, like highway speed, heat, or heavy load. Recheck the code and inspect the related parts again.
Is it safe to clear codes with an OBD2 scanner?
Yes, if you have already diagnosed the problem and know what you are doing. The main risk is not physical damage, but losing important diagnostic data or hiding a real issue. Clearing codes is safe when used as part of a proper repair process.
Will clearing codes disconnect my battery settings?
Sometimes yes, depending on the vehicle and the type of reset. Some cars may lose adaptive memory, radio presets, or idle learning values after a code clear. Many modern vehicles keep most settings, but it is still wise to expect a few minor resets.
Can a basic OBD2 scanner clear codes?
Yes, most basic OBD2 scanners can clear engine codes and turn off the check engine light. They may not clear ABS, airbag, or manufacturer-specific module codes. For those systems, you may need a more advanced scan tool.
Conclusion
Learning how to clear codes with an OBD2 scanner is one of the easiest ways to take control of car trouble lights. The real skill is not just pressing erase, but reading the code, understanding the cause, and confirming the fix before you reset anything. When you do it that way, the scanner becomes a smart tool instead of a shortcut.
If you keep the process simple, document the code, and avoid clearing it blindly, you will save time and make better repair decisions. Start with one scan, one note, and one careful test drive. If you found this guide helpful, explore more diagnostic tips, subscribe for future car care advice, or leave a comment with your own scanner experience.



One Comment