How To Connect An Obd2 Scanner To A Car: Easy Steps
Connecting an OBD2 scanner to a car usually means finding the port, plugging in the scanner, and turning the key on.
If you have ever seen a check engine light pop up and felt that small wave of stress, you are not alone. Knowing how to connect an OBD2 scanner to a car gives you a fast way to check trouble codes, read live data, and understand what your vehicle is trying to tell you. I have used OBD2 scanners on everything from older daily drivers to newer family cars, and the process is usually simple once you know where to look and what to avoid.
What an OBD2 scanner does and why it matters
An OBD2 scanner is a tool that talks to your car’s onboard diagnostics system. OBD2 stands for On-Board Diagnostics, version 2, and it became standard on most cars and light trucks sold in the United States starting with the 1996 model year.
When you connect an OBD2 scanner to a car, the scanner can pull trouble codes, show emissions-related faults, and sometimes display live sensor data like engine temperature, oxygen sensor readings, and fuel trims. That makes it useful for quick checks before a repair shop visit, basic DIY diagnosis, or even simple peace of mind.
In my experience, the scanner does not “fix” anything on its own. It is more like a flashlight in a dark garage. It shows you where to look, which can save time, money, and a lot of guesswork.
Where to find the OBD2 port
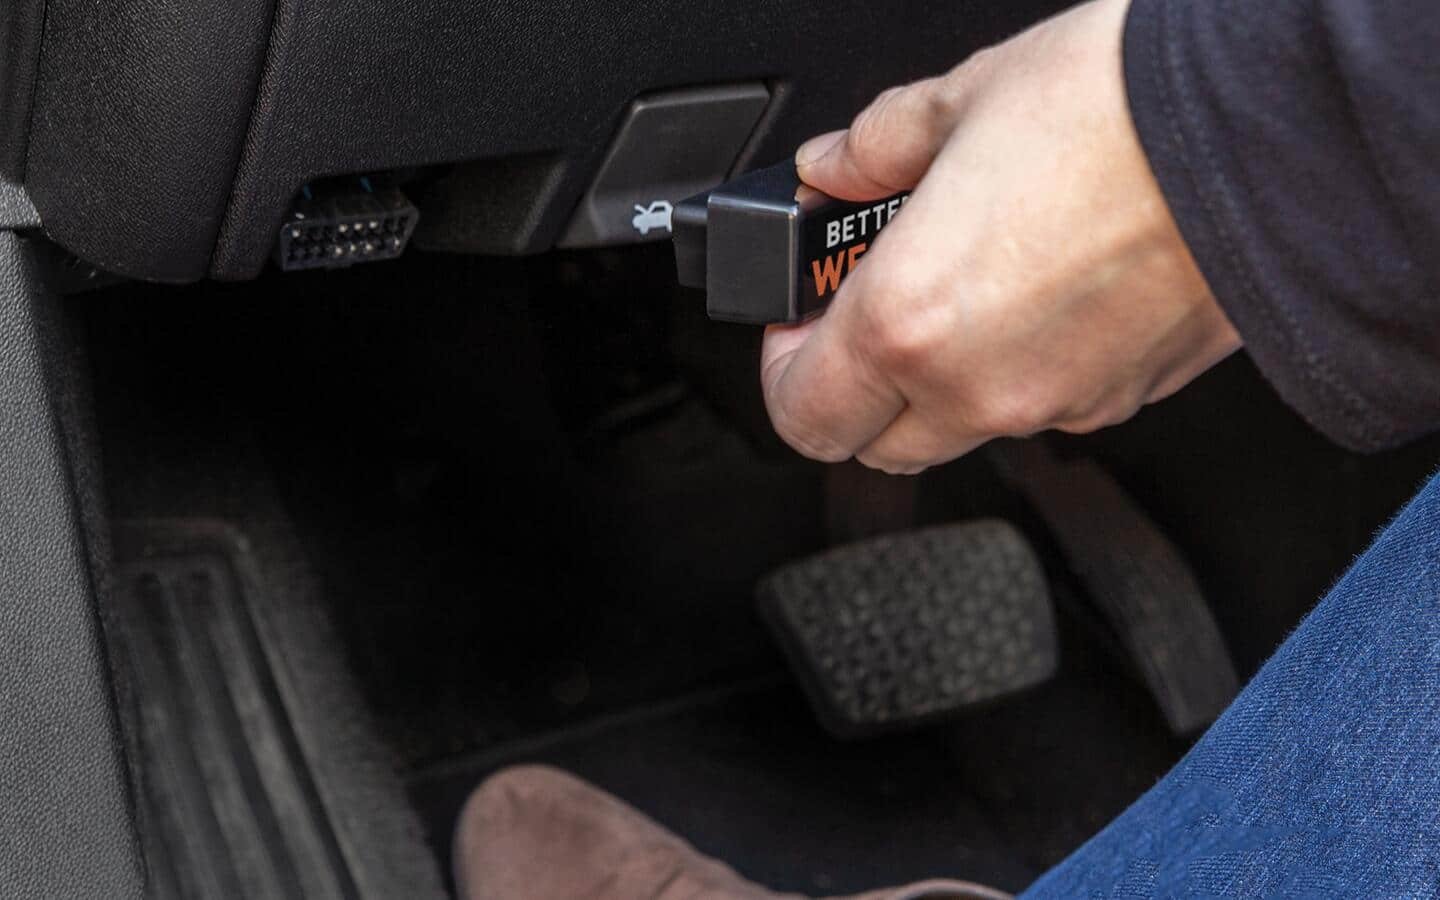
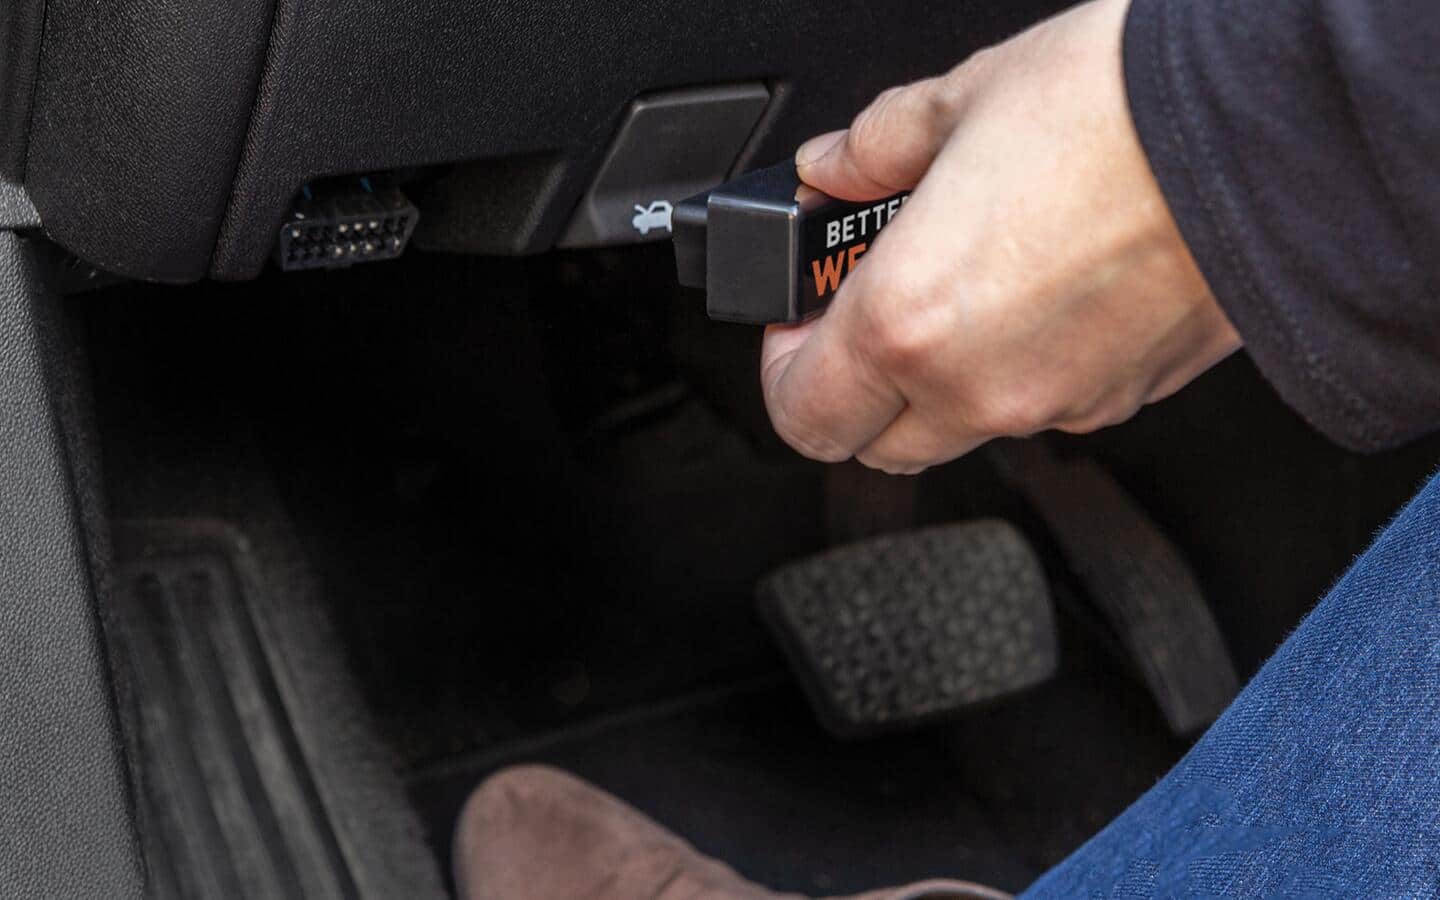
The first step in how to connect an OBD2 scanner to a car is finding the diagnostic port. On most vehicles, the OBD2 port is under the dashboard on the driver’s side, usually near the steering column, fuse box, or lower kick panel.
Common places to check include:
- Under the steering wheel
- Above the pedals
- Near the hood release handle
- Behind a small plastic cover under the dash
- Around the center console on some newer vehicles
If you do not see it right away, use a flashlight and look for a 16-pin connector. It is usually shaped like a trapezoid, not a circle. A mistake I have seen often is people forcing the wrong plug into the wrong port, so always confirm the shape before connecting anything.
How to connect an OBD2 scanner to a car step by step
Connecting an OBD2 scanner to a car is usually fast. The exact process can vary a little depending on whether you use a basic handheld scanner, a Bluetooth OBD2 adapter, or a professional scan tool, but the core steps stay the same.
1. Park safely and turn the car off
Put the car in park, set the parking brake, and make sure the ignition is off before plugging in the scanner. This helps prevent errors and keeps the connection clean.
If you are using a phone-based Bluetooth scanner, the car still needs to be in a safe parked position. I always recommend doing this in a well-lit area with enough space to sit in the driver’s seat comfortably.
2. Find the OBD2 port
Locate the 16-pin OBD2 port under the dashboard. It should be close enough to reach without tools.
If the port is hard to see, run your hand along the lower dash area. Many ports are mounted so the connector faces downward or outward, which makes them easy to miss.
3. Plug in the scanner
Insert the scanner connector straight into the OBD2 port. It should fit smoothly without much force.
If it resists, stop and check alignment. The connector is keyed, so it only fits one way. Forcing it can damage the scanner or the car’s port.
4. Turn the ignition to the ON position
Turn the key to the ON position, or press the start button without starting the engine if your vehicle uses a push-button system. Many scanners need power from the car to wake up and communicate.
Some scanners turn on automatically as soon as they get power from the port. Others need their own power button pressed after connection. If the screen stays blank, check the connection and ignition position first.
5. Follow the scanner menu
Once the scanner is powered, choose the vehicle make, model, year, or diagnostic mode if the device asks for it. Many modern scanners auto-detect the car and move straight to reading codes.
At this stage, you can usually select options like:
- Read trouble codes
- View pending codes
- Check live data
- Clear codes
- Run readiness monitors
If you are just starting out, read the codes before clearing anything. That gives you the best clue about what triggered the warning light.
6. Start the engine if the scanner needs live data
Some scans work with the engine off, but live data often requires the engine running. If you want to watch sensors, idling speed, or fuel trim, start the car after the scanner is connected and wait for the display to update.
This is where a scanner becomes especially helpful. You can see whether a problem is steady or only happens under certain conditions, which often matters more than a single fault code.
Types of OBD2 scanners and how they connect
Not all scanners work the same way. Understanding the type you own makes the connection process easier and helps set the right expectations.
Handheld wired scanners
These plug directly into the OBD2 port with a cable or built-in connector. They are the simplest to use and do not need Bluetooth pairing or an app.
They are a great choice if you want a reliable tool that works every time. In my own use, wired scanners are usually the least frustrating option for quick home diagnostics.
Bluetooth and Wi-Fi OBD2 adapters
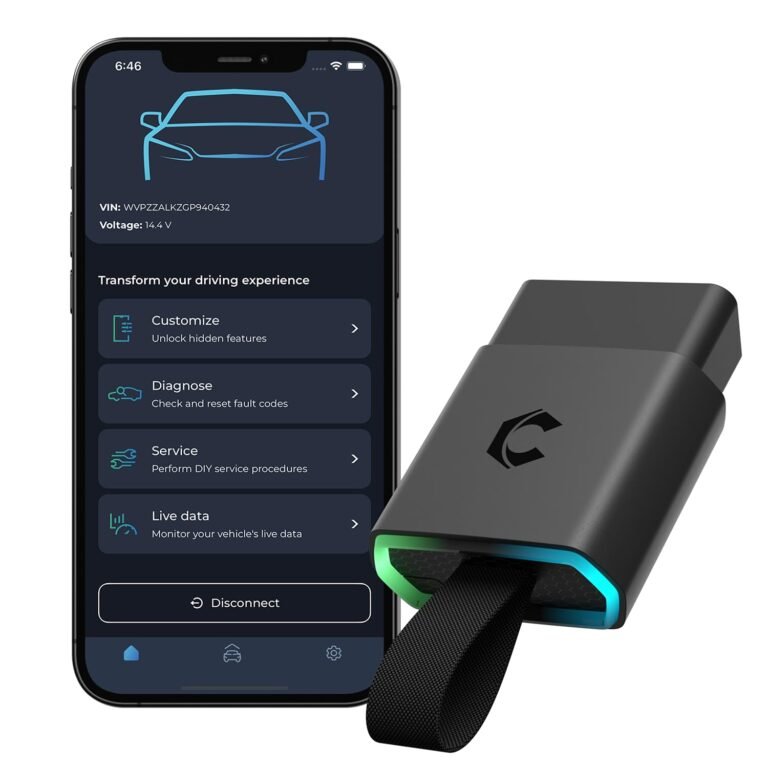
These small adapters plug into the OBD2 port and send data to a phone or tablet app. They are popular because they are compact and often affordable.
The steps are similar, but you also need to:
- Turn on Bluetooth or Wi-Fi on your phone
- Open the matching app
- Pair the adapter if required
- Select the vehicle in the app
These are handy, but app quality matters. A cheap adapter can work fine for basic code reading, but some struggle with speed, compatibility, or reliable data.
Professional scan tools
These are larger tools used by technicians and advanced DIY users. They often support more systems, such as ABS, airbag, transmission, and body modules.
They still connect through the same OBD2 port, but they may need extra setup, software updates, or vehicle-specific menus. They are more capable, but they are not always necessary for basic check engine light diagnosis.

What to do if the OBD2 scanner does not connect
Sometimes the scanner powers up but does not communicate with the car. That can feel annoying, but the cause is often simple.
Common reasons include:
- The ignition is not in the ON position
- The connector is not fully seated
- The fuse for the OBD2 port is blown
- The car has a battery issue
- The scanner is not compatible with the vehicle
- The adapter or cable is faulty
Here is the troubleshooting routine I use:
- Unplug the scanner and reconnect it firmly
- Confirm the key is in ON, not just accessory
- Check whether other accessories in the car are working
- Try a different scanner if available
- Inspect the fuse for the diagnostic port or cigarette lighter circuit, since they are sometimes linked
One thing I learned early on: do not assume the scanner is broken too fast. A loose connection or a simple blown fuse causes a lot of “dead scanner” complaints.
Safety tips before and during connection
Knowing how to connect an OBD2 scanner to a car also means knowing how to do it safely. The process is low risk, but a few habits make it smoother.
Use these best practices:
- Keep the car in park with the parking brake set
- Do not plug or unplug the scanner while driving
- Avoid forcing the connector into the port
- Keep hands clear of pedals while reaching under the dash
- Use a scanner that matches your vehicle type and model year
If you are using a phone app, make sure the app is from a trusted source and the adapter is reputable. Cheap electronics can be inconsistent, especially with live data or emission-related functions.
Why connecting an OBD2 scanner can save time and money
A good scanner helps you make smarter decisions. Instead of guessing why the check engine light is on, you can check whether the issue is a loose gas cap, a faulty oxygen sensor, a misfire, or something else.
Benefits include:
- Faster diagnosis
- Less guessing
- Better communication with a mechanic
- Ability to clear codes after a repair
- Access to live engine data
That said, the code is only the starting point. A trouble code tells you which system detected a problem, not always the exact part that failed. That is why careful diagnosis still matters.
Common mistakes to avoid
A lot of first-time users run into the same problems. If you want a smoother experience, avoid these mistakes:
- Plugging into the wrong port
- Starting the engine before the scanner initializes
- Clearing codes before writing them down
- Ignoring pending codes
- Using an unsupported app or adapter
- Assuming every code means a bad part
The biggest one is clearing the code too soon. I have seen people erase the only clue they had, then spend more time and money trying to rediscover the issue. Always record the code first.
How to read the results after connecting
Once the scanner is connected, it usually shows diagnostic trouble codes, also called DTCs. These codes often look like P0420, P0171, or P0302.
Here is a simple way to think about them:
- P codes usually relate to powertrain issues
- B codes relate to body systems
- C codes relate to chassis systems
- U codes relate to network or communication issues
Many scanners also show “pending” codes. These are problems the car has noticed but has not confirmed yet. They are useful because they can point to an issue before the check engine light fully settles in.
Real-world example from experience
One of the most common cases I have seen is a loose gas cap setting off an emissions code. The light comes on, the driver worries about major engine damage, and the scanner reveals something much simpler.
Another time, a family sedan showed a misfire code that seemed like a bad spark plug. After checking live data, the issue was actually a weak ignition coil that only failed under load. That is the real value of knowing how to connect an OBD2 scanner to a car: it helps you move from panic to facts.
Frequently Asked Questions
How do I know if my car has an OBD2 port?
Most gas-powered cars and light trucks sold in the U.S. from 1996 onward have an OBD2 port. It is usually a 16-pin connector under the driver’s side dashboard.
Can I use an OBD2 scanner with the engine off?
Yes, many scanners will power on and read stored codes with the ignition in the ON position. For live data, though, you will often need the engine running.
Will an OBD2 scanner work on every car?
No, compatibility depends on the vehicle’s model year, region, and scanner type. Most standard OBD2 scanners work on 1996 and newer U.S. vehicles, but some advanced functions may not be supported on every car.
Is it safe to leave an OBD2 scanner plugged in?
A basic scanner can usually stay plugged in for short periods, but some adapters may drain the battery over time. If you are not using it, it is safer to unplug it after your scan.
Can I clear the check engine light with an OBD2 scanner?
Yes, most scanners can clear fault codes and turn off the light. Still, it is better to fix the issue first, because the light will usually come back if the problem remains.
Conclusion
Learning how to connect an OBD2 scanner to a car is one of the easiest ways to take control of basic vehicle diagnostics. Once you know where the port is, how to power the scanner, and how to read the first results, the whole process becomes second nature.
The key is to stay calm, check the connection carefully, and treat the scanner as a guide rather than a magic fix. If you use it the right way, it can help you save time, catch problems early, and make better repair choices. Try it on your own car, keep a record of the codes, and keep learning as you go.