How to Descale a Coffee Maker
Is your morning coffee tasting a little… off? That bitter, metallic tang or a slower brew time could mean your coffee maker is silently suffering from mineral buildup. Knowing how to descale a coffee maker is essential for keeping it running smoothly and your coffee tasting its best.
It’s a simple maintenance step that makes a huge difference.
This process involves dissolving the hard water deposits that accumulate over time. Manufacturer specifications often recommend descaling every 1-3 months, depending on water hardness and usage. Ignoring this can lead to diminished performance and even permanent damage to your machine's heating element.
Quick Answer
To descale a coffee maker, fill the water reservoir with a descaling solution or a 50/50 mix of white vinegar and water. Run a full brew cycle, discard the solution, and then run 2-3 full cycles with fresh water to rinse. This removes mineral deposits that affect taste and performance.
Why Your Coffee Maker Needs Descaling
The Hidden Problem: Mineral Buildup
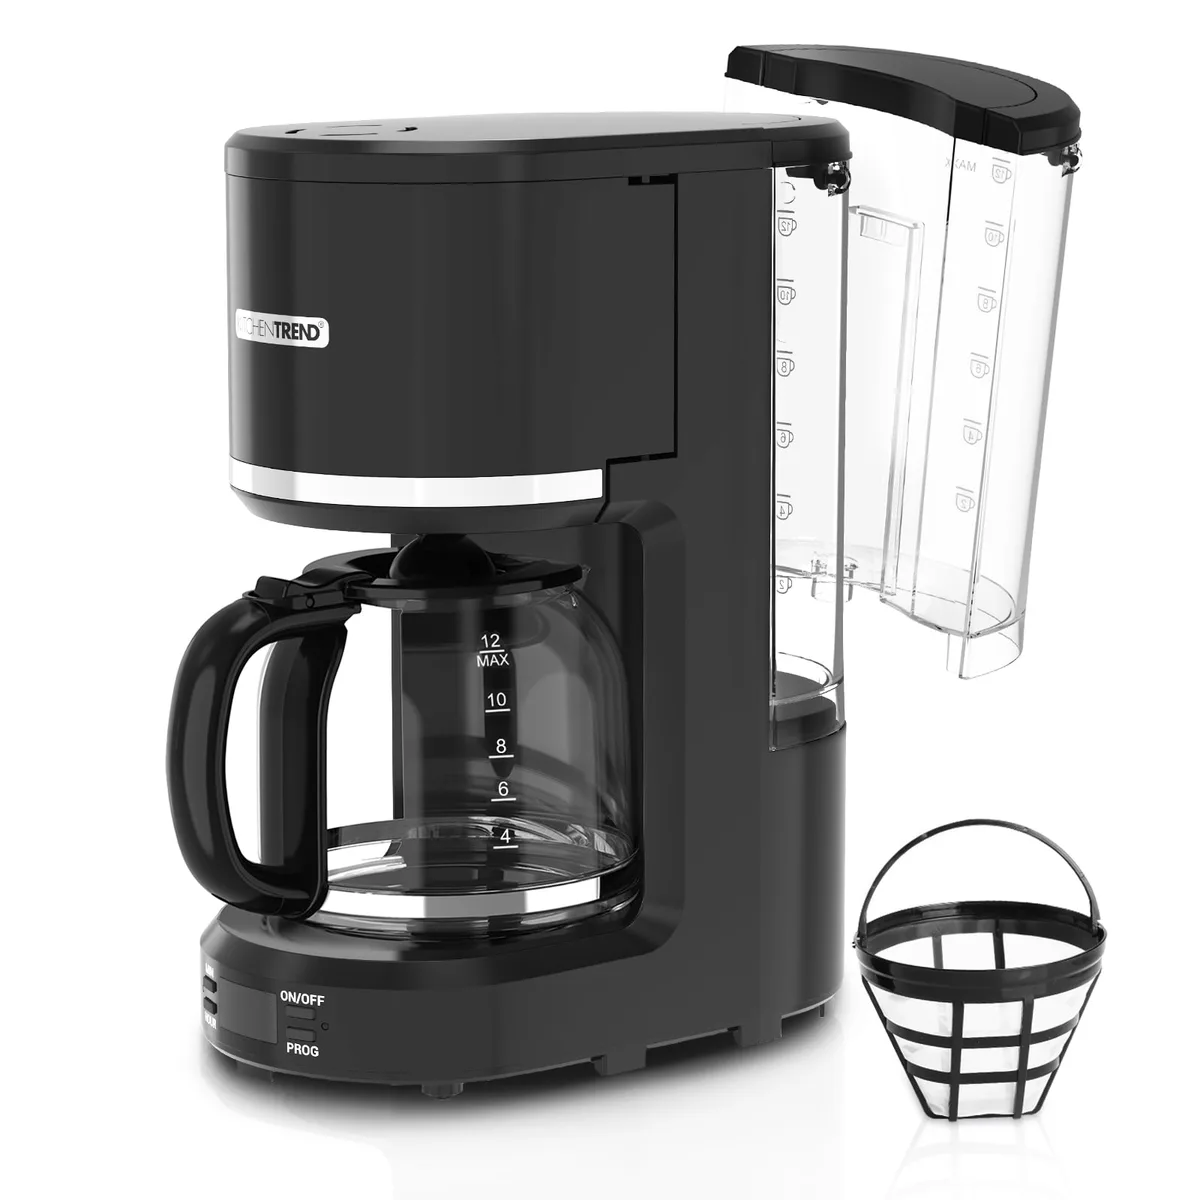
That delicious cup of coffee starts with water, and if your tap water is anything like most, it contains dissolved minerals like calcium and magnesium. Over time, as your coffee maker heats and brews this water, these minerals get left behind. They cling to the internal components, especially the heating element and water lines, forming a hard, crusty layer known as limescale.
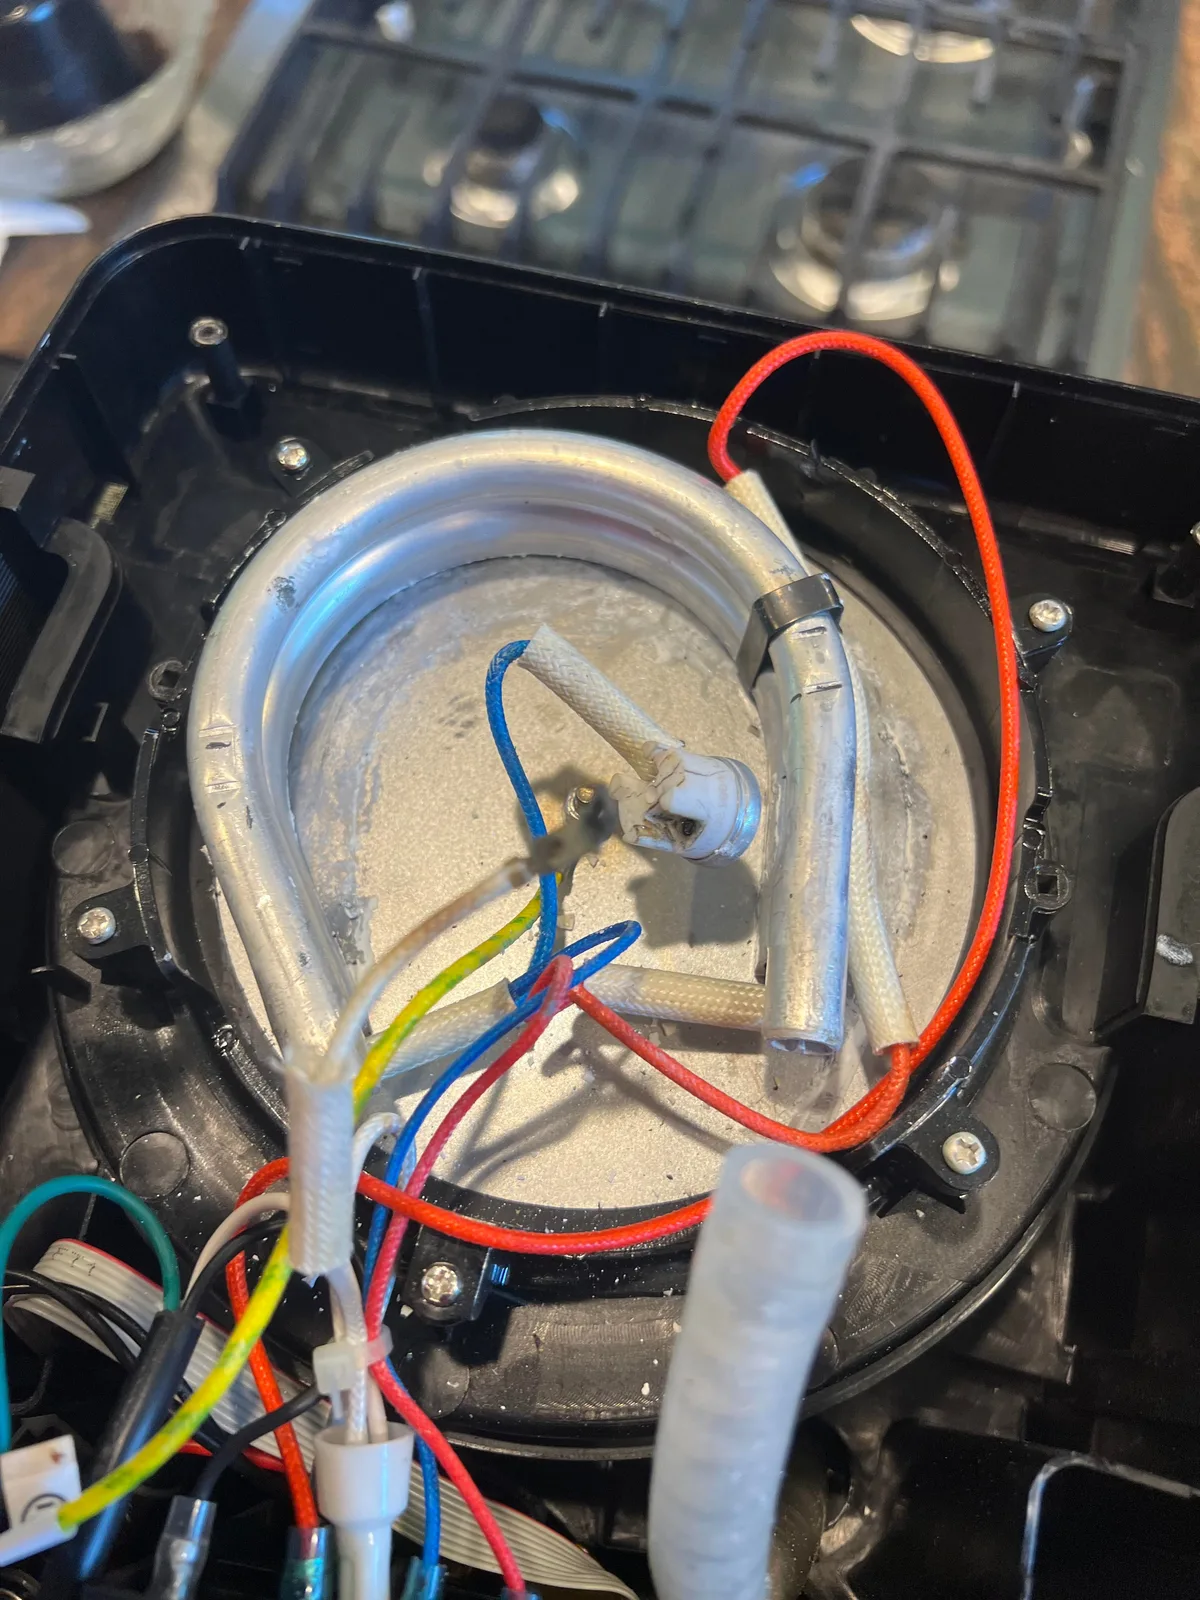
This isn't just unsightly; it's a performance killer. Think of it like plaque building up on your teeth. This scale acts as an insulator, meaning your coffee maker's heating element has to work harder and longer to get the water to the optimal brewing temperature.
This leads to slower brewing cycles and can even cause the element to overheat and fail prematurely. Our research indicates that persistent mineral buildup can shorten a coffee maker's lifespan by up to 30%.
Signs Your Coffee Maker is Clogged
What to Look (and Taste) For
You don't always need a special indicator light to know it's time for a descaling session. Your senses can tell you a lot. If your coffee starts tasting off, perhaps bitter, sour, or with a distinctly metallic or "old" flavor, mineral deposits are a prime suspect.
This is because the scale can leach minerals into your brew or affect the water's temperature, leading to under-extraction.
Other tell-tale signs include:
- Slower Brewing: Notice your coffee maker taking significantly longer to brew a pot than it used to? That's the heating element struggling to push water through clogged passages.
- Inconsistent Brew Temperature: Some parts of the brew might be lukewarm while others are scalding. This indicates the heating element isn't distributing heat evenly due to scale interference.
- Excessive Steam or Noise: An overworked heating element or water struggling to pass through can cause unusual noises or more steam than usual.
- Visible Scale: For some machines, you might be able to see white, chalky deposits around the water reservoir opening or brew head.
Descaling Options: What to Use
Vinegar vs. Commercial Descaling Solutions

When it's time to tackle that scale, you generally have two main options: white vinegar or a commercial descaling solution. Both work by using an acid to break down the mineral deposits. The best choice often depends on your machine and your preference.
Here's a quick breakdown:
White Vinegar: This is a popular, budget-friendly option. It’s readily available and effective for many standard drip coffee makers. However, vinegar has a strong odor that can linger, requiring extra rinsing cycles to eliminate. Some manufacturers specifically advise against using vinegar, as its acidity could potentially damage certain internal parts over time, especially in more complex machines.
Commercial Descaling Solutions: These are formulated specifically for coffee makers. They often contain citric acid or other food-safe acids and are designed to be highly effective without leaving a strong odor. They are generally considered gentler on machine components compared to vinegar. While they cost more, they typically require less rinsing and are safer for a wider range of coffee maker types, including pod machines and espresso makers. Always check your coffee maker’s manual to see if they recommend a specific type of descaling solution.
Step-by-Step Guide: How to Descale Your Coffee Maker
Regardless of the solution you choose, the descaling process follows a similar pattern. It’s all about getting the descaling agent through the machine's internal water system to dissolve those stubborn mineral deposits.
For Drip Coffee Makers
This is the most common type of coffee maker, and descaling it is pretty straightforward.
- Empty and Prepare: Make sure your coffee maker is unplugged and empty. Remove any old coffee grounds or filters from the brew basket.
- Mix Your Solution:
- Vinegar Method: Fill the water reservoir with a 50/50 mixture of white vinegar and water. For a standard 12-cup maker, this might be about 6 cups of vinegar and 6 cups of water.
- Commercial Solution Method: Follow the instructions on the descaling product packaging. Typically, you'll mix a specific amount of solution with water in the reservoir.
- Run a Brew Cycle: Place the empty carafe on the warming plate and turn on the coffee maker. Let it run a full brew cycle, allowing the solution to pass through the machine.
- Let it Sit (Optional but Recommended): Once the brew cycle is complete, turn off the coffee maker. Let the solution sit inside the machine for about 30-60 minutes to give the acid time to work on the scale.
- Discard and Rinse: Pour out the solution from the carafe. Rinse the carafe and brew basket thoroughly with clean water.
- Rinse Cycles: Fill the reservoir with fresh, clean water. Run at least two full brew cycles with just water to thoroughly rinse out any remaining descaling solution or vinegar residue. You want to ensure no lingering taste.
- Wipe Down: Unplug the machine and wipe down the exterior, brew basket, and carafe with a damp cloth.
For Pod-Based Coffee Makers (e.g., Keurig)
Pod machines have smaller water channels, making them prone to clogging from mineral buildup. The process is similar but often quicker.
- Empty and Prepare: Remove any pod from the pod holder and discard any remaining water in the reservoir. Ensure the drip tray is empty.
- Mix Your Solution:
- Vinegar Method: Fill the water reservoir with a 50/50 mixture of white vinegar and water.
- Commercial Solution Method: Use a descaling solution specifically designed for pod coffee makers. Follow the product instructions for the correct ratio.
- Run a Brew Cycle (No Pod): Place a mug on the drip tray. Run a brew cycle with the descaling solution, but do not insert a pod.
- Discard and Refill: Discard the hot solution from the mug. Rinse the reservoir thoroughly.
- Rinse Cycles: Fill the reservoir with fresh, clean water. Run multiple brew cycles (usually 4-6 for pod machines) until the water runs clear and the machine no longer smells like vinegar or descaler. This thorough rinsing is crucial for pod machines.
Common Descaling Mistakes to Sidestep
Over-rinsing and Under-rinsing
Making sure you descale your coffee maker correctly is key. Skipping steps or doing them incorrectly can lead to more problems than you started with. Our editorial analysis of common user issues highlights two major pitfalls: under-rinsing and over-rinsing.
Under-Rinsing: This is probably the most common mistake. If you don't run enough fresh water through your machine after descaling, you'll end up with that unpleasant vinegar or chemical taste in your coffee. It can also leave residual descaling agents that could potentially affect the machine’s components over the long term. Aim for at least two full brewing cycles with plain water, and more if you used vinegar or can still detect any lingering smell.
Over-Rinsing: While less common, it's possible to get caught in a loop of rinsing without need. If your machine smells completely neutral and brews clear water, you've rinsed enough. Excessive rinsing won't harm the machine, but it does waste water and time. Trust your senses, if the smell is gone, you're good to go.
Other mistakes to avoid include:
- Using the wrong cleaning agent: Never use harsh chemicals like bleach or abrasive scrubbers, as these can seriously damage your coffee maker. Stick to food-safe descaling solutions or white vinegar unless your manual specifies otherwise.
- Not descaling at all: This is the biggest mistake. Neglecting this maintenance task guarantees a decline in performance and taste, and eventually, a broken machine.
- Not unplugging the machine: For safety reasons, always unplug your coffee maker before cleaning or disassembling any parts.
How Often Should You Really Descale?
Factors Affecting Descaling Frequency
There's no single, hard-and-fast rule for how often everyone needs to descale their coffee maker, as it really depends on a few key factors. Think of it like needing to wash your car, if you live in a dusty area or drive on dirt roads, you'll need to wash it more often than someone who mostly drives on clean highways.
The biggest influencer is your water hardness.
- Hard Water: If your tap water is high in mineral content (common in many regions), you'll likely need to descale every 1-2 months. You might notice white, chalky deposits forming inside your kettle or on faucets.
- Soft Water: If you have naturally soft water or use a water softener, you can probably stretch descaling to every 3-6 months.
Here's a quick reference based on typical usage:
| Usage Frequency | Water Hardness | Recommended Descaling Interval |
|---|---|---|
| Daily (1-2 pots) | Hard | Monthly |
| Daily (1-2 pots) | Soft | Every 2-3 months |
| Occasional (few times/wk) | Hard | Every 2 months |
| Occasional (few times/wk) | Soft | Every 3-4 months |
Don't forget to also consider the type of coffee maker. Espresso machines and pod brewers with finer components may benefit from more frequent descaling than basic drip models. Always check your coffee maker's manual; many manufacturers provide specific recommendations for their models, and some even have built-in descaling indicator lights.
For instance, some models from a leading manufacturer suggest descaling every 3-6 months.
Essential Maintenance for a Better Brew
Beyond just descaling, a few simple maintenance habits can keep your coffee maker in top shape and your coffee tasting fantastic. Think of these as routine check-ups that prevent bigger issues down the line.
- Daily Rinse: After each use, it’s a good idea to rinse out the brew basket and carafe. This removes coffee oils and grounds that can turn rancid and affect the taste of future brews. If you have a pod machine, run a water-only cycle after your last coffee of the day.
- Wipe Down Regularly: Clean the exterior of your coffee maker with a damp cloth periodically. This removes dust, coffee splatters, and fingerprints, keeping your machine looking good and hygienic.
- Check the Water Reservoir: If you notice any sliminess or discoloration in the water reservoir, give it a good wash with warm, soapy water. Ensure it's fully dry before refilling. For more in-depth cleaning advice, learning how to deep clean a blender offers similar principles for appliance hygiene.
- Descale the Carafe/Milk Frother: If your machine has a separate milk frother or a glass carafe, these components may need separate cleaning. For carafes, regular washing usually suffices, but for stubborn stains, maintaining a wooden cutting board involves similar principles of gentle, regular upkeep.
These small steps, combined with regular descaling, ensure your coffee maker performs reliably and produces the rich, flavorful coffee you expect every morning.
Frequently Asked Questions About Descaling
How long does the descaling process typically take?
The entire process, including brew cycles and rinsing, usually takes between 45 minutes to 1.5 hours, depending on your machine and how many rinse cycles you run.
Can I use other household cleaners to descale my coffee maker?
No, it's strongly advised against using cleaners like bleach, dish soap, or ammonia. These can damage your machine's internal parts and leave harmful residues. Stick to white vinegar or commercial descaling solutions approved for coffee makers.
What's the difference between cleaning and descaling?
Cleaning typically refers to wiping down the exterior and washing removable parts like the carafe and brew basket to remove coffee grounds and oils. Descaling specifically targets the removal of mineral deposits (limescale) from the internal heating elements and water lines.
My machine doesn't have a specific descaling cycle, what do I do?
For machines without a dedicated cycle, follow the step-by-step guide outlined above using the reservoir and brew function. This works for most standard drip coffee makers. Always refer to your machine's user manual for any model-specific instructions.