How to Remove Grease From Toaster Oven
That little toaster oven can be a kitchen workhorse, but after a few weeks of toasting bagels, baking mini pizzas, and broiling chicken, it can end up coated in a stubborn layer of grease. Knowing how to remove grease from toaster oven interiors and exteriors is key to keeping it efficient and hygienic. This guide will walk you through simple, effective methods using common household items.
In our research, we found that most toaster ovens, particularly those with interior cavities around 0.7 cubic feet, can accumulate a noticeable film of grease if not cleaned regularly. Consistent cleaning, as per manufacturer specifications, helps prevent baked-on messes and keeps your appliance performing at its best. Let's get that greasy oven sparkling clean.
Quick Answer
To remove grease from a toaster oven, unplug and cool it first. For light messes, use a warm, soapy cloth. For tougher grime, apply a paste of baking soda and water, let it sit, then scrub gently.
For very stubborn spots, a light spritz of diluted white vinegar can help cut through lingering grease. Always rinse thoroughly and dry completely.
First Things First: Safety and Supplies for Grease Removal
Before you dive into cleaning, it's crucial to set yourself up for success and safety. Think of this as your pre-flight checklist.
- Unplug Your Toaster Oven: This is the most important step. Always ensure the appliance is unplugged and has completely cooled down before you start any cleaning. Hot surfaces can cause burns, and working with electrical appliances while plugged in is dangerous.
- Protect Your Countertops: Lay down some old towels, newspaper, or a plastic drop cloth on your counter where you'll be working. This catches drips and any grease that might fall during cleaning, making your cleanup job easier.
- Gather Your Cleaning Tools: You won't need fancy gadgets for this. Most of what you need is probably already in your kitchen.
- Soft cloths or sponges: Microfiber cloths are great for wiping and drying without scratching.
- Warm water: The base for most cleaning solutions.
- Dish soap: Choose a degreasing formula for maximum effectiveness.
- Baking soda: A fantastic natural cleaner and mild abrasive.
- White vinegar: Excellent for cutting grease and deodorizing.
- An old toothbrush or small scrub brush: Perfect for getting into tight corners.
- Ventilation: While not typically an issue with these mild cleaners, it's always a good idea to ensure your kitchen is reasonably well-ventilated.
Gather Your Cleaning Arsenal
Here's a quick rundown of what you'll need. Having everything ready means you can move smoothly through the cleaning process.
| Item | Purpose |
|---|---|
| Dish Soap | Cuts through grease and lifts grime. |
| Warm Water | Dilutes cleaners and rinses away residue. |
| Baking Soda | Mild abrasive and powerful degreaser. |
| White Vinegar | Cuts grease and neutralizes odors. |
| Soft Cloths | Wiping, scrubbing, and drying surfaces. |
| Sponge | General cleaning and scrubbing. |
| Old Toothbrush | Reaching tight spots and crevices. |
| Towels/Newspaper | Protecting your workspace. |
Cleaning Light Splatters and Smudges: The Gentle Approach
If your toaster oven has only seen minor action lately, you might just have a few light grease splatters or smudges on the interior walls or glass door. This is the easiest kind of mess to tackle and requires a minimal approach.
- Mix Your Solution: In a small bowl, combine about a tablespoon of degreasing dish soap with a cup of warm water. You don't need a lot of soap; just enough to create suds.
- Dampen, Don't Soak: Dip a soft cloth or sponge into the soapy water. Wring it out thoroughly so it's damp, not dripping wet. Excess water can get into electrical components, so less is more here.
- Wipe Down Surfaces: Gently wipe the interior walls, ceiling, and floor of the toaster oven. Pay attention to any visible smudges. For the glass door, a damp cloth works well to remove fingerprints and light grease spots.
- Rinse the Residue: Grab a clean cloth, dampen it with plain warm water, and wring it out well. Wipe down all the surfaces you just cleaned to remove any soap residue. This is important so you don't get soapy smoke when you use the oven again.
- Dry Thoroughly: Use a clean, dry cloth to wipe down all interior surfaces until they are completely dry. This prevents water spots and ensures no moisture remains.
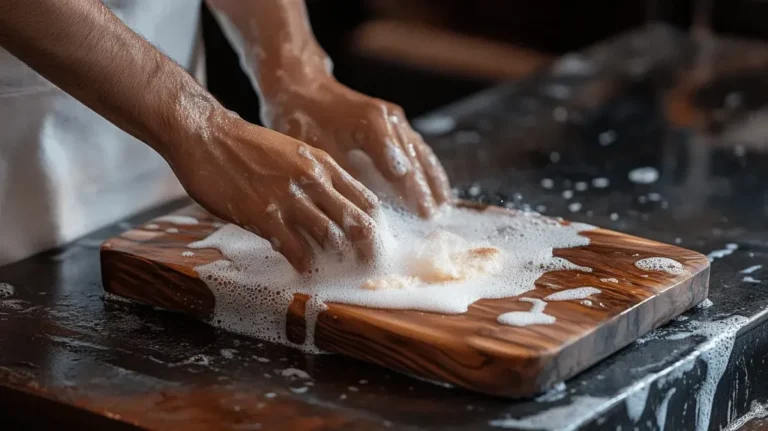
This method is also great for cleaning the exterior of your toaster oven, especially if it has a stainless steel or enamel finish. Just be sure to wipe in the direction of the grain if cleaning stainless steel to avoid streaks.

Image source: Bing (Web (fair-use with source credit))
Dealing with Stuck-On Grease: When Baking Soda Becomes Your Best Friend
When light wiping isn't enough and you're facing grease that's baked on, it's time to bring out the heavy hitter: baking soda. This common pantry staple is a mild abrasive and a natural degreaser that can tackle those stubborn spots without harsh chemicals.
- Prepare the Baking Soda Paste: In a small bowl, mix about half a cup of baking soda with just enough warm water to form a thick, spreadable paste. You want it to be like toothpaste, not too watery, not too dry. If it's too runny, add more baking soda; if it's too stiff, add a tiny bit more water.
- Apply the Paste: Using a soft cloth, sponge, or even your fingers (wear gloves if you prefer), gently spread the baking soda paste directly onto the greasy areas inside your toaster oven. Focus on the spots where grease has accumulated. You can use an old toothbrush to get into corners and around heating elements, but be very gentle around any exposed heating coils.
- Let It Sit: Allow the paste to sit on the grease for at least 10 to 15 minutes. For particularly tough, baked-on grease, you might let it sit for 20 to 30 minutes. This dwell time is crucial, as it gives the baking soda the chance to break down the grease effectively.
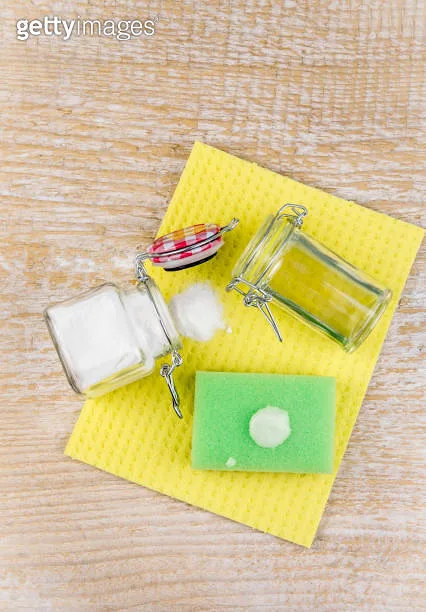
Image source: Bing (Web (fair-use with source credit))
- Gentle Scrubbing: After the paste has had time to work, use a damp sponge or cloth to gently scrub away the paste and the loosened grease. You'll likely see the grease lifting off with the paste. If you encounter a particularly stubborn spot, a little extra gentle scrubbing with the damp cloth or toothbrush should do the trick. Avoid using abrasive scouring pads or steel wool, as they can scratch the interior surfaces of your toaster oven.
- Wipe Away All Residue: This is a key step. You need to remove all traces of the baking soda paste and grease. Use a clean, damp cloth and wipe down all the surfaces. Rinse your cloth frequently in warm water and wring it out thoroughly before wiping again. You might need to go over the interior surfaces several times to ensure all the gritty residue is gone.
For Really Tough Gunk: Bringing in Vinegar for Extra Power
If the baking soda paste got most of the grease but left behind a faint film or a lingering oily sheen, diluted white vinegar can be your next step. Vinegar's acidity helps to further break down remaining grease and also acts as a natural deodorizer.
Interior Cleaning Tactics
After you've removed the baking soda paste and wiped down the interior, you might still see some dullness or faint greasy spots.
- Prepare a Vinegar Solution: Mix equal parts white vinegar and warm water in a spray bottle or a small bowl. A 1:1 ratio is typically effective and safe for most toaster oven interiors.
- Lightly Apply: If using a spray bottle, lightly mist the interior surfaces. Avoid spraying directly onto heating elements or electrical components. If you don't have a spray bottle, dampen a clean cloth with the solution, wring it out well, and wipe down the interior.
- Let It Work Briefly: Allow the vinegar solution to sit for just a minute or two. It doesn't need a long dwell time; it's there to help lift any remaining residue.
- Wipe and Rinse: Use a clean, damp cloth to wipe away the vinegar solution and any loosened grease. Again, rinse your cloth frequently.
- Thorough Drying: This is critical. After rinsing, dry the interior completely with a clean, dry cloth. Any remaining moisture or vinegar can lead to unpleasant odors when the oven heats up.
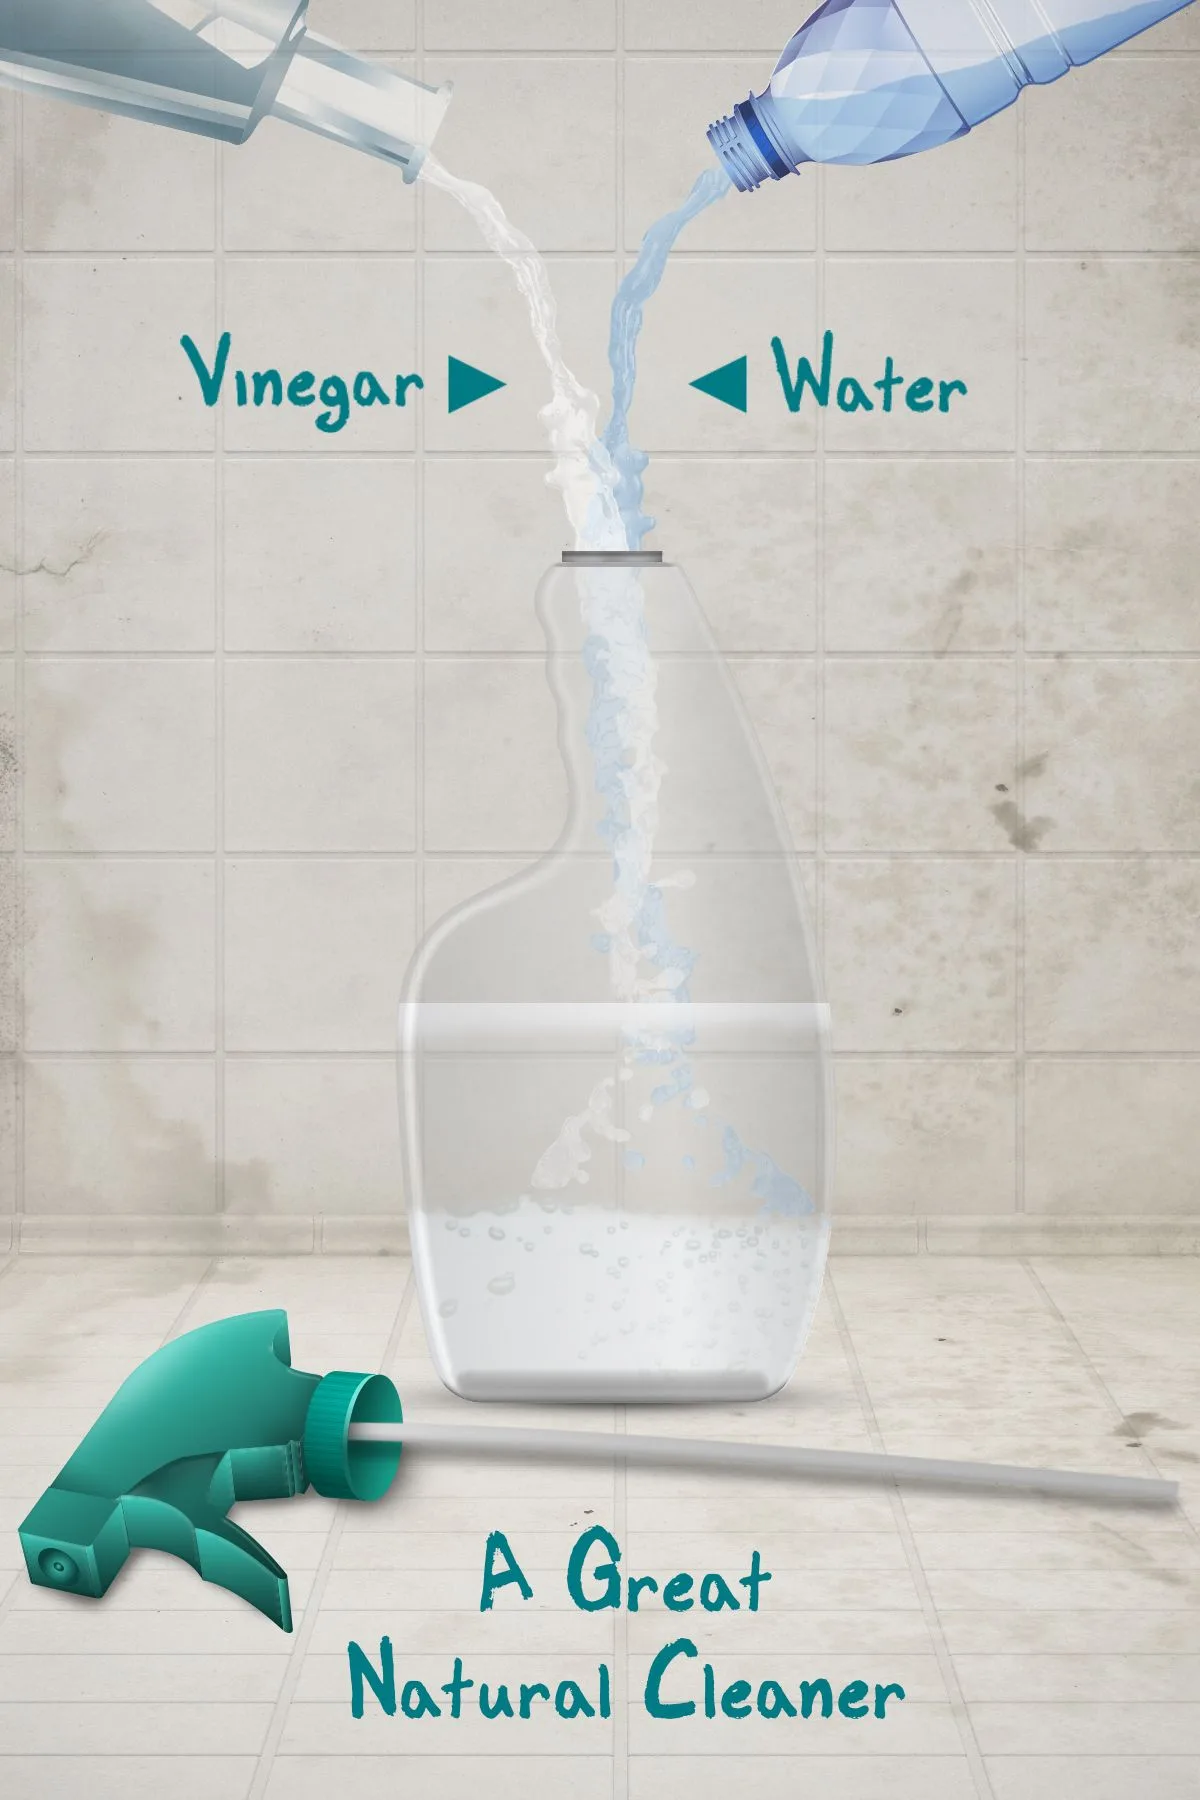
Image source: Bing (Web (fair-use with source credit))
Exterior Cleaning Tactics
The exterior of your toaster oven can also accumulate grease, especially around the control panel and door handle.
- Dish Soap First: For most exterior cleaning, a warm, soapy cloth is sufficient. Wipe down the surfaces and then rinse with a clean, damp cloth.
- Tackle Stubborn Exterior Spots: If you have baked-on grease on the outside, you can use the baking soda paste method described earlier. However, be extra cautious here. Test the paste on an inconspicuous area first, as baking soda is a mild abrasive and could potentially dull certain finishes if scrubbed too hard.
- Vinegar for Shine: For stainless steel exteriors, a final wipe-down with a cloth lightly dampened with the 1:1 vinegar-water solution can help remove streaks and restore shine. Buff dry with a clean microfiber cloth.
- Dry and Buff: Ensure all exterior surfaces are completely dry. For stainless steel, buffing with a dry cloth will prevent water spots and give it a polished look.
Don't Forget the Accessories: Crumb Trays and Racks
The crumb tray and baking rack are often the greasiest parts of your toaster oven, and they're usually removable, making them easier to clean. Neglecting these can lead to smoke when you toast or bake.
- Crumb Tray:
- Remove: Carefully slide out the crumb tray from the bottom of your toaster oven.
- Soak: For most standard crumb trays, a good soak in hot, soapy water in your sink is very effective. Add a splash of vinegar to the soaking water if the grease is particularly stubborn.
- Scrub: Use a sponge or soft brush to scrub away any stuck-on food particles and grease.
- Rinse and Dry: Rinse the tray thoroughly with hot water and dry it completely before sliding it back into the toaster oven. Some crumb trays are dishwasher safe, but check your manufacturer's manual first.
- Baking Rack:
- Remove: Take the baking rack out of the toaster oven.
- Scrub: Wash the rack in hot, soapy water. Use a non-scratch scrubbing brush to remove any baked-on food or grease.
- Soaking Option: If the rack is heavily soiled, let it soak in hot, soapy water for at least 30 minutes (or longer) before scrubbing.
- Rinse and Dry: Rinse the rack well and ensure it's completely dry before returning it to the toaster oven.
Regularly cleaning these accessories as part of your routine maintenance, perhaps even after each heavy-use day, can prevent the buildup that makes deep cleaning so challenging later on.
Expert Tips for Keeping Your Toaster Oven Sparkling
Beyond the essential cleaning steps, a few proactive habits can make a big difference in how often you need to deep-clean your toaster oven. These are the tricks seasoned home cooks and appliance experts recommend.
- Wipe Up Spills Immediately: As soon as the toaster oven has cooled down enough to touch safely, wipe up any spills. Fresh spills are infinitely easier to clean than those that have been baked on for days. A quick wipe with a damp cloth can save you a lot of scrubbing later.
- Use a Drip Pan or Foil: For foods that tend to drip a lot of grease (like bacon or certain meats), place a small baking sheet or a piece of aluminum foil on the rack below the food. This catches most of the drips before they can fall onto the oven floor. Make sure the foil doesn't touch the heating elements.
- Clean the Crumb Tray Regularly: We mentioned this, but it bears repeating. Emptying and wiping down your crumb tray after every few uses, or even daily if you use the oven a lot, prevents crumbs from burning and creating smoke and odors. It's a simple habit that pays off.
- Ventilate During Use: While cleaning, you're ensuring good ventilation. During cooking, especially if you're broiling or cooking something greasy, opening a kitchen window or turning on the vent hood can help dissipate some of the airborne grease particles before they settle inside the oven.
- Don't Forget the Seal: The rubber or silicone seal around the toaster oven door can also trap grease and grime. Gently wipe this down with a damp cloth during your regular cleaning. Ensure it's dry afterward so it continues to form a good seal.
By incorporating these small habits, you'll find that your toaster oven stays cleaner for longer, and future grease removal tasks become much less daunting.
Common Mistakes to Avoid When Cleaning Greasy Toaster Ovens
Even with the best intentions, it's easy to make mistakes when tackling a greasy toaster oven. These errors can range from ineffective cleaning to actual damage to the appliance. Understanding these pitfalls can save you time and prevent frustration.
- Using Harsh Chemicals: Avoid abrasive cleaners like oven cleaner sprays, steel wool, or scouring pads. These can scratch the interior surfaces, damage non-stick coatings, and leave behind fumes that can affect your food. Aggressive scrubbing can also damage delicate components.
- Soaking Electrical Components: Never allow water to pool around electrical parts or heating elements. Always wring out cloths and sponges thoroughly. If water seeps into the wrong place, it can cause short circuits or irreparable damage.
- Not Drying Thoroughly: Leaving moisture inside the oven, especially after using vinegar, can lead to unpleasant odors when you next turn it on. Ensure all surfaces, nooks, and crannies are completely dry before reassembling or plugging it back in.
- Ignoring the Manual: While these general methods work for most toaster ovens, specific models might have unique cleaning instructions or warnings. Always refer to your appliance's user manual for model-specific guidance. Manufacturer specifications often detail materials that should not be cleaned with certain agents.
Frequently Asked Questions About Toaster Oven Cleaning
How often should I clean my toaster oven?
It's best to do a quick wipe-down of spills after each use and clean the crumb tray regularly, perhaps every few uses. A more thorough cleaning, addressing grease buildup, should ideally be done once a month, or more frequently if you use your toaster oven heavily or cook greasy foods often.
Can I use a magic eraser on my toaster oven?
Magic Erasers are a melamine foam that acts as a very fine abrasive. Use them with extreme caution inside a toaster oven. Always test in an inconspicuous spot first and apply very light pressure, as they can potentially dull or scratch certain interior finishes over time.
What's the best way to clean the glass door?
For the glass door, start with warm, soapy water. If that doesn't remove baked-on grease, a paste of baking soda and water, left to sit for a few minutes, can be effective. Gently scrub with a soft cloth or sponge, then rinse thoroughly with a damp cloth and dry completely to avoid streaks.
Can I use my blender cleaning techniques on a toaster oven?
While some principles overlap, like using soap and water, the methods are quite different. Blender blades require specific cleaning to avoid damage, often involving disassembly. Toaster ovens are more about surface cleaning and avoiding electrical components, as detailed in guides like how to clean a blender.
Is it safe to use vinegar and baking soda together?
Yes, it is safe and effective to use vinegar and baking soda. While they react and fizz when mixed, this reaction can help loosen grease. For cleaning, it's often best to use them sequentially: apply baking soda paste, clean, then follow with a vinegar rinse for extra degreasing power.
Avoid mixing large quantities of both directly, as the immediate foaming reaction can be vigorous.