How to Clean a Blender
If you've ever wondered how to clean a blender effectively after tackling sticky smoothies or chunky sauces, you're in the right place. Getting your blender clean quickly prevents dried-on food from becoming a stubborn mess. Proper cleaning ensures your appliance stays hygienic and performs at its best for years to come.
Manufacturer specifications often indicate that regular cleaning is key to extending an appliance's lifespan. This guide will walk you through simple, research-backed methods, from immediate rinses to tackling tough residue, ensuring your blender is always ready for its next use.
Quick Answer
Clean your blender immediately after use with warm water and dish soap. Blend for 30 seconds to a minute, then rinse thoroughly. For tougher jobs, baking soda paste or a vinegar soak can remove stains and odors.
Always unplug the base before cleaning it with a damp cloth.
Why Cleaning Your Blender ASAP is Your Best Move
The biggest mistake most people make with their blender is letting it sit. That smoothie you made at 7 AM can harden into a concrete-like substance by noon. When food particles dry and adhere to the blender jar and blades, they become significantly harder to remove.
This isn't just about aesthetics; sticky residue can harbor bacteria, which is a genuine hygiene concern. A quick rinse, done within minutes of finishing your blend, makes subsequent cleaning incredibly simple. It prevents the need for harsh scrubbing, which can potentially damage the jar or blades over time.
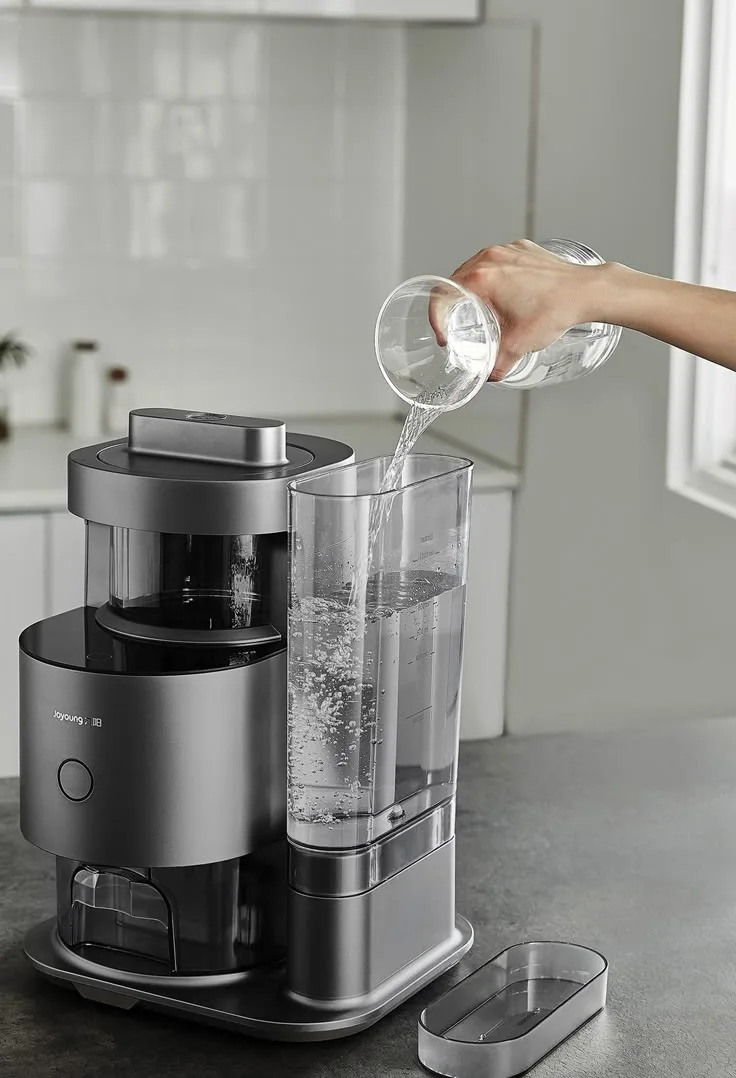
The Speed Clean Method: Get It Done in Minutes
This is the most effective and surprisingly simple way to clean most blenders. It leverages the blender's own power to do the dirty work for you.
How the Water and Soap Trick Works
The basic idea here is to use the blender's blades and motor to create a powerful cleaning action. You're essentially creating a mini-dishwasher cycle inside the jar.
- Rinse First: As soon as you've poured out your drink, empty the blender jar of any large chunks.
- Add Warm Water: Fill the jar about halfway with warm water. Hot water is usually best, as it helps to break down grease and residue more effectively.
- A Drop of Dish Soap: Add just one or two drops of your regular liquid dish soap. You don't need a lot; too much soap can create excessive suds and be difficult to rinse out completely, potentially leaving a soapy taste in your next smoothie.
- Secure the Lid: Make sure the lid is on tightly.
- Blend: Run the blender on a medium speed for about 30 to 60 seconds. You'll see the water churn and create suds, which lift and loosen any remaining food particles.

Rinsing Until It's Crystal Clear
After the initial soap blend, it's crucial to remove all traces of soap and loosened debris.
- Discard Soapy Water: Pour the soapy water down the drain.
- Rinse with Clean Water: Fill the blender jar with fresh, clean water (again, warm is good).
- Blend Again: Secure the lid and blend for another 30 seconds.
- Repeat if Necessary: Inspect the jar. If you still see suds or feel any grittiness, empty the water and repeat the clean water blending step. Most of the time, two rinses are sufficient.
- Air Dry: Empty the jar and place it upside down on a drying rack or a clean dishtowel. This allows air to circulate and ensures it dries thoroughly, preventing mildew.
This method is particularly effective for fruits, vegetables, and liquid-based recipes. For thicker concoctions, you might need to move on to more intensive cleaning.
Tackling Tougher Stains and Smells
Sometimes, even the speed clean method isn't enough. Certain ingredients, like berries or turmeric, can leave stubborn stains, while others might leave an unwelcome lingering odor. Luckily, common household ingredients can come to the rescue.
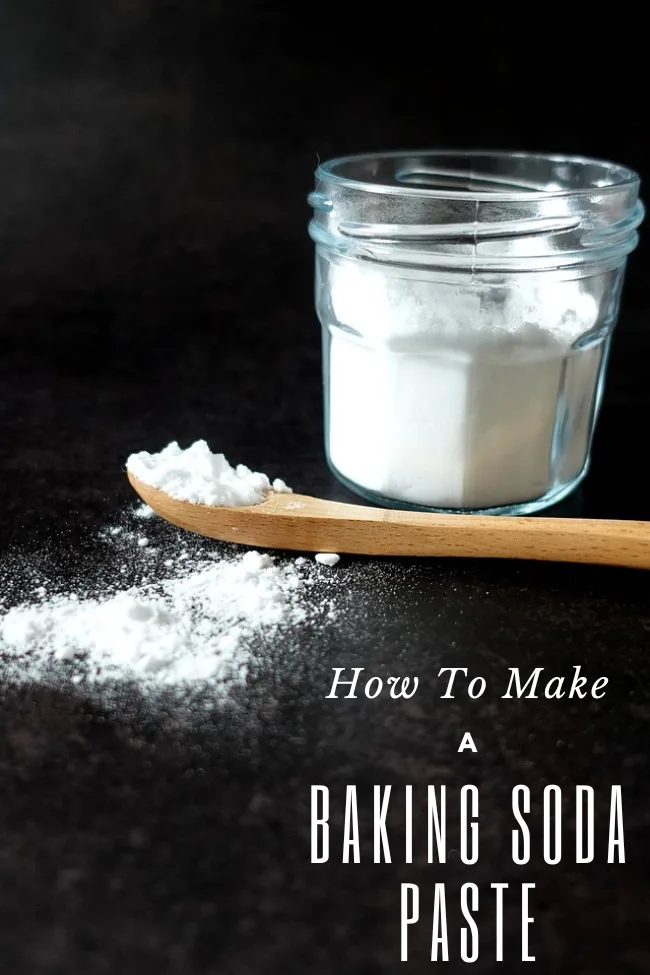
Baking Soda for Stubborn Spots
Baking soda is a mild abrasive and a natural deodorizer, making it perfect for tackling those sticky, dried-on bits that cling to the blender jar.
- Make a Paste: Mix about two tablespoons of baking soda with a small amount of water until you form a thick paste. You want it to be spreadable but not watery.
- Apply to Stains: Use a spoon or a soft cloth to apply the paste directly to any stained or residue-covered areas inside the blender jar.
- Let It Sit: Allow the paste to sit on the stains for at least 10 to 15 minutes. For tougher spots, you can leave it for up to an hour.
- Scrub Gently: Use a soft sponge or a non-abrasive cloth to gently scrub the paste and the loosened residue. Avoid using steel wool or harsh brushes, as they can scratch the plastic.
- Rinse Thoroughly: Once you've scrubbed away the residue, rinse the blender jar thoroughly with warm water. Run the speed clean cycle again if needed to ensure all baking soda is removed.
Vinegar's Power Against Odors
If your blender has developed an unpleasant smell, white vinegar is your best bet for neutralizing it. It's also effective at breaking down mineral deposits and light discoloration.
- Fill with Vinegar: Pour about a cup of white vinegar into the blender jar. You can add a little water if you want to dilute it slightly, but undiluted vinegar is generally more potent for odor removal.
- Soak: Let the vinegar sit in the jar for at least an hour. For persistent odors, you can leave it overnight.
- Discard and Rinse: Pour out the vinegar and rinse the jar very well with clean water.
- Speed Clean to Finish: Run the speed clean cycle with just water to remove any lingering vinegar scent.
Note: While baking soda and vinegar can be used together for cleaning, their reaction creates a fizzing foam. For stained areas, applying baking soda paste first, rinsing, and then using a vinegar soak (or vice versa) is often more controlled and effective than mixing them directly.
Don't Forget the Details: Lid and Base
The blender jar is usually the main focus, but the lid and base also need regular attention to keep your appliance hygienic and functioning correctly.
Cleaning the Blender Lid and Seals
The blender lid often has small grooves or rubber seals where ingredients can get trapped. These areas are prime spots for bacteria growth if not cleaned properly.
- Washing by Hand: Most blender lids can be safely washed in warm, soapy water. Use a soft sponge or a cloth.
- Getting into Grooves: For hard-to-reach areas or around the rubber seal, an old toothbrush or a small detail brush works wonders. Gently scrub these spots to dislodge any food particles.
- Rinsing: Rinse the lid thoroughly under running water to remove all soap residue.
- Drying: Allow the lid to air dry completely before reattaching it to the jar. Pay special attention to the seal to ensure no moisture is trapped.
Some blender lids might be top-rack dishwasher safe, but it's always best to check your blender's user manual to confirm. Putting a lid in the dishwasher that isn't designed for it could lead to warping or damage.
Wiping Down the Blender Base
The blender base houses the motor and electronics, so it should never be submerged in water. Cleaning the base is typically straightforward.
- Unplug First: Crucially, always unplug the blender from the power outlet before cleaning the base. This is a critical safety step.
- Damp Cloth: Use a damp (not soaking wet) cloth to wipe down the exterior of the base.
- For Stuck-On Messes: If there are dried spills or grime on the base, you can use a cloth lightly dampened with warm, soapy water.
- Wipe Clean: Follow up with a clean, damp cloth to remove any soap residue.
- Dry Thoroughly: Ensure the base is completely dry before plugging it back in or storing it.
Pay attention to the area where the blender jar connects to the base, as small drips can sometimes accumulate there.
Handling the Blade Assembly Safely
The blade assembly is the heart of your blender, but it's also the most dangerous part to clean. Blades are incredibly sharp, and carelessness can lead to serious cuts.
When and How to Clean Blades
Manufacturer specifications often suggest cleaning the blade assembly immediately after use to prevent food from hardening on the sharp edges.
- For Fixed Blades: If your blender's blade assembly is fixed and cannot be removed, the speed clean method is usually your best bet. You can also use a long-handled bottle brush to carefully reach around the blades, being mindful of their sharpness.
- For Removable Blades: If your blender model allows for the removal of the blade assembly (usually by unscrewing it from the bottom of the jar), this makes cleaning much easier and more thorough.
- Carefully Remove: With the blender jar upside down, grip the jar firmly and carefully unscrew the blade assembly. Be extremely cautious, as the blades are very sharp.
- Wash in Warm Soapy Water: Wash the assembly under warm running water with a drop of dish soap.
- Use a Brush: A small brush, like an old toothbrush or a specialized blade brush, can help clean around and between the individual blades.
- Rinse Thoroughly: Rinse all soap and debris away.
- Dry Completely: Ensure the blades and assembly are thoroughly dried before reassembling. Trapped moisture can lead to rust over time.
Blade Safety Precautions
Safety is paramount when dealing with blender blades.
- Always Unplug: If you are cleaning the base or dealing with the blade assembly itself, always ensure the blender is unplugged from the power source.
- Handle with Care: When washing removable blades, hold the assembly by the plastic or metal part you unscrew, never by the blades themselves.
- Direction Matters: Always be aware of the blade's orientation. Never sweep your hand across them.
- Child Safety: Keep children away from the blender and its components when cleaning. The sharp blades pose a significant risk.
- Check Your Manual: Always refer to your blender's user manual for specific instructions on how to safely remove and clean the blade assembly for your particular model. Some manufacturers advise against removing the blades to prevent damage or injury.
Your Blender Cleaning Checklist
To make sure you’re always on top of your blender’s cleanliness, here’s a simple checklist to keep handy. It covers the essential steps for both daily maintenance and deeper cleaning.
- After Each Use:
- Perform an immediate rinse of the blender jar with warm water.
- For Regular Cleaning (Daily/Every Few Uses):
- Use the speed clean method: warm water, one drop of dish soap, blend for 30-60 seconds.
- Rinse thoroughly with clean water, blending again to remove all soap.
- Allow the blender jar to air dry completely, preferably upside down.
- For Tough Stains or Odors:
- Apply a baking soda paste to stained areas and let sit.
- Use a soft sponge to gently scrub away residue.
- For odors, soak the jar with white vinegar for an hour or more.
- Rinse thoroughly after using baking soda or vinegar.
- For Lids and Bases:
- Wash lids by hand in warm, soapy water, paying attention to seals and grooves.
- Wipe down the blender base with a damp cloth after unplugging it.
- For Blades:
- If removable, carefully detach and wash in warm, soapy water with a brush.
- Always handle blades with extreme caution.
- Ensure all parts are completely dry before reassembly.
Following these steps consistently will ensure your blender remains hygienic, functions efficiently, and lasts longer. It's about making appliance care a simple, routine part of your kitchen habits.
Frequently Asked Questions About Blender Cleaning
How long does it typically take to clean a blender?
Cleaning a blender can take anywhere from 30 seconds for a quick rinse to about 5-10 minutes for a more thorough wash with baking soda or vinegar. The speed clean method, which is most common, usually takes less than two minutes from start to finish.
Can I put my blender jar in the dishwasher?
Many blender jars are dishwasher-safe, but it's essential to check your specific blender's user manual. Some materials or designs might not withstand the high heat or harsh detergents of a dishwasher, potentially leading to damage or cloudiness over time. Always confirm with the manufacturer's instructions.
How often should I deep clean my blender?
A deep clean, involving methods like using baking soda or vinegar, is generally recommended when you notice persistent stains, odors, or residue that the quick clean method can't handle. This might be once a week or once a month, depending on how frequently you use your blender and what ingredients you typically process.
What should I do if my blender still smells after cleaning?
If odors persist after cleaning, try a longer soak with white vinegar. Ensure you are rinsing thoroughly afterward. Sometimes, repeated use of strongly scented ingredients can embed odors that require several cleaning cycles to fully eliminate.
If the smell is chemical or acrid, it might indicate an issue with the motor or a component, and you may need to contact the manufacturer.



One Comment