How to Crush Ice in a Blender
Figuring out how to crush ice in a blender can be the difference between a perfect frosty drink and a strained motor. Many people think it’s as simple as adding ice and hitting a button, but that can often lead to disappointing results or worse, damage to your appliance. Getting this right ensures your blended beverages are smooth, cold, and delicious every time.
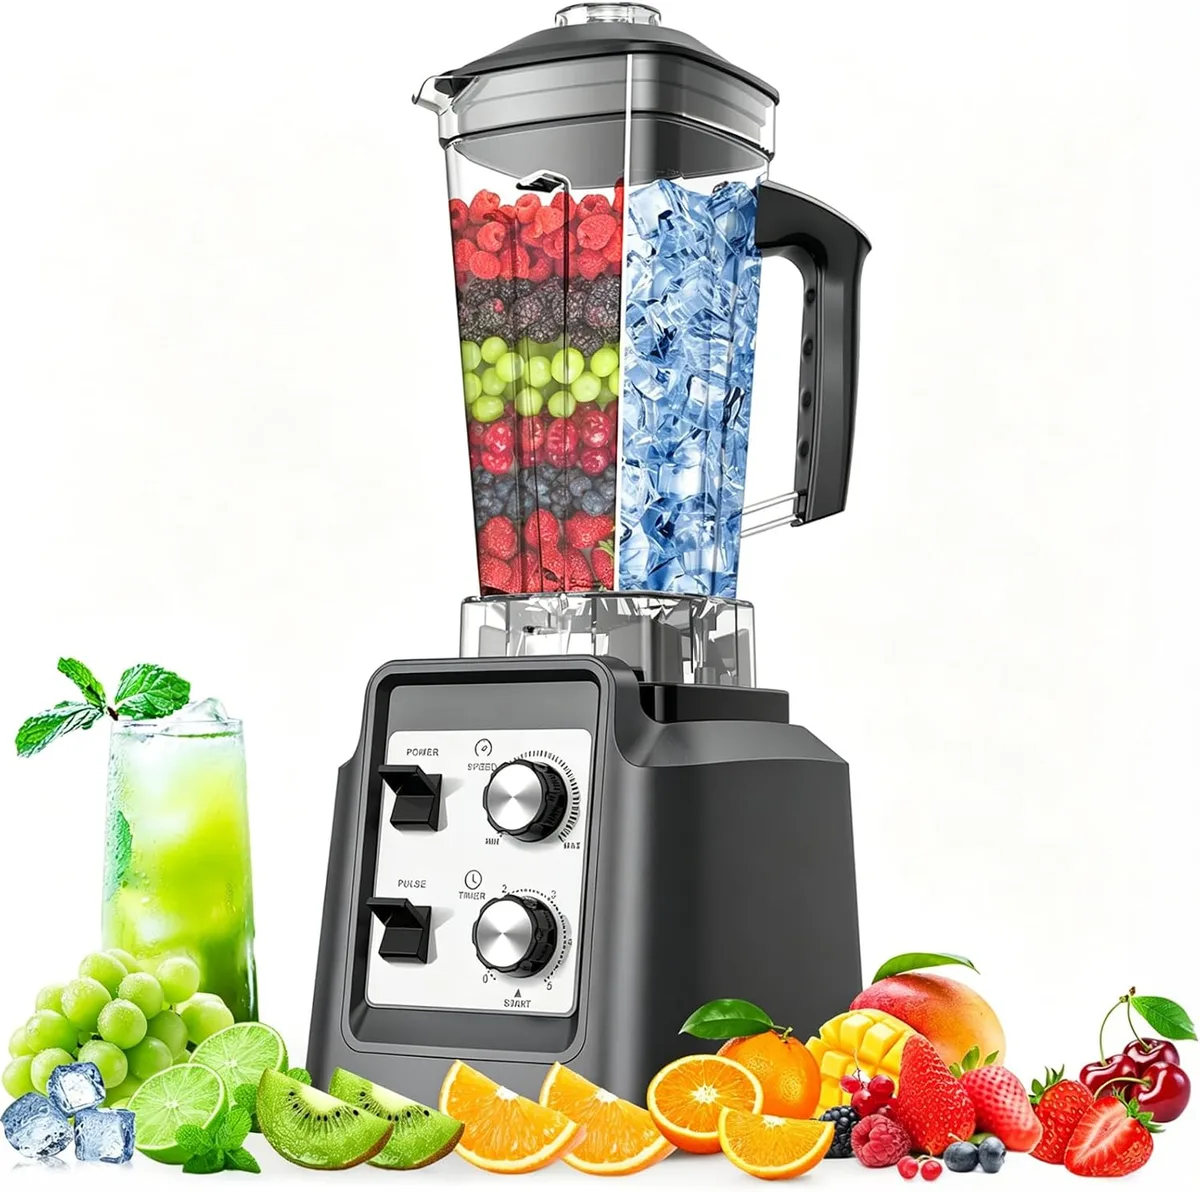
Image source: Bing (Web (fair-use with source credit))
Our research indicates that even high-powered blenders can struggle if not used correctly for ice. Understanding the right techniques, like adding liquid and using specific settings, is crucial. Manufacturer specifications for many blenders, for example, often recommend filling the carafe no more than one-third full with ice to prevent motor strain.
Quick Answer
To crush ice in a blender, add a small amount of liquid, fill the blender only about one-third full with ice, and start on a low speed or use the pulse function. Gradually increase speed once the ice breaks down. Avoid overfilling and blending ice-only mixtures.
Understanding Your Ice and Blender
Before you even think about pressing "start," it's helpful to know what you're working with. Not all ice is created equal when it comes to blending, and neither are blenders. Understanding these basics can save you a lot of frustration and potential repair costs.
The Ice You're Working With
The type of ice you use can significantly impact your blender's performance. Standard ice cubes from trays are often dense and large, requiring more power to break down. Ice made in your refrigerator's ice dispenser is usually a bit smaller and more irregular, making it easier to crush.
If you're aiming for the finest texture, pre-crushed ice from a store is already halfway there, but it’s often more expensive. For the best results at home, consider the size and density of your ice.
Blender Basics: Motor, Blades, and Ice Duty
Your blender's motor and blade assembly are the workhorses when it comes to crushing ice. High-powered blenders, often boasting motors of 1000 watts or more, are designed with tougher blades and more robust systems to handle tasks like ice crushing. However, even these can be pushed too hard.
Basic blenders, with less powerful motors, are more prone to overheating or damage if used for prolonged ice blending. Knowing your blender's capabilities, often detailed in its user manual, is key.
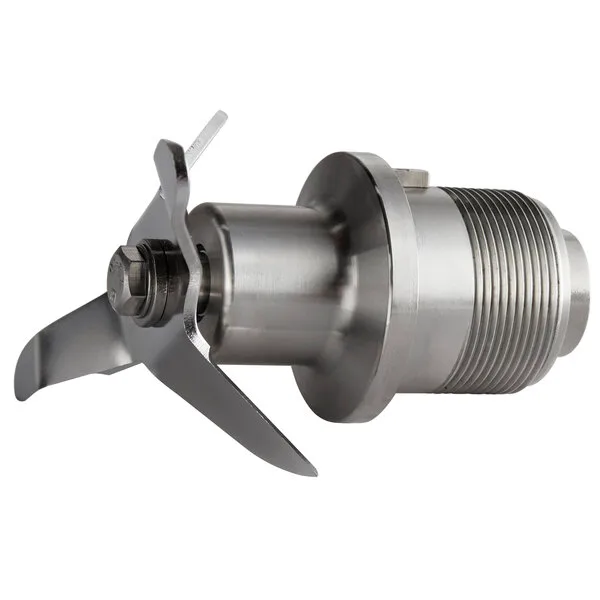
Image source: Bing (Web (fair-use with source credit))
The Right Way to Crush Ice: A Visual Step-by-Step
Crushing ice effectively in a blender isn't about brute force; it's about technique. This process focuses on making it as easy as possible for your blender's blades to do their job, resulting in a smooth texture without overworking the motor. Visual cues are important here, showing you when the ice is breaking down correctly and when your blender might be struggling.
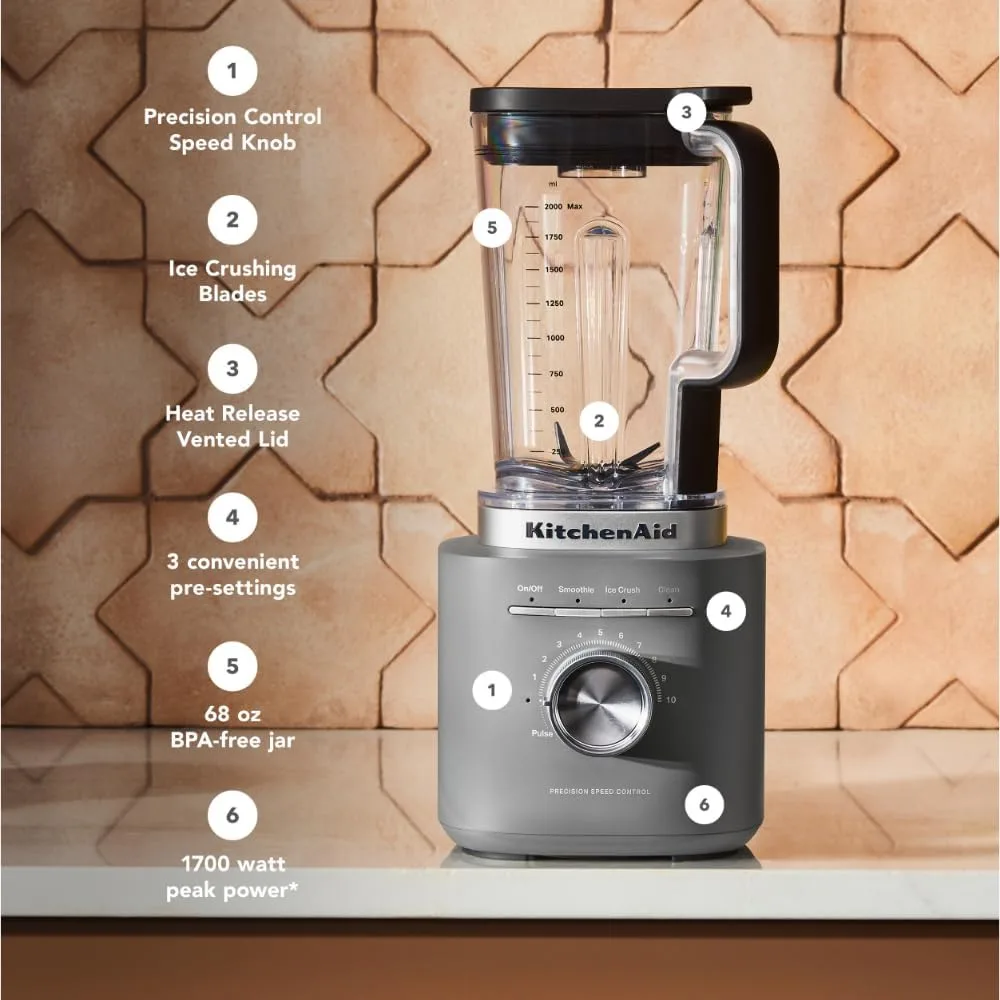
Image source: Bing (Web (fair-use with source credit))
Step 1: Prep Your Blender (Don't Just Dump!)
The first step is to avoid simply piling ice into an empty blender. Instead, add a small amount of your chosen liquid first. This could be water, juice, or any other liquid base for your recipe.
Adding liquid helps the blades catch the ice more effectively and creates a slurry that makes the crushing process much smoother. You want to aim for filling the blender carafe about one-quarter to one-third full with ice at most. Overfilling is a primary reason blenders fail when crushing ice.
Step 2: Add Liquid – Your Blender's Best Friend
This is a critical step often overlooked. Adding liquid, anywhere from a quarter to a half cup, depending on your blender's capacity and recipe, before the ice helps lubricate the blades and the ice itself. This allows the ice to circulate more freely, making it easier for the blades to grab and break it down.
Without this lubrication, the blades can just spin on top of solid ice chunks, creating friction and potentially damaging the motor.
Step 3: Starting Low, Going High (and Pulsing)
Never start your blender on its highest setting when dealing with ice. Begin with a low speed or, even better, use the "pulse" function if your blender has one. Pulse by pressing and releasing the button in short bursts.
This strategy breaks down larger ice chunks into smaller pieces without putting excessive strain on the motor. Once the ice starts to break up and you see a slushy consistency, you can gradually increase the speed to achieve your desired texture.
Step 4: Knowing When It's Done (Listen and Look!)
Pay attention to the sound and visual cues from your blender. A well-functioning ice crush will sound like a consistent, whirring blend, perhaps with some clatter as the ice breaks. If you hear a strained grinding or a high-pitched whine, that's your cue to stop immediately.
Visually, you're aiming for a snow-like or finely crushed consistency, not necessarily a powder. Over-blending can melt the ice, turning your desired frosty drink into a watery disappointment.
Common Mistakes That Hurt Your Blender (and Your Drink)
Many users unintentionally shorten their blender's lifespan or ruin their recipes by making a few common errors when tackling ice. Understanding these pitfalls can save you from costly repairs and disappointing beverages. It’s less about complex mechanics and more about simple, practical execution.
Overfilling is a No-Go
The most frequent mistake people make is packing the blender carafe too full of ice. Blenders are designed to process ingredients in batches, allowing them space to move. When crammed with ice, the blades can’t effectively grab and chop, leading to the motor struggling to turn.
Per manufacturer guidelines for many mid-range blenders, filling the container more than one-third with ice can lead to overheating and reduced motor efficiency.
Ice-Only Blending: A Recipe for Disaster
One of the biggest errors is trying to crush ice without any liquid. Ice cubes are hard and dense; without liquid to help them circulate, the blades can’t get a good grip. This results in the motor working overtime, generating excess heat and potentially burning out.
Aggregate reviews report that blenders designed for ice crushing still perform best with at least a small amount of liquid to aid circulation and cooling.
Ignoring the Sounds of Strain
Your blender will often tell you when it's in trouble. A strained grinding sound, a high-pitched motor whine, or even a burning smell are clear indicators that the motor is overheating or jamming. Continuing to blend in these conditions can cause permanent damage.
It’s better to stop, scrape down the sides, add a touch more liquid if needed, and restart in short pulses rather than pushing the appliance to its breaking point.
Blender Crushing vs. Other Methods
While blenders are convenient, they aren't always the only, or best, way to get crushed ice. Depending on your needs and equipment, other methods can be just as effective, and sometimes even safer for your blender. Exploring these alternatives can be particularly useful if you have a less powerful blender or only need a small amount of crushed ice.
Manual Crushers and the Bag-and-Mallet Hack
For a few drinks, a manual ice crusher is a great, low-tech option. These typically involve a hopper where you add ice and a crank to turn a mechanism that breaks it down. They’re simple, require no electricity, and won't overheat.
Another effective DIY method involves placing ice cubes in a sturdy zip-top bag (consider double-bagging to prevent leaks), laying it on a stable surface, and using a rolling pin or mallet to bash the ice into smaller pieces. This is great for controlling the size of your crushed ice.
When to Skip the Blender Altogether
If you have a very basic blender with a low-wattage motor, it's often wise to avoid crushing ice altogether. Blenders designed for everyday tasks, rather than heavy-duty blending, are not built to withstand the strain. For these models, purchasing pre-crushed ice from the grocery store or using one of the manual methods described above is a safer bet.
Investing in a dedicated ice crusher or using the bag-and-mallet technique ensures your everyday blender remains in good working order for its intended purposes.
Crushing Ice for Perfect Drinks: Real-World Use
Getting crushed ice right is all about achieving the perfect texture for your favorite cold beverages. It's not just for fancy cocktails; it can elevate simple drinks too. The goal is often a slushy, snow-like consistency rather than chunky ice, which is where proper technique truly shines.
This ensures your drink is consistently cold and well-blended.
Smoothies and Frozen Coffee
For smoothies, finely crushed ice is essential for that smooth, creamy texture that blends seamlessly with fruits and yogurts. If your ice is too chunky, you'll end up with unpleasant ice bits in your drink. Similarly, for blended iced coffees or frappes, the ice needs to be finely processed to create that signature frozen beverage feel without the blender straining.
For these applications, the fine crush from a capable blender is ideal.
Cocktails and Slushies
Many classic cocktails, like the Mojito or a classic Daiquiri, rely on crushed ice to dilute just enough to chill and blend flavors without becoming watery. It creates a different mouthfeel and drinking experience than large cubes. Similarly, homemade slushies or frozen lemonades benefit immensely from finely crushed ice, which helps achieve that icy, consistent texture that’s refreshing on a hot day.
For these uses, the ability to crush ice effectively is paramount.
Keeping Your Blender Happy: Maintenance and Care
Proper care ensures your blender continues to perform well, especially when you ask it to handle tasks like crushing ice. Treating your appliance with respect means understanding its limits and performing regular maintenance. This extends its lifespan and guarantees consistent results.
After You Crush Ice
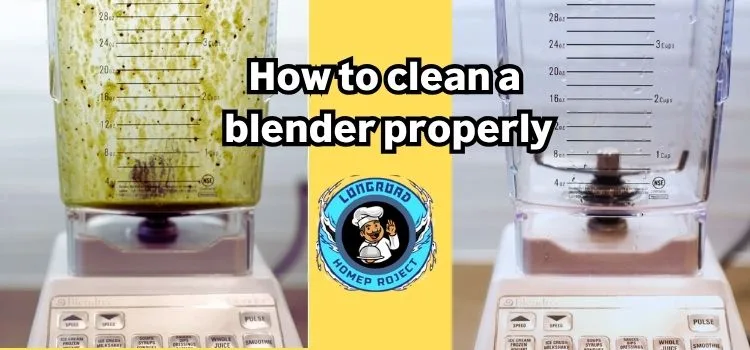
Once you've finished crushing ice, it's crucial to clean your blender promptly. Leftover ice particles and moisture can lead to residue buildup or even odors if not addressed. Most blender carafes can be cleaned by adding warm water and a drop of dish soap, then running the blender on a low setting for 30 seconds.
Rinse thoroughly and allow it to air dry completely before storing. Regularly inspecting the blades for any signs of dulling or damage can also help preemptively address issues before they impact performance.
Frequently Asked Questions About Blending Ice
Can I just put ice in my blender and blend it?
No, it's not recommended. Always add some liquid, fill the blender sparingly with ice (about one-third full), and start on a low speed or pulse function to avoid straining the motor.
What if my blender sounds like it's struggling?
If you hear grinding or a high-pitched whine, stop the blender immediately. This indicates the motor is overworked or the ice is jammed. Try to break up the ice or add a bit more liquid before restarting.
How much ice can I crush at once?
It's best to crush ice in small batches, filling the blender only about one-third full. This prevents overheating and ensures more even crushing.
What kind of blender is best for crushing ice?
High-powered blenders with motors of 1000 watts or more, featuring robust blades and often specific ice-crushing settings, are generally best suited for this task.
How do I clean my blender after crushing ice?
After use, add warm water and a drop of dish soap to the carafe, run the blender briefly, then rinse thoroughly. Ensure it dries completely before storage.