How To Use A Brake Bleeder Kit: Easy Step-By-Step Guide
Most brake bleeders make brake fluid changes easier by helping remove trapped air fast and cleanly.
If you have ever dealt with a spongy brake pedal, you already know how important proper brake bleeding is. A brake bleeder kit can save time, reduce mess, and help you get a firmer pedal with less guesswork. In this guide, I’ll walk you through how to use a brake bleeder kit the right way, what tools you need, and the common mistakes that can turn a simple job into a frustrating one.
What a brake bleeder kit does
A brake bleeder kit helps you remove air and old fluid from your brake lines. Air in the system compresses, while brake fluid does not, so even a little trapped air can make the pedal feel soft or uneven.
Most kits work by creating pressure, vacuum, or gravity flow. That lets fresh fluid move through the system and pushes air out through the bleeder screw at each wheel. When used correctly, a brake bleeder kit can make the whole job much smoother than the old two-person pedal-pumping method.
Types of brake bleeder kits
Before you use a brake bleeder kit, it helps to know which type you have. The process changes a little depending on the kit design.
Manual vacuum bleeder kit
This type uses a hand pump to pull fluid through the brake line. It is common, affordable, and good for DIY jobs.
Pressure bleeder kit
A pressure bleeder connects to the master cylinder reservoir and gently pressurizes the brake fluid system. This is often the cleanest and fastest method when you want steady fluid flow.
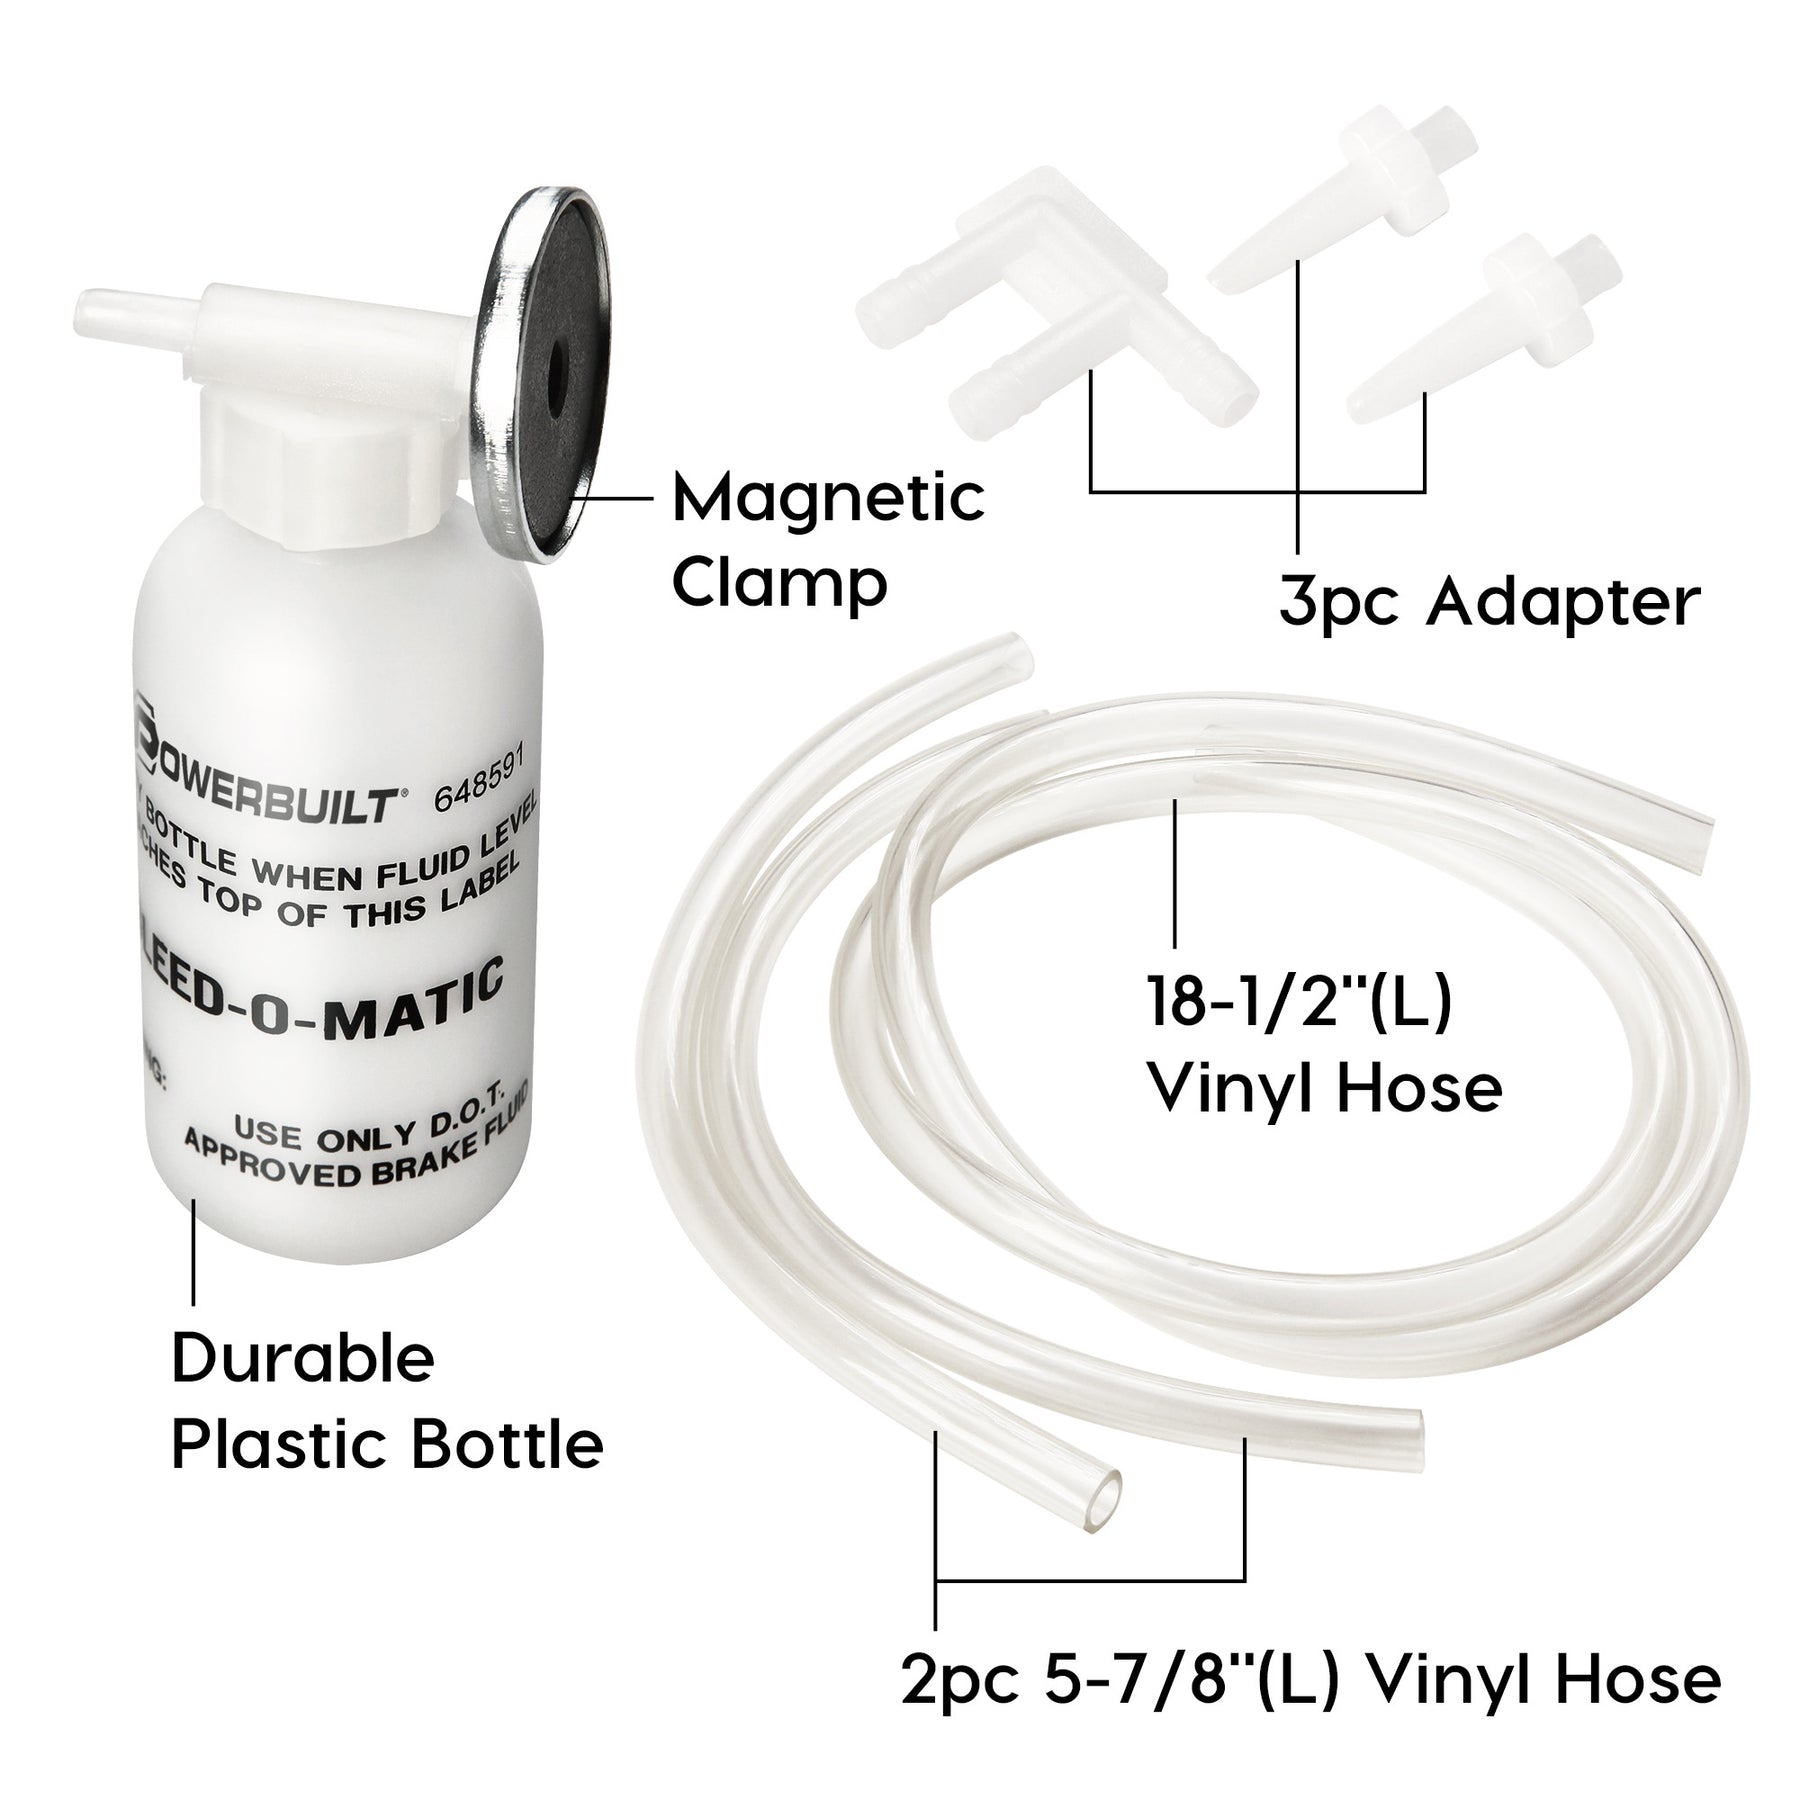
One-person bottle and hose kit
This basic kit uses a clear hose and catch bottle. It is simple and cheap, but you must keep an eye on fluid flow and reservoir level.
Reverse bleeder kit
A reverse bleeder pushes fresh fluid from the caliper or wheel cylinder back toward the master cylinder. It can work well for stubborn air pockets, especially in some ABS systems.
Tools and supplies you need
You will get better results if you gather everything first. That saves time and keeps the job safer and less messy.
Here is a basic checklist:
- Brake bleeder kit
- Fresh brake fluid that matches your vehicle specification
- Jack and jack stands
- Lug wrench
- Wrench for bleeder screws
- Clear catch bottle if your kit does not include one
- Safety glasses and gloves
- Shop towels or rags
- Torque wrench for wheel installation
Brake fluid absorbs moisture from the air, so always use a sealed, fresh container. Most passenger vehicles use DOT 3, DOT 4, or DOT 5.1 fluid, but you should always check the owner’s manual before adding anything.

How to use a brake bleeder kit step by step
Using a brake bleeder kit is not hard, but the order matters. If you rush or skip steps, you can pull more air into the system or spill brake fluid on painted surfaces.
1. Park the vehicle safely
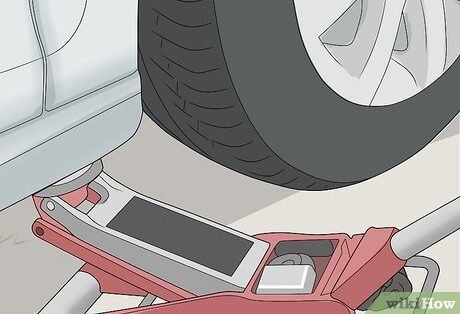
Set the parking brake and park on a flat surface. If you need to remove wheels, loosen the lug nuts first, then raise the car and support it with jack stands.
A stable car makes the job much safer. I have seen people try to rush this part, and it usually leads to stress later when the vehicle shifts or sits unevenly.
2. Check the brake fluid reservoir
Open the hood and locate the master cylinder reservoir. Clean the area around the cap before opening it, because dirt can fall into the system.
Fill the reservoir to the proper level with fresh brake fluid. During bleeding, keep checking the level so it never runs low. If it empties, air can enter the system and you may need to start over.
3. Start with the correct wheel
Most vehicles are bled from the wheel farthest from the master cylinder first, then move closer. A common order is:
- Right rear
- Left rear
- Right front
- Left front
That said, some vehicles have a different bleed sequence, especially certain ABS setups or vehicles with diagonal brake circuits. The owner’s manual or service info should always be your final guide.
4. Attach the brake bleeder kit
Connect the hose or fitting to the bleeder screw at the wheel you are working on. Make sure the connection is snug so you do not pull air through the threads.
If your kit uses a catch bottle, place the hose end below the fluid level in the bottle if the instructions call for it. That helps prevent air from being drawn back into the line.
5. Open the bleeder screw
Use the correct wrench and turn the bleeder screw slowly. Do not force it. Bleeder screws can snap or strip if they are rusty or over-tightened.
With a vacuum bleeder, fluid and air should begin moving into the hose. With a pressure bleeder, you should see a steady flow once the screw opens. Watch for bubbles at first, then a smooth stream.
6. Continue until the fluid runs clear
Keep bleeding that wheel until the fluid looks clean and bubble-free. Old brake fluid may look dark or dirty, so fresh fluid is a good sign that the line is being flushed.
This part takes patience. On some cars, I have needed several cycles before the stream looked truly clear, especially if the fluid had not been changed in years.
7. Close the bleeder screw
Before removing the hose, tighten the bleeder screw to the correct snug point. Do not overtighten it.
Then remove the hose and wipe the area clean. A little brake fluid left on the caliper can attract dirt and make future inspection harder.
8. Repeat on the remaining wheels
Move in the proper sequence and repeat the process. Keep checking the master cylinder reservoir after each wheel.
The biggest mistake I see is ignoring the fluid level halfway through. That one small oversight can undo all your work.
9. Test the brake pedal
Once all wheels are done, fill the reservoir to the correct line and reinstall the cap. Pump the brake pedal gently a few times with the engine off.
The pedal should feel firmer than before. If it still feels soft, you may still have air in the system, a leak, or a problem with the bleed sequence.
10. Inspect for leaks
Look at each bleeder screw, hose, and brake line fitting. If you see any wet spots, fix them before driving.
Brake fluid is corrosive to paint, so clean any spills right away with water and a safe shop towel. That small cleanup step can save a lot of trouble.
Best practices for using a brake bleeder kit
A brake bleeder kit works best when you combine the right tools with a careful method. Small habits make a big difference here.
Keep these tips in mind:
- Use the exact brake fluid required by your vehicle
- Keep the reservoir topped off the whole time
- Crack the bleeder screw only as much as needed
- Use a clear hose so you can see bubbles
- Work slowly and check each connection for air leaks
- Replace damaged bleeder screws if they are rounded or rusted
- Dispose of old brake fluid safely
One lesson I learned early was that clear hose matters more than people think. If you cannot see the bubbles, you are basically working blind.
Common mistakes to avoid
Even a good brake bleeder kit cannot fix a sloppy process. The most common errors are easy to prevent once you know what to watch for.
Letting the reservoir go empty
This is the biggest one. If the master cylinder runs dry, air gets pulled into the system and you may have to start over.
Using the wrong fluid
Brake fluid types are not all interchangeable. Mixing the wrong type can affect seals and braking performance.
Opening the bleeder screw too far
A wide-open screw can pull in extra air and make the process messy. A small opening is usually enough.
Ignoring rusty or damaged bleeders
If the screw is seized, forcing it may break it off. Penetrating oil, patience, or replacement may be the better choice.
Not following the correct bleed order
Bleeding in the wrong order can leave air trapped in the lines. Always verify the proper sequence for your vehicle.
How to know when the job is done
You are not done just because fluid came out of each wheel. You want signs that the system is fully bled and healthy.
Look for these indicators:
- Brake pedal feels firm and consistent
- No air bubbles appear in the hose
- Fluid at each wheel runs clean
- No leaks are visible
- Brake warning light stays off, if applicable
If the pedal still sinks or feels soft, there may be trapped air in the ABS module or a separate hydraulic issue. In that case, a scan tool or professional service may be needed.
Brake bleeding with ABS systems
ABS systems can make brake bleeding a little more complex. Some vehicles trap air in the ABS hydraulic unit, which may not clear with a basic bleed alone.
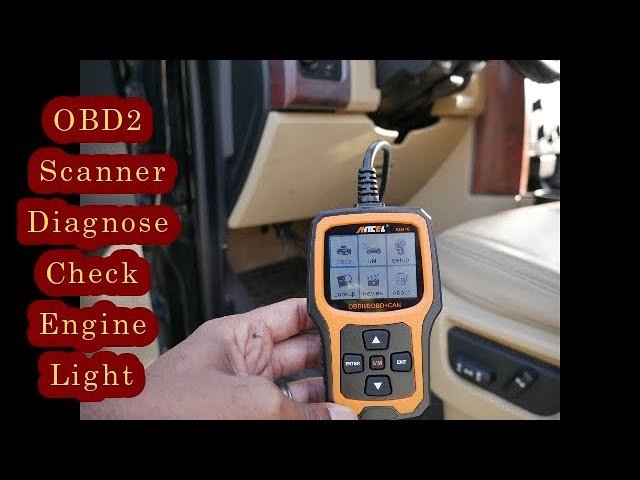
Many newer vehicles need a scan tool to activate ABS pump and valve cycles during bleeding. That is why it is smart to check the service procedure for your exact make and model before you begin.
If your car has ABS and the pedal still feels spongy after a normal bleed, do not assume the brake bleeder kit failed. The system may simply need a more advanced bleed process.
Safety tips that matter
Brake work is serious work, even if the process looks simple. Good safety habits keep both you and your car protected.
Follow these rules:
- Wear gloves and eye protection
- Keep brake fluid off paint
- Support the car with jack stands, not just a jack
- Never drive with a soft pedal
- Dispose of old fluid properly
- Keep pets and kids away from the work area
Brake fluid can damage paint quickly. I always keep a wet rag nearby and wipe spills right away, because waiting even a few minutes can leave permanent marks.
Benefits of using a brake bleeder kit
A brake bleeder kit offers more than convenience. It can help you do better brake maintenance with less stress.
Main benefits include:
- Faster brake fluid changes
- Less chance of missing trapped air
- Cleaner work compared with the two-person method
- Better control over fluid flow
- Useful for both routine maintenance and repairs
For DIY mechanics, that means more confidence and fewer do-overs. For everyday drivers, it means a safer brake pedal and better stopping feel.
When to replace brake fluid
Brake fluid does not last forever. Over time it absorbs moisture, which lowers performance and can lead to corrosion inside the system.
Many manufacturers recommend changing brake fluid every 2 to 3 years, but the exact interval depends on the vehicle and driving conditions. If the fluid looks dark, the pedal feels inconsistent, or the system has been opened for repairs, it is a good time to bleed and replace it.

Frequently Asked Questions of How to use a brake bleeder kit
How long does it take to use a brake bleeder kit?
Most basic jobs take about 30 to 90 minutes, depending on the vehicle and the type of kit. Rusty bleeder screws, ABS systems, or a full fluid flush can take longer.
Do I need two people to bleed brakes?
Not always. A brake bleeder kit is designed to let one person do the job more easily, especially with vacuum or pressure systems. That is one reason many DIY drivers prefer it.
Can I reuse old brake fluid?
No, you should not reuse old brake fluid. Once it has been exposed to moisture or dirt, it is no longer a good choice for your brake system.
Why is my brake pedal still soft after bleeding?
There may still be air in the lines, a leak, or air trapped in the ABS unit. In some cases, the bleed order or reservoir level may have caused the problem, so you may need to repeat the process carefully.
Which brake bleeder kit is best for beginners?
A simple vacuum bleeder or one-person hose-and-bottle kit is often easiest for beginners. A pressure bleeder can also work very well, but it helps to follow the instructions closely.
Can a brake bleeder kit damage my brakes?
Not when used correctly. Problems usually happen from over-pressurizing, forcing bleeder screws, or using the wrong fluid, not from the kit itself.
Conclusion
Using a brake bleeder kit is one of those skills that feels intimidating at first, then surprisingly manageable once you understand the steps. If you keep the reservoir full, follow the right bleed order, and work slowly, you can remove air and old fluid with much better results.
The real win is not just a cleaner job. It is the confidence that comes from knowing your brakes are firm, safe, and ready for the road. If you are planning your next brake service, take your time, use the right fluid, and follow the procedure carefully.
If this guide helped, explore more vehicle maintenance tips, and feel free to leave a comment with your own brake bleeding experience.