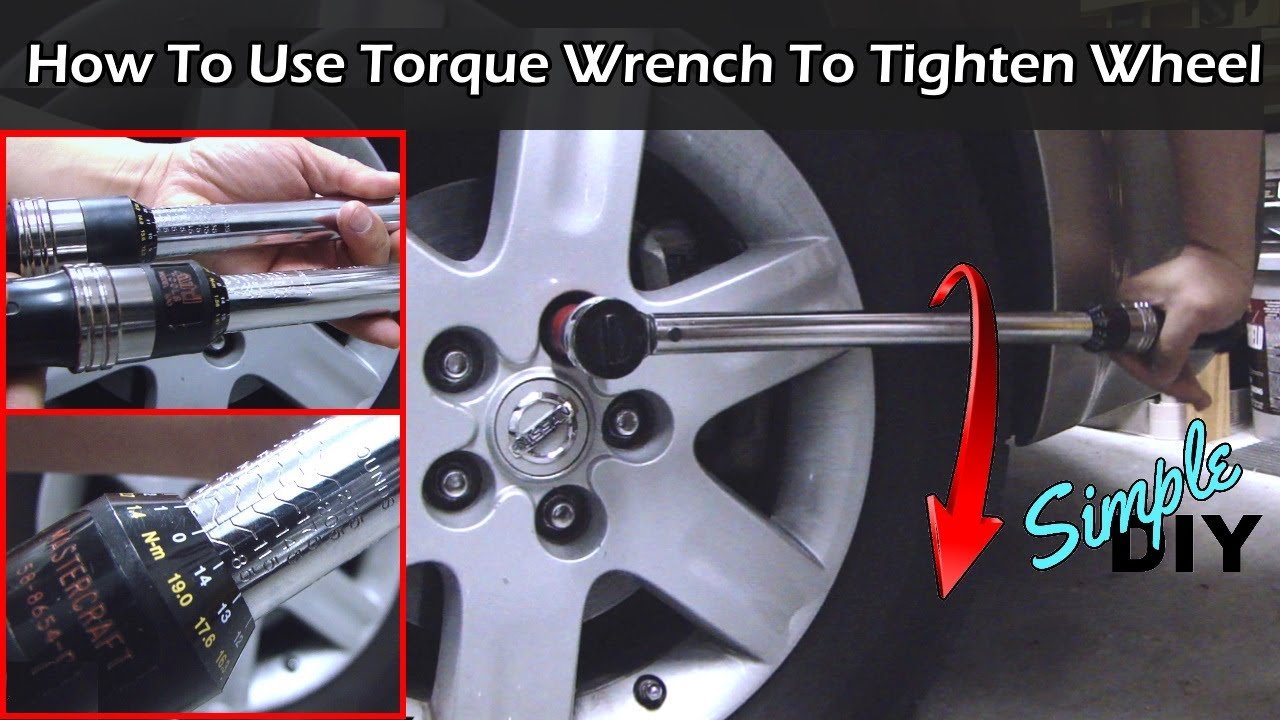
How To Use A Torque Wrench For Lug Nuts: Easy Guide
A torque wrench helps you tighten lug nuts to the correct spec, keeping wheels secure and damage-free.
If you have ever changed a tire and wondered whether “tight enough” was actually safe enough, you are not alone. Using a torque wrench for lug nuts is one of those small car-care skills that makes a big difference, because it protects your wheels, brake parts, and even your safety. I have seen plenty of over-tightened lug nuts ruin studs and warped rotors, and I have also seen loose ones cause wobble and noise. The good news is that learning how to use a torque wrench for lug nuts is simple once you know the right steps and the right number to aim for.
What a torque wrench does and why lug nut torque matters
A torque wrench is a tool that measures turning force. In plain English, it helps you tighten a bolt or nut to a set amount, not just “until it feels right.” That matters a lot for lug nuts because wheels need even clamping force.
If the torque is too low, the wheel can loosen over time. If it is too high, you can stretch studs, strip threads, distort brake rotors, or make future tire changes much harder. Many vehicle makers publish a specific torque spec for this reason, and it is the number you should trust over guesswork.
Using a torque wrench for lug nuts is also about consistency. Each lug nut should be tightened to the same spec so the wheel sits flat and secure. Think of it like tightening a jar lid evenly all the way around instead of crushing one side first.
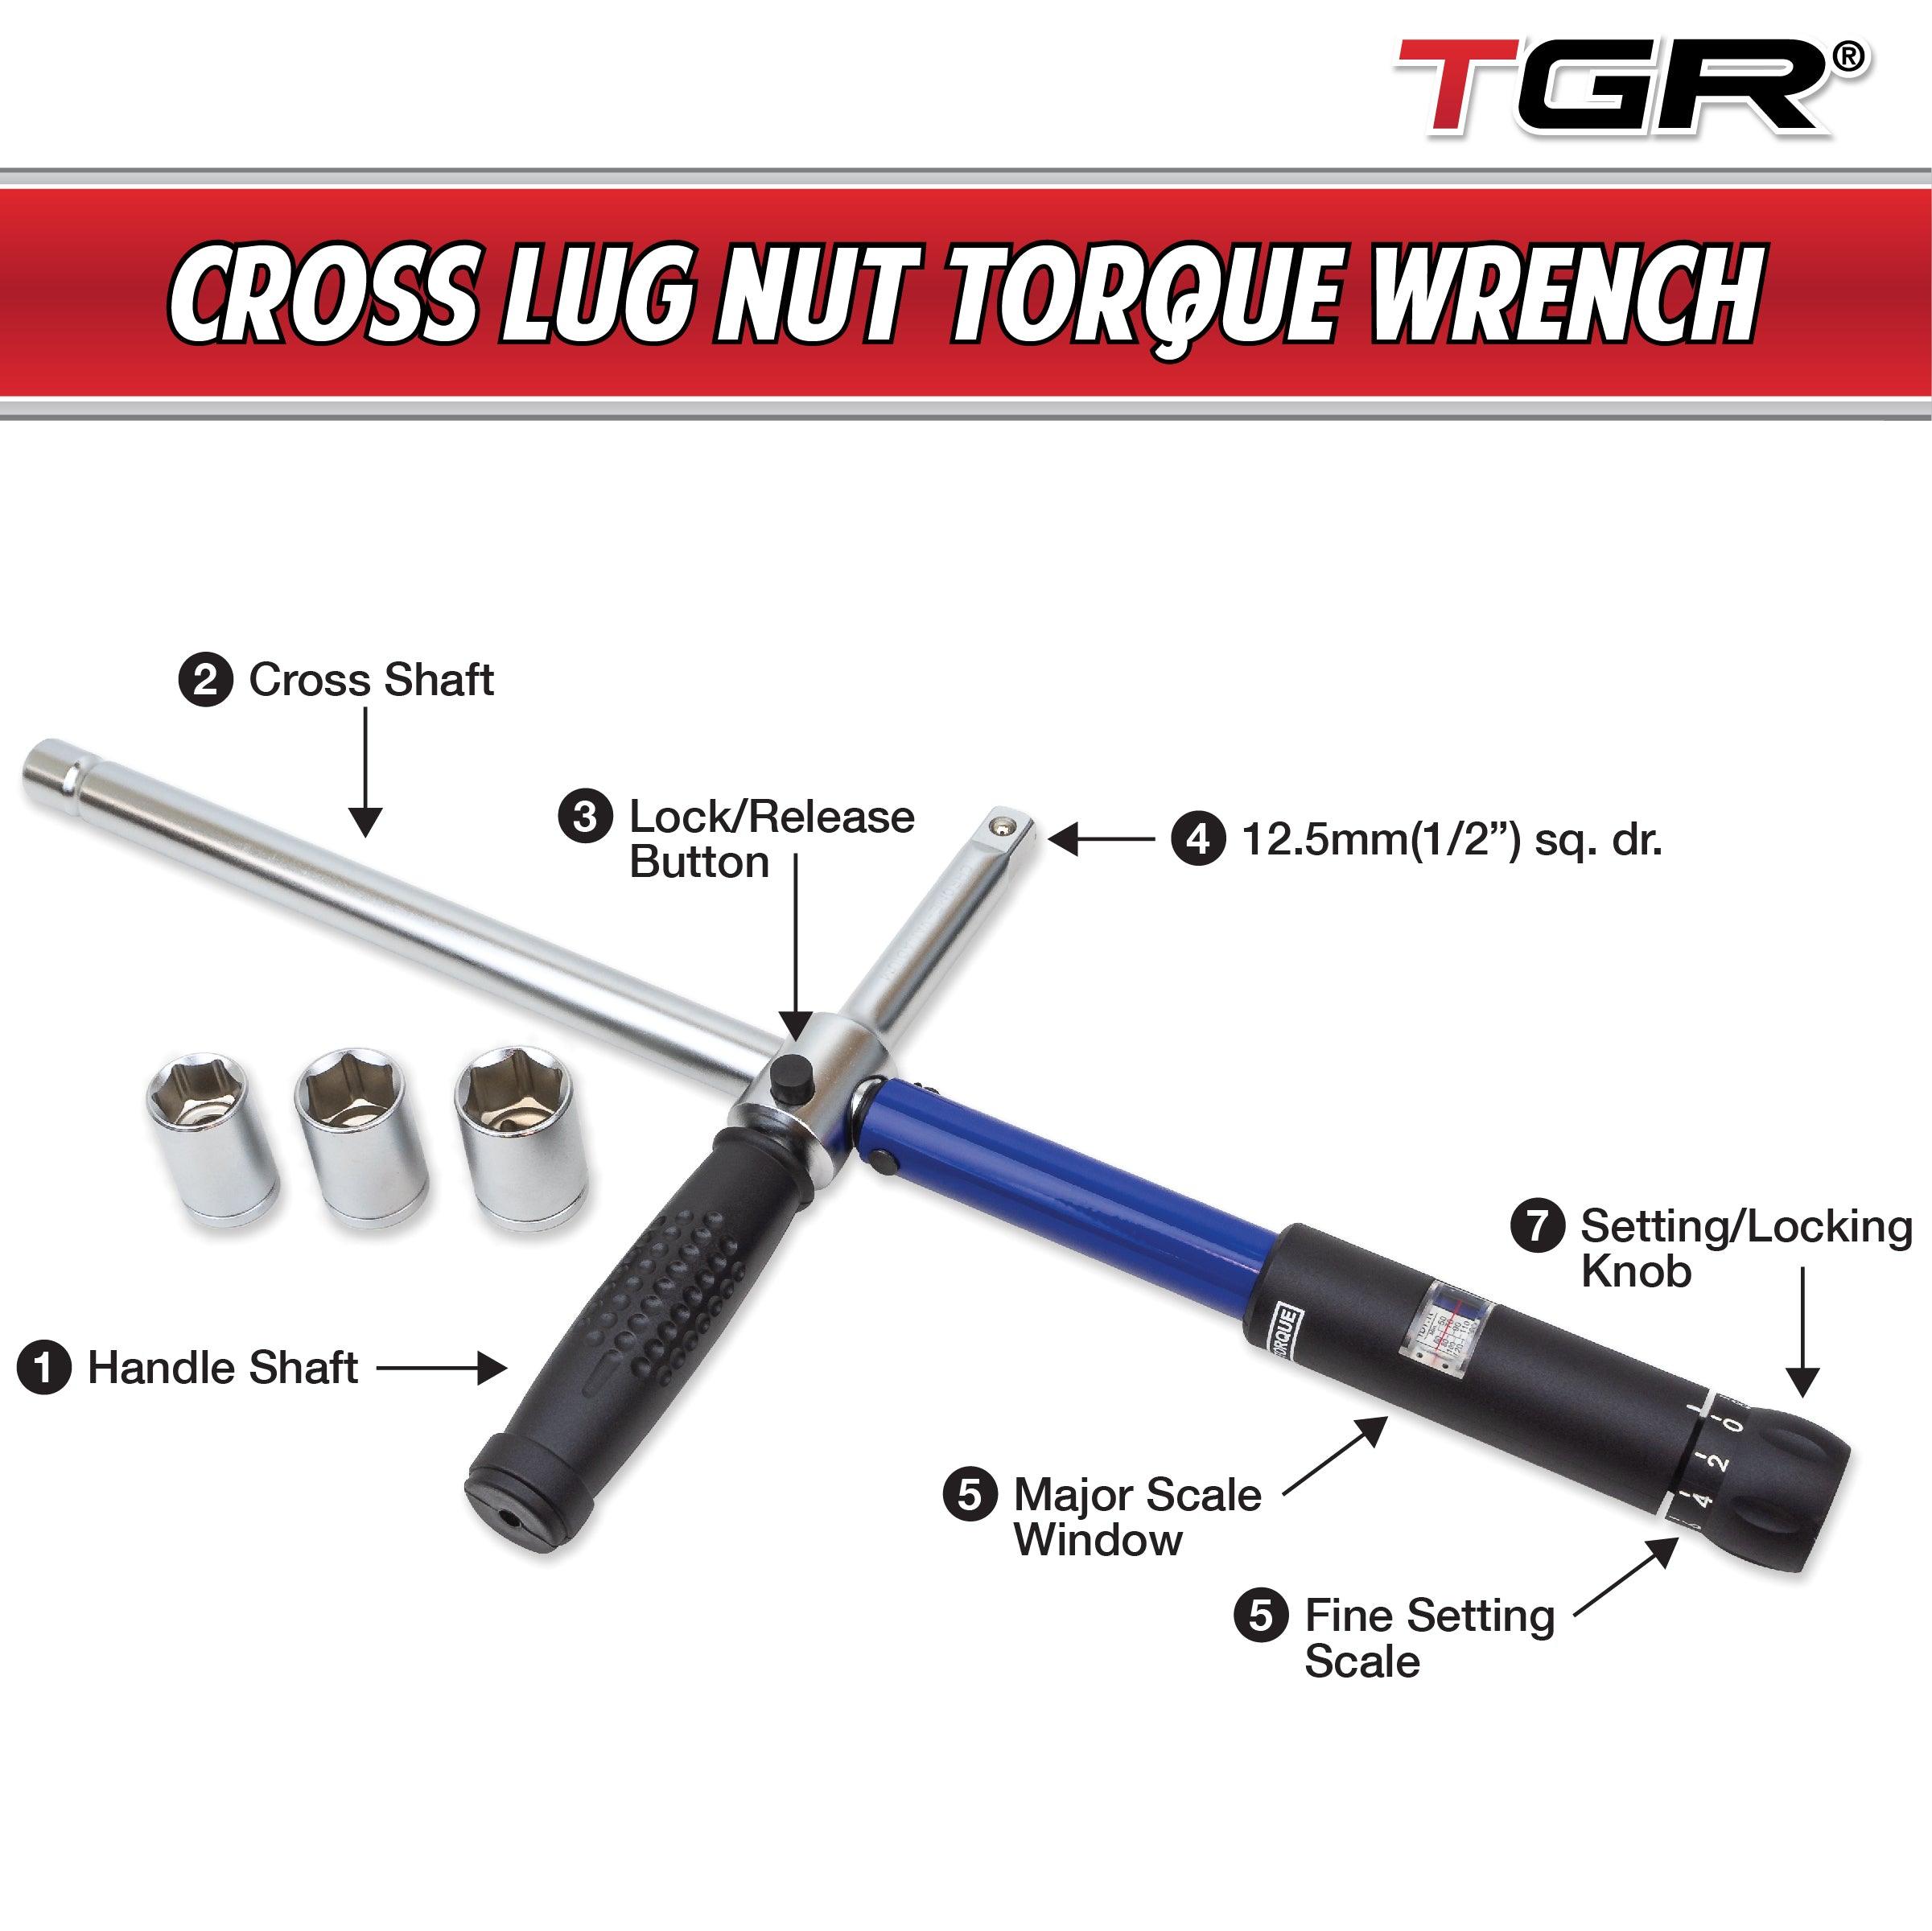
What you need before you start
Before you learn how to use a torque wrench for lug nuts, gather the right tools and check your vehicle’s torque spec.
Here is what helps:
- Torque wrench, ideally one that covers your vehicle’s torque range
- Correct socket size for your lug nuts
- Vehicle owner’s manual or factory torque spec
- Jack and jack stands if the wheel is off the ground
- Wire brush or rag to clean the lug nut and wheel mating surfaces
A torque wrench comes in different types. The most common for home use is the click-type torque wrench, which signals when you hit the set torque. Beam and digital torque wrenches also work, but the click-type is often the easiest for lug nuts.
One thing I learned early: a clean, dry thread matters more than people think. Dirt, rust, or oil can change how the torque feels and can make your readings less accurate.
How to use a torque wrench for lug nuts step by step
Using a torque wrench for lug nuts is straightforward when you move slowly and follow a pattern. The goal is not speed. The goal is even, controlled tightening.
1. Find the correct torque spec
Check the owner’s manual, door jamb label, or service information for the exact torque value. Most passenger vehicles fall somewhere in the 80 to 100 ft-lb range, but that is only a general example. Always use the number listed for your vehicle.
Do not assume all vehicles use the same spec. Truck, SUV, and alloy wheel setups can differ a lot.
2. Set the torque wrench
Set your torque wrench to the proper value using its adjustment scale or digital settings. If it is a click-type wrench, lock the setting if your model has a lock.
Make sure the units match the spec. Some specs are in foot-pounds, while others are in Newton-meters. Mixing them up is an easy mistake and a common one.
3. Tighten the lug nuts in a star pattern
Hand-tighten the lug nuts first, then snug them in a star or crisscross pattern. This helps the wheel sit evenly against the hub.
For a 5-lug wheel, the star pattern usually means skipping across the wheel each time. For a 6-lug wheel, tighten opposite nuts in a cross pattern. This step matters just as much as the torque wrench step.
4. Apply smooth, steady force
Place the socket squarely on the lug nut and pull the wrench smoothly. Do not jerk it. A steady pull gives you a better feel and helps the wrench click at the correct point.
If you are using a click-type torque wrench, stop as soon as you hear or feel the click. Do not keep pulling after that. Overpulling defeats the whole purpose.
5. Recheck the pattern
After all lug nuts are torqued, go back through them in the same star pattern and verify the setting. This confirms each nut is at the same spec.
I usually do a final pass by hand with the torque wrench, not a full retighten. It gives me peace of mind without stressing the hardware.
6. Lower the vehicle and recheck after driving
If the wheel was removed, lower the vehicle safely. After driving 25 to 100 miles, many tire and wheel experts recommend checking the lug nut torque again.
That second check is important because wheels can settle slightly after the first heat cycle and a few miles of use. It is a small step that can prevent a big problem.

Common mistakes to avoid when using a torque wrench for lug nuts
Even a good torque wrench cannot help if the process is off. These mistakes come up a lot, and I have made a couple of them myself.
- Using an impact wrench for final tightening, which can over-torque nuts fast
- Guessing the torque value instead of checking the spec
- Tightening in a circle instead of a star pattern
- Using the wrench to loosen lug nuts, which can damage some torque wrenches
- Failing to reset a click-type wrench to its lowest setting after use
- Overtightening because “just a little more” feels safer
- Ignoring dirty threads, rust, or damaged studs
One of the most common errors is trusting feel over measurement. Lug nuts can feel tight long before they are actually correct. Human hands are good, but they are not calibrated tools.
How to get accurate results every time
Accuracy comes from technique as much as from the wrench itself. A torque wrench is only as reliable as the person using it.
Follow these habits:
- Use the wrench within its rated range
- Pull from the handle, not by gripping near the head
- Keep the wrench at a right angle to the fastener
- Avoid using extensions unless the tool maker allows them
- Recalibrate the wrench if it has been dropped or used heavily
- Store it at the lowest setting if the maker recommends it
I once watched a friend use a long pipe on a breaker bar to “make sure” a wheel was tight. That kind of extra leverage can crush threads and make future service a headache. Good torque is measured, not muscled.
Choosing the right torque wrench for lug nuts
If you are buying a wrench, pick one that matches your vehicle needs and feels comfortable in your hand. For most DIY owners, a 3/8-inch or 1/2-inch drive click-type torque wrench is the best place to start.
Things to look for:
- Torque range that covers your lug nut spec
- Clear scale or digital display
- Solid build quality
- Calibration certificate or stated accuracy
- Comfortable handle and easy-to-read markings
For lug nuts, bigger is not always better. A wrench that is too large for a low torque spec may be less accurate near the bottom of its range. That is why matching the tool to the job matters.
When to use a torque wrench instead of an impact wrench
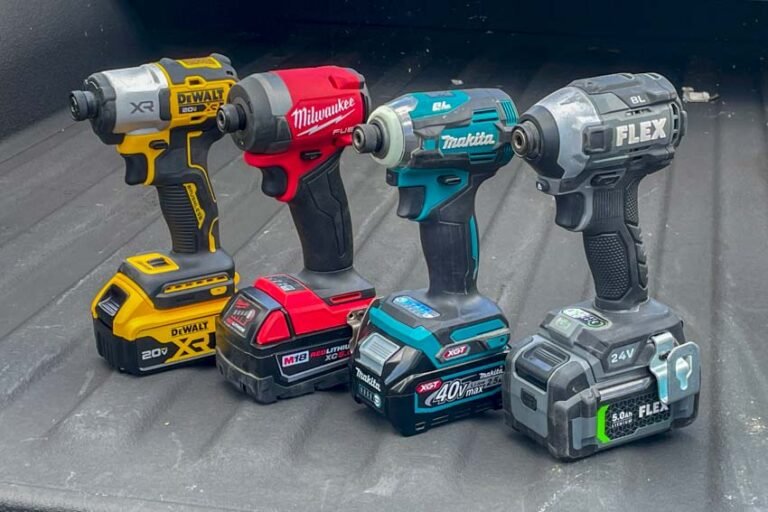
An impact wrench is great for removing lug nuts quickly. It is not the best tool for final tightening unless you then verify torque with a torque wrench.
Use an impact wrench for:
- Removing stuck lug nuts
- Snugging lug nuts before final torque
- Tire shop speed work
Use a torque wrench for:
- Final tightening
- Verifying wheel installation
- Ensuring even clamping force
This is the basic rule I follow: power tools do the heavy lifting, but the torque wrench makes the final judgment. That last step is what protects the wheel and the hardware.
Why torque specs change by vehicle
Not every car, SUV, or truck uses the same lug nut torque. The correct value depends on wheel size, stud size, bolt pattern, hub design, and manufacturer testing.
For example, a compact sedan may need less torque than a heavy pickup truck. Alloy wheels may also have different needs than steel wheels. That is why online guesses can be risky if they replace the actual service spec.
If you cannot find the spec in the owner’s manual, check the service data for your exact year, make, and model. Do not rely on a “close enough” number.
Best practices from real-world use
After years of helping with tire swaps, I have found a few habits that save time and prevent problems.
- Clean the wheel hub and lug seats before installation
- Thread lug nuts by hand first to avoid cross-threading
- Tighten in steps if the wheel is fully removed
- Use the same torque wrench for the final pass, not a random ratchet
- Recheck torque after the first drive
A wheel that is installed cleanly and torqued evenly just feels different on the road. There is less vibration, less noise, and far less worry. That peace of mind is worth the extra minute.
Frequently Asked Questions of How to use a torque wrench for lug nuts
How tight should lug nuts be with a torque wrench?
The correct torque depends on your vehicle, so always check the owner’s manual or factory spec. Many passenger vehicles fall in the 80 to 100 ft-lb range, but that is not universal.
Should I use anti-seize on lug nuts before torqueing?
Usually, no unless the vehicle maker specifically allows it. Lubrication can change the friction and make the same torque value create more clamping force than intended.
Do I need to retorque lug nuts after driving?
Yes, it is a smart safety step after wheel installation. Many professionals recommend checking them again after about 25 to 100 miles to make sure they stayed within spec.
Can I use a torque wrench to remove lug nuts?
You should not use most torque wrenches for loosening. They are designed for accurate tightening, and using them to break fasteners loose can damage the tool.
What if my torque wrench clicks before the lug nut feels tight?
Trust the torque wrench, not your hand feel. “Feel” is unreliable, and the wrench is designed to stop at the correct setting even when it seems lighter than expected.
Conclusion
Using a torque wrench for lug nuts is one of the easiest ways to make wheel service safer and more professional. When you use the correct spec, tighten in a star pattern, and stop at the click, you protect your wheels, studs, and brakes from avoidable damage.
If you remember just one thing, make it this: the goal is not maximum tightness, but correct tightness. Take the extra minute, use the right tool, and double-check your work after a short drive. If this guide helped, explore more car maintenance tips or leave a comment with your own tire-changing experience.





2 Comments