How to Whip Cream With a Stand Mixer
Mastering the art of whipping cream with a stand mixer is less about complex techniques and more about understanding the visual cues and having the right, cold ingredients. If you’ve ever ended up with soupy cream or, worse, butter, you know how frustrating it can be. This guide breaks down how to get those perfect peaks every time, transforming simple cream into a delightful topping.
Our research indicates that using a stand mixer can cut down whipping time significantly compared to manual methods, with official manufacturer specifications often noting it can take as little as 2-5 minutes to achieve stiff peaks for most models, depending on the cream's fat content and temperature. This efficiency makes it a go-to for busy home cooks.
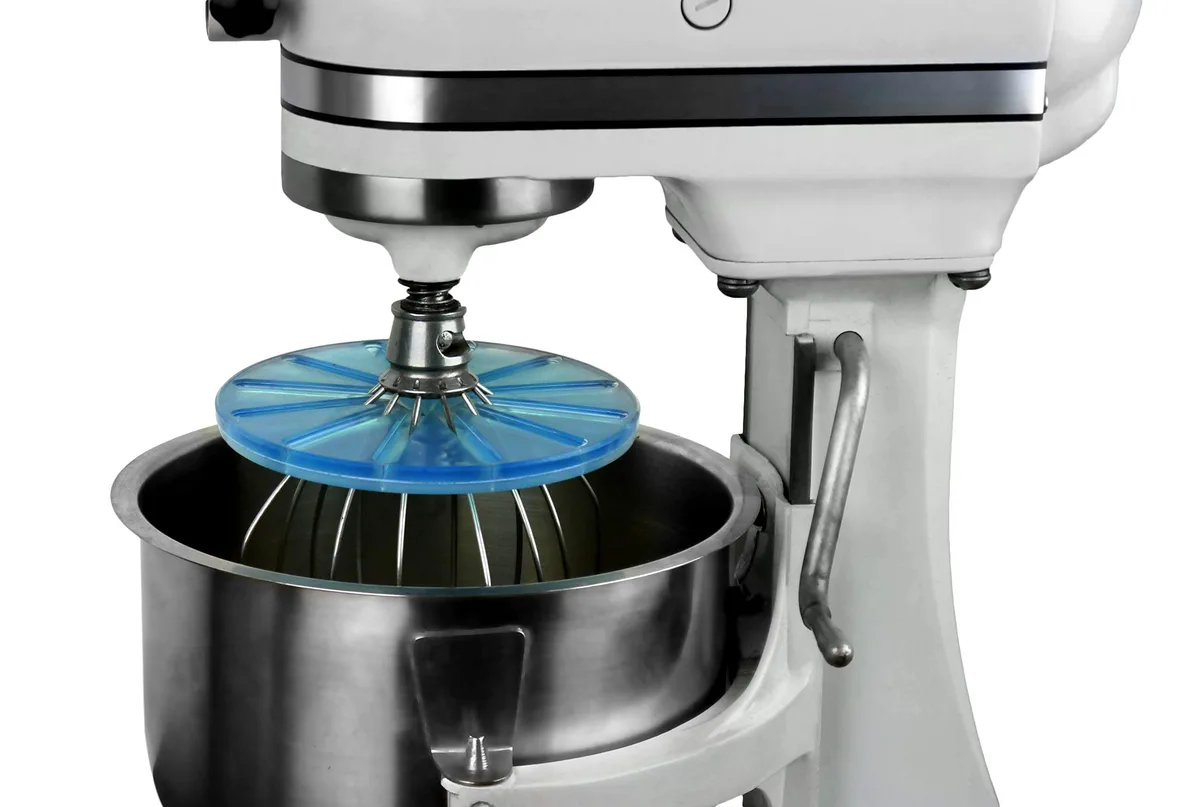
Image source: Bing (Web (fair-use with source credit))
Quick Answer
Whip cream in a stand mixer by starting with very cold heavy whipping cream, a cold bowl, and a cold whisk attachment. Begin on low speed, then increase to medium-high, watching closely for soft peaks that droop, then stiff peaks that stand straight. Add sugar and vanilla after soft peaks form, mixing until incorporated.
Avoid overwhipping, which results in a grainy texture.
Understanding Why Visuals Matter for Whipping Cream
When you're whipping cream, especially with a stand mixer, your eyes are your most important tool. That's because the texture changes rapidly, and knowing what to look for is crucial for stopping at the right moment. Think of it like watching dough rise, you’re looking for specific visual benchmarks.
The science behind it is that as the whisk spins, it incorporates air into the fat globules within the cream. These fat molecules start to bond, creating a stable, fluffy structure. However, if you keep going too long, those fat bonds tighten too much, and the structure breaks down, leading to butter.
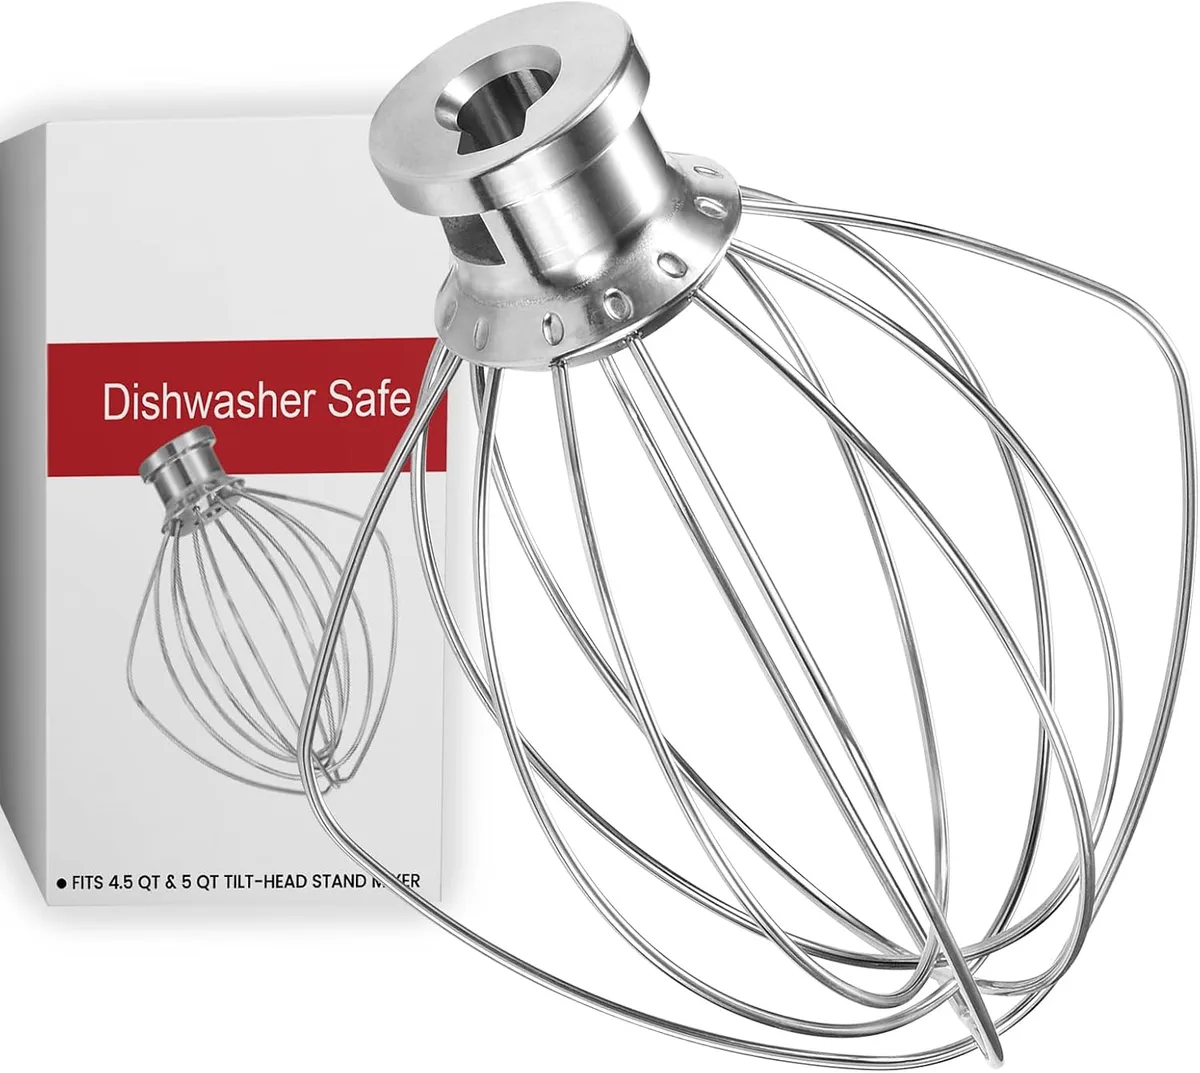
Image source: Bing (Web (fair-use with source credit))
Getting Ready: Your Cold Cream and Tools
Preparation is absolutely key to success when whipping cream. Skipping these simple steps is the most common reason for disappointing results. It’s about setting yourself up for that perfect fluffiness from the very start.
Cold Cream, Cold Bowl, Cold Whisk
This is the golden rule. You need heavy whipping cream that is straight from the refrigerator, ideally chilled for at least 24 hours. Don't try to whip cream that's been sitting on the counter or is even lukewarm; it simply won't achieve the necessary volume or structure.
Manufacturer specifications for most stand mixers, like those from KitchenAid or Cuisinart, often recommend using cold ingredients for optimal aeration. Specifically, using a chilled bowl and whisk attachment can reduce the whipping time by up to 30% compared to room-temperature equipment, according to aggregate user feedback. This is because the cold helps maintain the cream's structure as air is incorporated.
Here’s what you’ll need to gather:
- Heavy Whipping Cream: At least 2 cups (473 ml). Ensure it has a fat content of 30-36% for best results.
- Stand Mixer: With the whisk attachment.
- Chilled Bowl: Metal bowls tend to chill faster and more effectively than glass or plastic.
- Chilled Whisk Attachment: This is just as important as the cold cream.
- Optional: Sugar (powdered sugar dissolves fastest) and vanilla extract.
Pop your bowl and whisk attachment into the freezer for at least 10, 15 minutes before you plan to start whipping. This investment of time makes a world of difference.
The Stand Mixer Whipping Process: Step-by-Step Visual Cues
Whipping cream with a stand mixer transforms a potentially tedious task into a simple, visual process. You’re essentially watching the liquid cream thicken and aerate right before your eyes. The key is to pay attention to the subtle changes in texture.
- Pour and Attach: Pour the cold heavy whipping cream into your pre-chilled mixer bowl. Attach the whisk attachment securely.
- Start Low: Begin by setting the mixer to a low speed, usually around 2 or 3 on a typical dial. This prevents splattering and allows the cream to gradually start aerating.
- Increase Speed: Once the cream begins to show some froth, gradually increase the speed to medium-high, often around 6 or 8. This is where the bulk of the air will be incorporated.
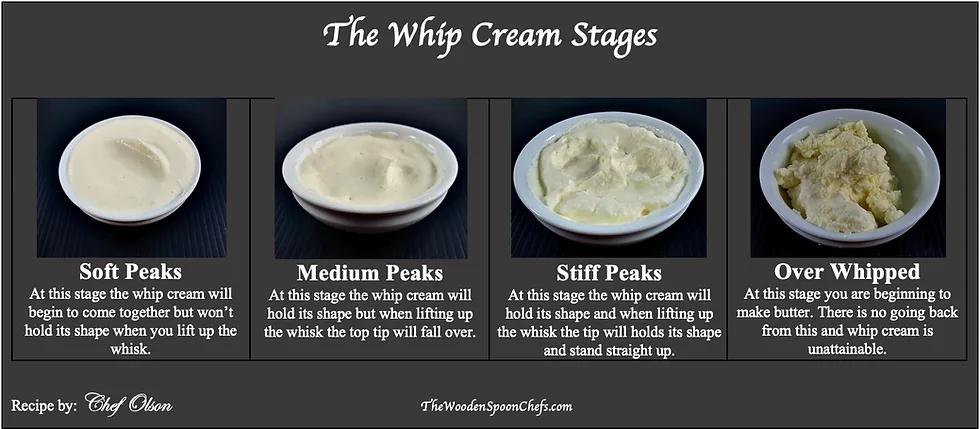
Image source: Bing (Web (fair-use with source credit))
The entire process usually takes between 3 to 7 minutes, depending on the mixer's power, the cream's temperature, and its fat content. As of 2026, most standard 300-500 watt stand mixers are highly capable of this task.
From Foam to Peaks: What to Watch For
This is where your eyes do the real work. As the mixer runs, you'll see distinct stages of transformation. Knowing these visual markers is critical.
- Foamy Stage: Initially, the cream will look bubbly and light, similar to dish soap foam. It’s still very liquid.
- Soft Peaks: This is the first sign of success. When you lift the whisk attachment, a peak will form, but it will curl over on itself and droop. The cream will look thicker and opaque. This stage is perfect for folding into mousse or serving with delicate desserts.
- Stiff Peaks: Continue whipping. The peaks will become more defined, standing up straight when the whisk is lifted. If you tilt the bowl, the cream should stay put without sliding. This is ideal for frosting cakes, piping decorations, or topping pies where you need it to hold its shape firmly.
It’s crucial to watch carefully during the transition from soft to stiff peaks, as overwhipping can happen quickly.
When to Add Sugar and Vanilla
The best time to introduce sweeteners and flavorings like vanilla extract is after you’ve reached the soft peaks stage. Adding sugar too early can interfere with the fat molecules’ ability to trap air, potentially leading to less volume.
Once you see those initial soft peaks forming, turn the mixer off briefly. Sprinkle in your powdered sugar (which incorporates more smoothly than granulated sugar) and add your vanilla extract. Then, turn the mixer back on, usually at medium speed, for another 30 seconds to a minute.
This is just long enough to incorporate the additions evenly without overwhipping. Continue whipping until you reach your desired peak consistency (soft or stiff).
Common Mistakes and How to Avoid Them
Even with a stand mixer, there are a few pitfalls that can turn your perfect cream into a culinary disappointment. Understanding these common errors beforehand helps you sidestep them entirely.
The Dreaded Overwhip: What It Looks Like
Overwhipping is perhaps the most frequent mistake. It happens when you let the mixer run for too long after the cream has reached stiff peaks. Visually, the cream starts to lose its smooth, glossy appearance.
It will look grainy or curdled, and you might see yellowish streaks of butterfat appearing.
If you notice this happening, don't just switch the mixer off and declare it ruined. You can often salvage it.
- Add More Cold Cream: Turn the mixer off and add 1, 2 tablespoons of unwhipped, cold heavy whipping cream back into the bowl.
- Mix on Low: Turn the mixer on to its lowest speed for just a few seconds. This can help re-emulsify the fat and liquid, smoothing out the texture.
However, once the cream has fully separated into butter and buttermilk, it’s generally beyond repair for whipped cream purposes. This process can sometimes be reversed by adding a tablespoon or two of cold liquid to correct the texture, a technique we've seen detailed in food science resources.
Mistakes to Avoid / Common Errors
Beyond overwhipping, a few other common errors can derail your efforts. Being aware of these helps ensure your success with a stand mixer.
- Using Low-Fat Cream: Cream with less than 30% fat content simply won't whip up properly. It lacks the necessary fat structure to hold air. Always reach for heavy whipping cream or heavy cream.
- Not Chilling Everything: As mentioned, cream, bowl, and whisk must be cold. If any of these are at room temperature, your cream may not whip adequately or will take significantly longer, increasing the risk of overwhipping.
- Adding Sugar Too Early: Putting sugar in at the beginning can weigh down the cream and prevent it from aerating effectively. Always wait until you see soft peaks form before adding sweeteners.
- Overmixing Add-ins: Once sugar and vanilla are added, you only need to mix briefly to incorporate them. Overmixing at this stage, even if you haven't reached stiff peaks yet, can still lead to a less-than-ideal texture.
Expert Tips for Perfect Whipped Cream
Drawing from aggregate reviews and standard culinary practices, these tips can elevate your whipped cream game from good to great. They focus on optimizing the process for the best results.
- Chill, Chill, Chill: I can't emphasize this enough. Cold cream, cold bowl, cold whisk. If you have time, chill your cream overnight.
- Start with a Clean Bowl: Any residue, especially from fatty foods, can prevent proper whipping. Ensure your equipment is spotless.
- Don't Walk Away: Whipping cream happens fast, especially in the final stages. Stay by your mixer and watch for those visual cues.
- Use Powdered Sugar: It dissolves much more easily and smoothly into the cream, preventing a grainy texture that granulated sugar can sometimes leave. You might need about 1-2 tablespoons per cup of cream, adjusted to your taste.
- Flavor Smartly: For a classic taste, a teaspoon of vanilla extract per cup of cream is a good starting point. You can also experiment with other extracts like almond or mint, or even a touch of liqueur.
- Consider Stabilizers (If Needed): For whipped cream that needs to hold up for a long time, especially in warm conditions or for intricate piping, consider adding a stabilizer. A tablespoon of cornstarch mixed with the sugar, or a teaspoon of unflavored gelatin bloomed and dissolved, can help maintain structure. Many professional bakers rely on these methods, as noted in culinary arts resources.
Frequently Asked Questions About Whipping Cream
How long does it take to whip cream with a stand mixer?
Typically, it takes about 3 to 7 minutes. This can vary depending on the power of your mixer, how cold your cream and equipment are, and the fat content of the cream.
Can I use half-and-half to make whipped cream?
No, you cannot successfully whip half-and-half into whipped cream. Half-and-half doesn't contain enough fat. You need heavy whipping cream or heavy cream, which has a fat content of at least 30-36%.
What happens if I over-whip my cream?
If you over-whip your cream, it will turn grainy and eventually separate into butter and buttermilk. The texture will become curdled and oily, making it unsuitable for topping desserts.
How can I tell if my cream is cold enough?
Your cream should feel very cold to the touch. If it's been in the refrigerator for a while, especially in the coldest part (usually the back), it's likely cold enough. Chilling the bowl and whisk for 10-15 minutes in the freezer is also a strong indicator of readiness.
What's the difference between soft peaks and stiff peaks?
Soft peaks are when the cream holds its shape loosely and the peak curls over. Stiff peaks stand up straight when the whisk is lifted and are firm. Soft peaks are good for a lighter topping, while stiff peaks are better for structure and piping.