How To Use Emergency Road Flares: Safe Step-By-Step Guide
Use emergency road flares by placing them safely behind your vehicle to warn drivers and guide traffic around you.
If you have ever been stuck on the shoulder at night, you know how fast a calm drive can turn stressful. Knowing how to use emergency road flares can make a real difference, because these small tools help other drivers see you, slow down, and stay clear of your scene. In this guide, I’ll walk you through how to use emergency road flares the right way, when to use them, what mistakes to avoid, and how to stay safe while doing it.
What Emergency Road Flares Are and Why They Matter
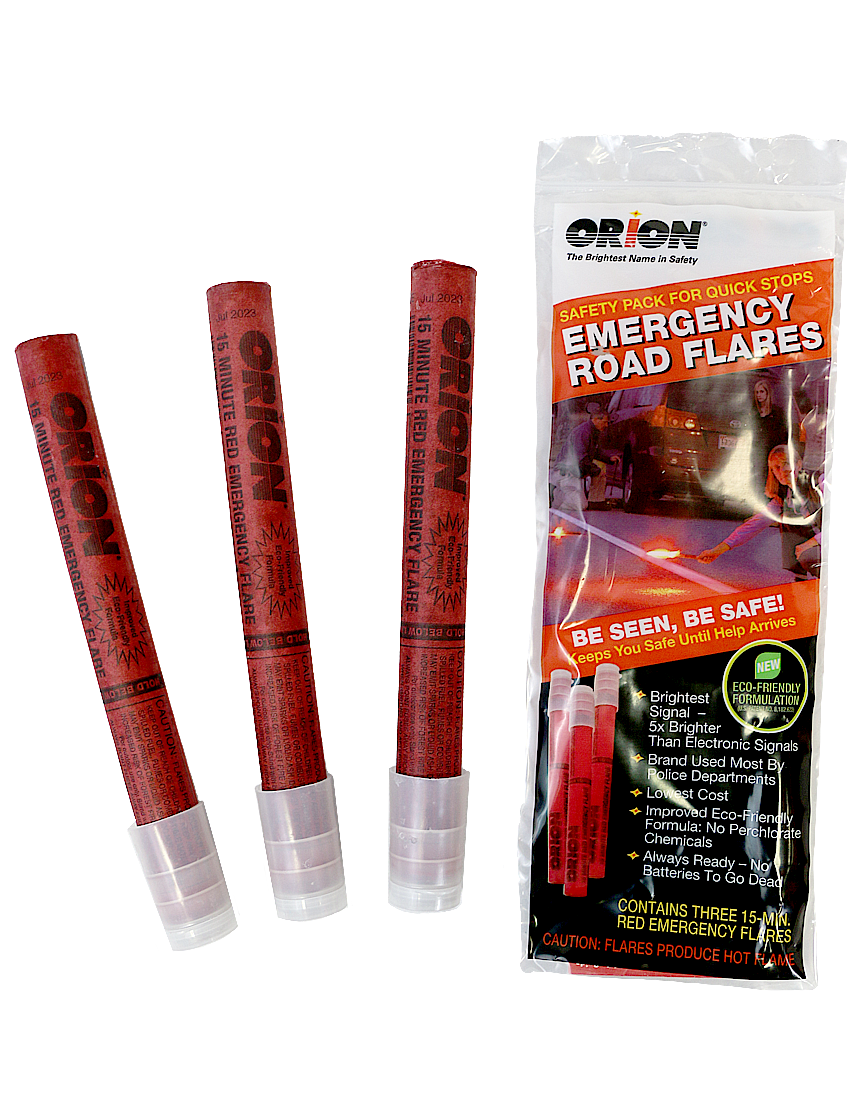
Emergency road flares are warning devices that create a bright, highly visible signal. Drivers use them to alert traffic after a breakdown, flat tire, crash, or roadside stop. They are a simple but powerful part of roadside safety because they help prevent rear-end collisions and give other drivers time to react.
In my own experience, the biggest value of emergency road flares is not just visibility. It is the sense of order they bring in a chaotic moment. A stranded vehicle can feel like a magnet for danger, but a few well-placed flares create a clear safety zone around you.
Emergency road flares are often used with:
- Reflective triangles
- Hazard lights
- Reflective vests
- Roadside emergency kits
- Cones or LED warning lights
These tools work best together, but flares stand out because they are bright, fast to set up, and easy to see from a distance.
Types of Emergency Road Flares
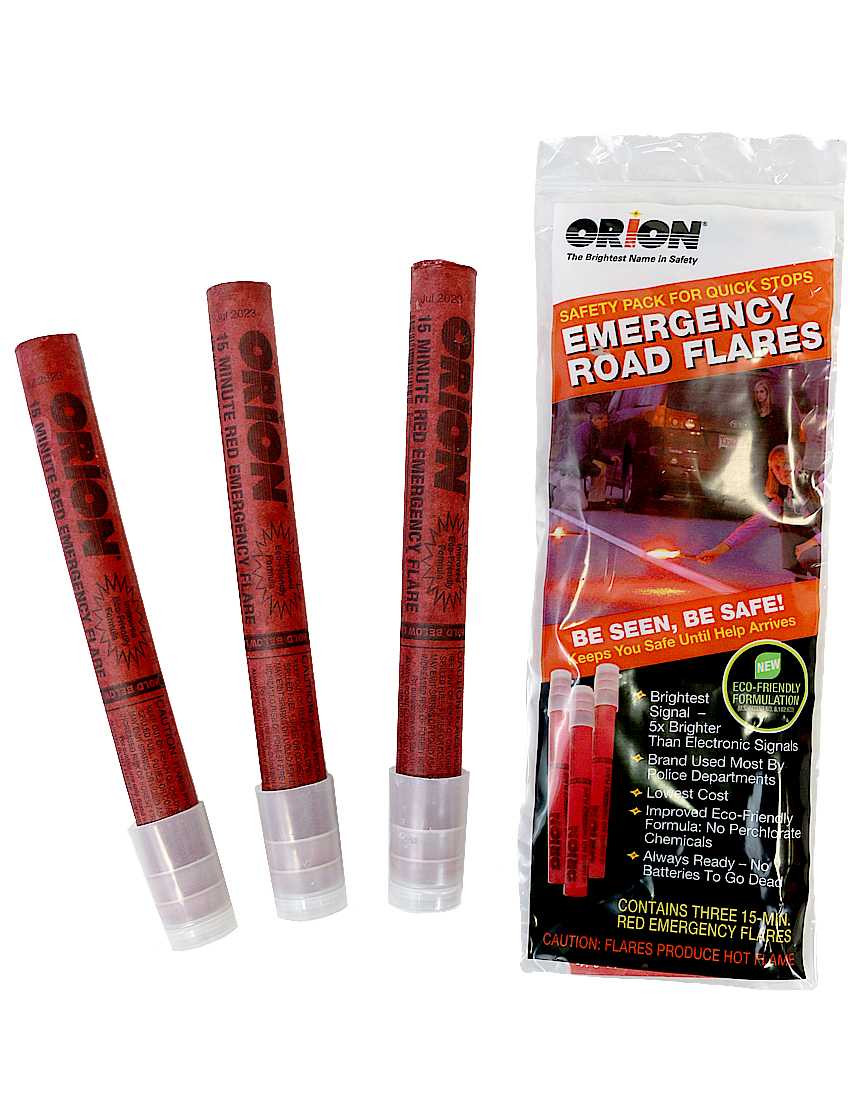
Not all emergency road flares work the same way. Choosing the right type matters because each one has different safety needs and uses.
Traditional combustible flares
These are the classic burning flares. They produce a strong red light and are very visible in dark or foggy conditions. They are effective, but they create heat and open flame, so you must use them carefully.
Highway safety flares
These are designed for roadside warning and are often built for better stability. Some may include a base or stand so they stay upright on the ground. They are common in emergency kits and are useful for short-term roadside protection.
LED road flares
LED flares are battery-powered and do not use fire. They are safer in dry grass, wind, or around fuel spills. Many drivers now prefer them because they are reusable and can flash in several patterns.
Battery-powered warning beacons
These are similar to LED flares but may have a larger light output or a magnetic base. They are helpful for longer incidents, towing, or professional use. They are not true flares, but many people use them as emergency road flares in everyday speech.
How to Use Emergency Road Flares Safely
Using emergency road flares is not complicated, but placement and timing matter a lot. The goal is to create a visible warning path for approaching traffic without putting yourself in danger.
Here is a simple step-by-step method:
-
Pull over to a safe spot
Move your vehicle as far off the road as possible. If you can, get onto the shoulder, a parking lot, or a wide turnout. -
Turn on hazard lights
This is your first signal to other drivers. It helps alert traffic before you set out any emergency road flares. -
Put on a reflective vest if you have one
This makes you easier to see when stepping out of the car, especially at night. -
Check the traffic and surroundings
Look for blind curves, hills, wet pavement, wind, fuel leaks, or anything that could make flare use unsafe. -
Place the first flare behind your vehicle
The typical placement is behind the car, in the direction of approaching traffic. Put it far enough back to give drivers time to react. -
Add more flares if needed
On roads with faster traffic, use multiple flares spaced out to form a warning line. This is especially important on highways. -
Return to a safe position
Once the flares are set, get back inside your car if it is safe, or stay well away from traffic.
A useful rule from roadside safety practice is to make your warning visible early enough for drivers to slow down smoothly. That means placing emergency road flares farther back on faster roads and closer on lower-speed streets.
Best Placement for Emergency Road Flares
Placement depends on where you are stopped, how fast traffic is moving, and how much visibility you have. There is no one perfect setup for every situation, but there are solid guidelines.
On highways
Place the first flare well behind your vehicle, then add more flares farther back in a line. This creates a taper that gently guides traffic away from your stopped car. On high-speed roads, farther placement gives drivers more time to react.
On city streets
You usually need fewer emergency road flares because traffic moves slower. Place them behind the vehicle and, if needed, one near the rear corner to improve visibility. Be careful not to place them where pedestrians will walk.
On curves or hills
These are tricky because drivers cannot see your vehicle until the last moment. In this case, place emergency road flares before the curve or crest so approaching traffic gets an early warning. This is one of the most important lessons I have learned: if drivers cannot see you, they cannot protect you.
Near an accident scene
If there is debris, broken glass, or a fuel leak, keep your distance. Use flares to mark the area from a safe point outside the hazard zone. Never place a burning flare right next to spilled fuel or dry grass.
Safety Rules You Should Never Ignore
Emergency road flares are helpful, but they are still a hazard if handled carelessly. A little caution goes a long way.
Keep these safety rules in mind:
- Do not light a flare near fuel vapors or a visible spill
- Do not place flares in dry grass, leaves, or brush
- Do not stand in traffic while lighting or placing them
- Do not touch the burning end of a traditional flare
- Do not use flares in a way that blocks emergency responders
- Do not leave children near active flares
- Do not use damaged or expired flares without checking them first
I have seen people focus so much on getting the flare lit that they forget the bigger picture. Safety starts before the match is struck. You should always think about wind, traffic speed, road surface, and what is around the vehicle.
When to Use Emergency Road Flares
Emergency road flares are useful in many roadside situations. They are not just for crashes.
Use them when you have:
- A flat tire on a busy road
- A dead battery in low light
- A breakdown on the shoulder
- An accident scene that needs warning markers
- A stalled vehicle after dark
- Poor visibility from fog, rain, or snow
They are especially useful at night and in bad weather because drivers need more time to notice hazards. In daylight, they can still help, but reflective triangles and hazard lights may already do much of the work.
When Not to Use Emergency Road Flares
There are times when emergency road flares are not the best choice. Knowing this is part of using them wisely.
Avoid them when:
- There is a fuel leak or fire risk
- The area is very windy
- You are in dry brush or wildfire-prone land
- You are in a tunnel or enclosed space
- You have safer LED alternatives available
- Local rules restrict open flame devices
In those cases, LED road flares or reflective warning triangles are often the better option. Trust your surroundings. A good safety tool is only good if it fits the scene.
How Many Emergency Road Flares Should You Carry
For everyday drivers, a small set is usually enough. A simple roadside kit with three to six emergency road flares can cover most situations.
A practical kit may include:
- 3 to 6 emergency road flares or LED flares
- Reflective triangles
- Gloves
- Flashlight or headlamp
- First aid kit
- Tire inflator
- Jumper cables
- Reflective vest
If you drive long distances, tow often, or travel in rural areas, consider carrying more than the minimum. More warning tools give you more flexibility, especially on fast roads.
Common Mistakes to Avoid
Even good drivers make flare mistakes when they are stressed. These are the ones I see most often.
- Placing the flare too close to the car
- Standing too close while lighting it
- Forgetting to check wind direction
- Using only one flare on a high-speed road
- Not wearing reflective gear
- Leaving flares where traffic can hit them
- Using old flares without testing or inspecting them
One of the biggest mistakes is assuming that any flare placement is better than none. That is not always true. Poor placement can confuse drivers or put you at risk.
Emergency Road Flares vs Reflective Triangles
Both tools improve roadside safety, but they work differently.
Emergency road flares are bright and attention-grabbing. They are great in darkness, rain, and fog. Reflective triangles do not need power or flame and are often safer around fire risks.
A smart roadside setup often uses both:
- Flares for high visibility
- Triangles for long-lasting warning
- Hazard lights for immediate alert
- LED markers for safer, reusable signaling
If I had to pick one for most modern drivers, I would lean toward LED flares or a mixed kit. They are easier to manage and safer in many situations, while still giving strong visibility.
Legal and Practical Considerations
Rules for emergency road flares can vary by state, province, or country. Commercial drivers often have stricter requirements than private drivers. It is worth checking your local traffic and transport rules before carrying or using combustible flares.
A few practical points matter here:
- Store flares in a dry place
- Check expiration dates if your model has them
- Keep them away from children
- Replace damaged or corroded units
- Follow local laws on open flame devices
If you drive for work, your employer may also have fleet safety rules. In that case, follow the company policy and the vehicle emergency kit standard.
How to Store Emergency Road Flares
Good storage helps them work when you need them most. Heat, moisture, and rough handling can shorten their life.
Store emergency road flares:
- In a sealed emergency kit
- Away from direct sunlight
- In a cool, dry spot
- Separate from fuel, oil, or chemicals
- In a place that is easy to reach fast
I like keeping mine in the trunk organizer, not buried under luggage. In an emergency, a tool you cannot reach is almost the same as not having it.
Frequently Asked Questions of How to use emergency road flares
How far behind my car should I place emergency road flares?
Place them far enough back so drivers have time to slow down, especially on fast roads. On highways, the first flare should usually be placed much farther behind the vehicle than on city streets.
Are LED road flares better than traditional flares?
LED road flares are safer around fuel, dry grass, and wind because they do not burn. Traditional flares can be brighter in some conditions, but LED options are reusable and easier for most drivers to handle.
Can I use emergency road flares in the rain?
Yes, many emergency road flares work in the rain, but placement still matters. Keep them stable and away from puddles or runoff that could move them or reduce visibility.
Do emergency road flares expire?
Traditional flares can lose effectiveness over time, and many have a marked shelf life. Always check the packaging or product label so you know whether the flare is still safe and bright enough to use.
Should I use emergency road flares if I am waiting for a tow truck?
Yes, if it is safe to do so, emergency road flares can help warn traffic while you wait. They are especially helpful on dark roads, curves, or shoulders with fast-moving vehicles.
Conclusion
Knowing how to use emergency road flares is one of those simple skills that can make a huge difference when the unexpected happens. The main idea is easy: stay safe, place the warning clearly, and give other drivers time to react. Whether you choose traditional flares or LED road flares, the key is to use them with care and a clear plan.
If you keep a roadside kit in your vehicle, take a few minutes to check your flares, practice safe placement, and make sure you know your local rules. A little preparation now can save a lot of stress later. If this guide helped, share it with another driver or leave a comment with your own roadside safety tip.