How to Use a Carving Knife
Carving a roast or poultry can feel intimidating, but knowing how to use a carving knife properly makes it a simple, satisfying process. Getting clean, even slices every time isn't about brute force; it's about technique, sharpness, and the right tools. We've broken down exactly what you need to know to master this essential kitchen skill.
Proper preparation and a sharp blade are key, and manufacturer specifications often highlight the importance of high-carbon stainless steel for blade longevity and edge retention. For instance, many professional-grade carving knives feature blades around 10 inches long, a standard size that balances maneuverability with the ability to make long, decisive cuts. Let's get into the details so you can carve with confidence.
Quick Answer
To use a carving knife, first let the meat rest. Use a firm, comfortable grip on the knife. Position the blade at a slight angle and make long, smooth strokes.
Keep the knife sharp for clean cuts. Avoid sawing motions.
Getting Started: Tools and Prep for Perfect Slices
Before you even pick up the knife, a little prep work goes a long way toward achieving those enviable, paper-thin slices. It’s not just about the knife itself, but also what you’re carving and how you’re preparing it.
Your Carving Knife: Blade, Handle, and Balance
The heart of the operation is, of course, the carving knife. Editorial analysis of many reviews suggests that not all carving knives are created equal. Key features to look for include blade material, length, and handle ergonomics.
High-carbon stainless steel blades, often cited as ideal, offer superior edge retention and are less prone to corrosion than other types. For most home cooks, a blade length between 8 and 12 inches is sufficient, providing enough reach for larger roasts without becoming unwieldy. The balance of the knife is also crucial; it should feel comfortable and controlled in your hand.
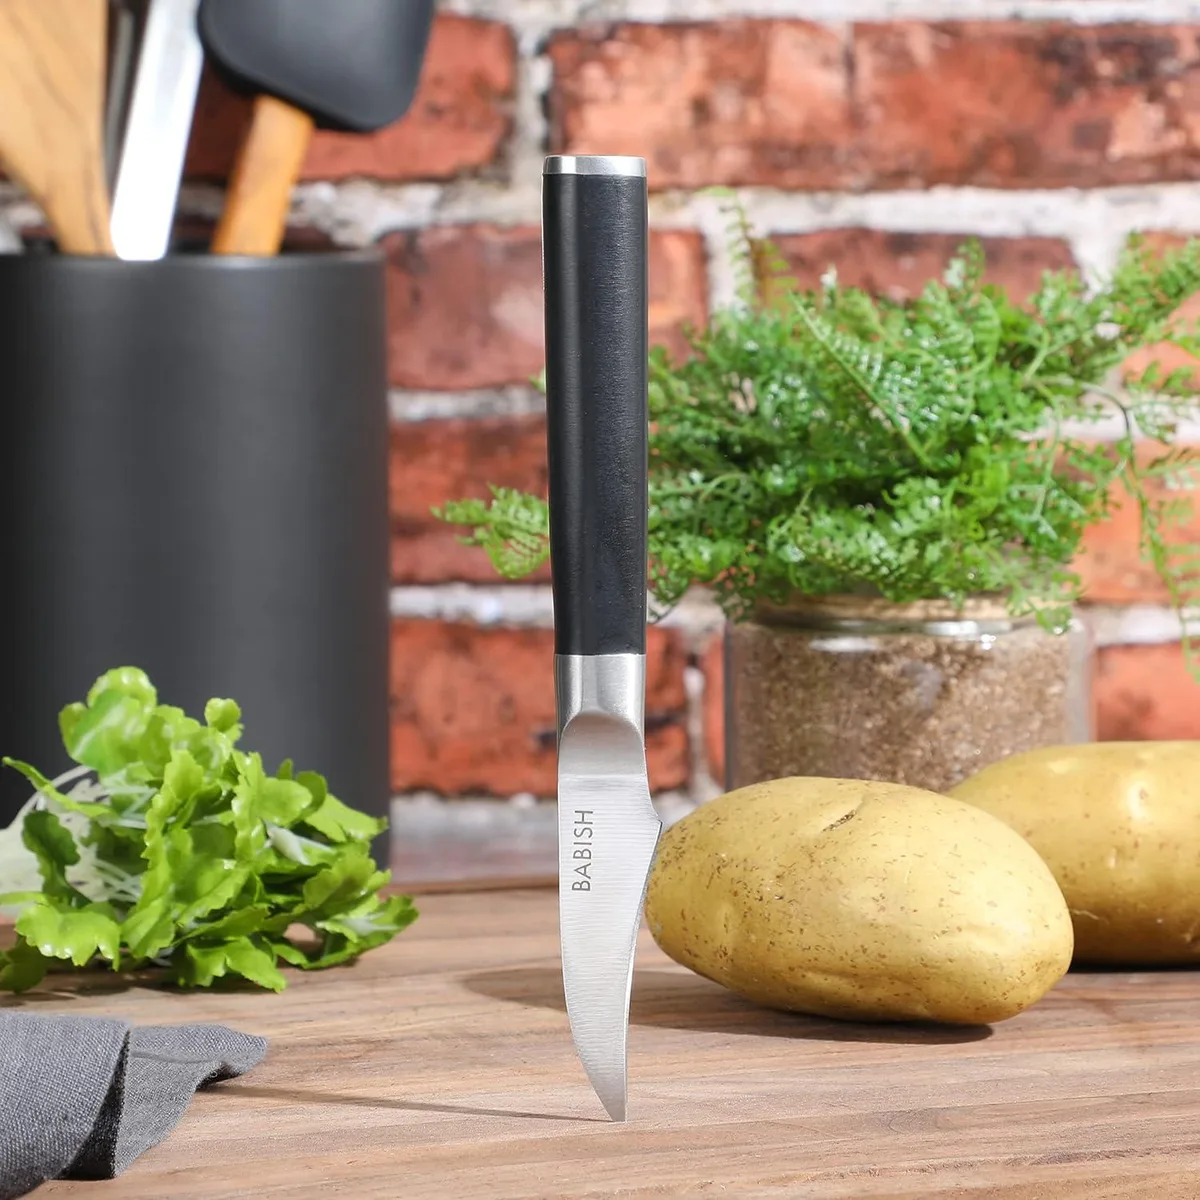
Image source: Bing (Web (fair-use with source credit))
Essential Prep: Resting Meat and Choosing Your Board
After cooking, letting your roast or poultry rest is non-negotiable. Our research indicates that allowing meat to rest for at least 15-20 minutes (for a medium-sized roast) allows the juices to redistribute throughout the meat. Cutting too soon means those delicious juices will run out onto the cutting board, leaving you with dry, less flavorful results.
As for your cutting board, opt for one that’s large enough to comfortably hold your roast and provide ample space for carving. A sturdy, non-slip surface is important for safety. Wooden boards are a popular choice, but a good quality plastic one works well too.
For those tackling large holiday roasts, you might consider pairing your carving knife with a large cooking pot if you plan to use drippings for gravy.
The Art of the Grip: Holding Your Carving Knife Right
The way you hold your carving knife is fundamental to control and safety. A secure grip prevents slips and allows you to apply consistent pressure for clean cuts. It's less about strength and more about leverage and precision.
Finding Your Grip: Pinch vs. Handle
There are a couple of primary ways to hold a carving knife, and the best one for you will depend on personal comfort and the specific task. The "pinch grip" is popular among professionals. This involves pinching the base of the blade, right where it meets the handle, with your thumb and index finger, while the other fingers wrap around the handle.
This method offers excellent control and maneuverability.
Alternatively, the "handle grip" is more traditional. Here, all your fingers wrap securely around the handle, similar to how you'd hold a chef's knife. For a carving knife, especially one with a longer blade, this grip can feel more stable and intuitive for some.
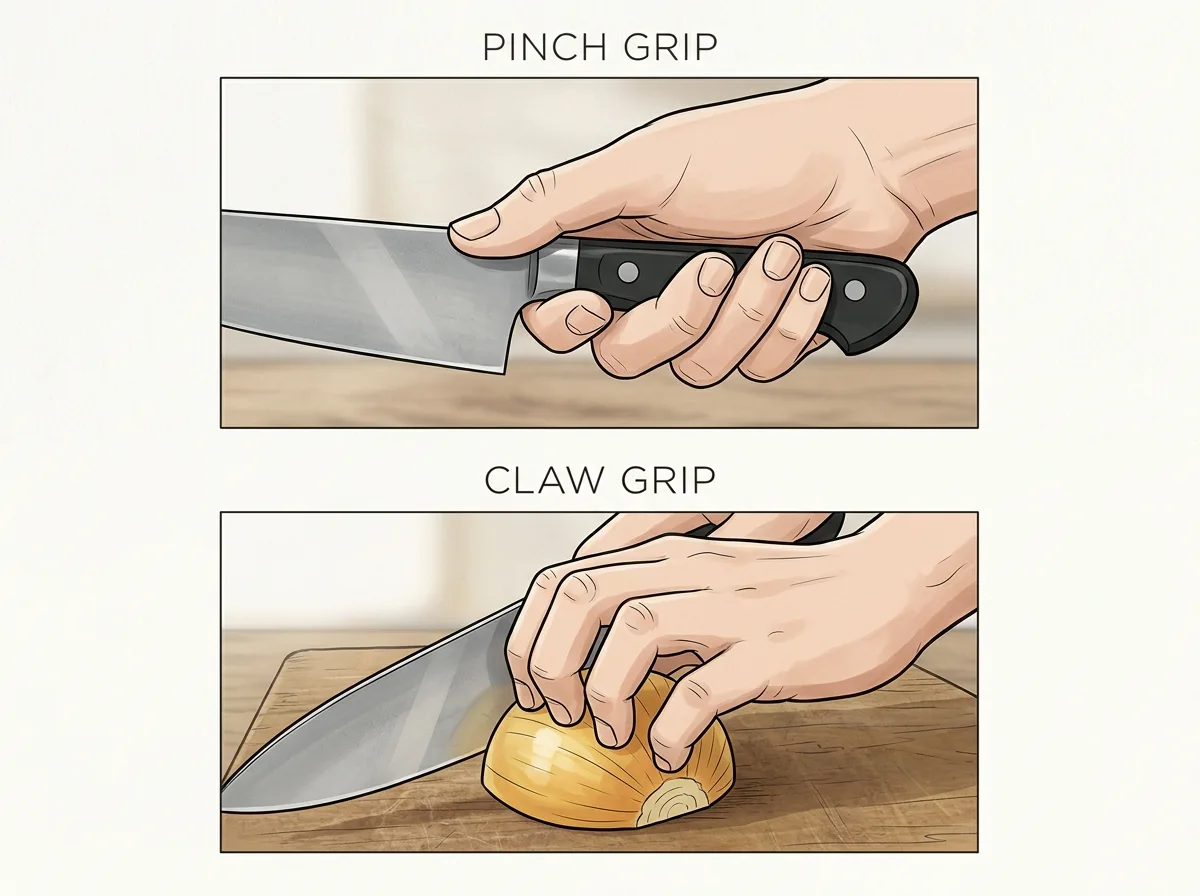
Image source: Bing (Web (fair-use with source credit))
Proper Hand Placement for Control
Regardless of the specific grip you choose, ensure your hand is positioned to allow for maximum control. Your index finger, whether pinching the blade or extended along the handle, should guide the knife’s direction. Your thumb should provide a stable anchor point.
Aggregates of user feedback report that a grip that feels natural and secure, without causing strain, is the most effective for prolonged carving tasks. If you’re finding your hand cramping, reassess your grip.
Mastering the Motion: Cutting with Precision
Once you've got your grip down and your meat has rested, it's time to make those slices. This stage is all about smooth, controlled movements. Sawing back and forth is rarely the best approach for tender meats.
The Angle of Attack: Blade Position for Clean Slices
When carving, the angle of your blade relative to the meat is critical. Aim for a shallow angle, typically around 20-30 degrees. This allows the knife to glide through the meat, slicing against the grain rather than tearing it.
Imagine you're trying to shave thin slices off the roast, rather than chopping through it. This angle is especially important for tougher cuts of meat.
Long, Smooth Strokes for Even Carving
The hallmark of a skilled carver is the ability to produce long, even slices. Instead of making short, choppy cuts, try to use the full length of your carving knife in one fluid motion. Starting from the base of the roast, draw the knife back towards you smoothly.
The sharpness of the blade, ideally something comparable to the standards found in high-carbon stainless steel, will do most of the work. Avoid a back-and-forth sawing motion, which can shred the meat and make it look messy.
Working Around Bones and Tough Spots
When you encounter bones or particularly dense areas of meat, adjust your technique. You might need to use a slightly firmer pressure or a more targeted angle to navigate around them. For very hard bones, a cleaver or a smaller utility knife might be more appropriate, but for most carving tasks, your sharp carving knife should suffice with careful maneuvering.
If you're dealing with a whole chicken or turkey, understanding where the major bones lie can help you plan your cuts for maximum yield. For those who often cook large birds, understanding the best countertop appliances can also improve kitchen efficiency; for instance, a compact freezer can help store leftovers.
Common Carving Knife Mistakes to Sidestep
Even with the right tools and basic technique, a few common pitfalls can turn a potentially beautiful roast into a mangled mess. Being aware of these will help you avoid them.
The Danger of a Dull Blade
This is perhaps the most frequent mistake. A dull carving knife requires excessive force, increasing the risk of slipping and causing injury. It also tears the meat fibers instead of slicing cleanly, resulting in a less appealing presentation and potentially drier meat because the juices are squeezed out.
Our research consistently shows that a sharp knife is not only more effective but also significantly safer to use. Per general cutlery standards, blades should be honed regularly and sharpened when necessary.
Why Rushing Leads to Tearing
As mentioned earlier, resting your meat is crucial. But even after resting, rushing the carving process will lead to tearing. When you pull the knife too quickly or use short, jerky motions, you’re essentially ripping through the meat’s structure.
Take your time, focus on smooth, deliberate strokes, and let the knife do the work. This is especially true for delicate meats like fish or certain poultry cuts.
Over-Carving and Damaging Your Roast
Sometimes, home cooks get a little too enthusiastic and end up carving more than is needed or carving too deeply into the roast, potentially drying it out. Carve only what you intend to serve, or carve in batches. If you're serving a large crowd, it's often better to carve slices and arrange them on a platter rather than carving the entire roast at once.
This keeps the remaining meat protected by its natural juices and structure. For extremely large roasts, consider if a different type of appliance might be more suitable for initial cooking, like a large cooking pot.
Beyond Roast Beef: Carving Other Meats and Poultry
While carving roast beef is a common scenario, the principles of using a carving knife extend to many other proteins. The technique might need slight adjustments based on the texture and structure of the meat.
Carving a Turkey or Ham
Carving a turkey or ham involves similar principles: rest the meat, use a sharp knife, and make long strokes. For a turkey, you'll typically start by removing the legs and thighs, then slicing the breast meat. For hams, you might be slicing across the grain or against it depending on the cut and whether it's bone-in or boneless.
Understanding the bone structure is key here to maximize yield and ease of carving. Manufacturer guides for specific models often suggest angles for different poultry and meat types.
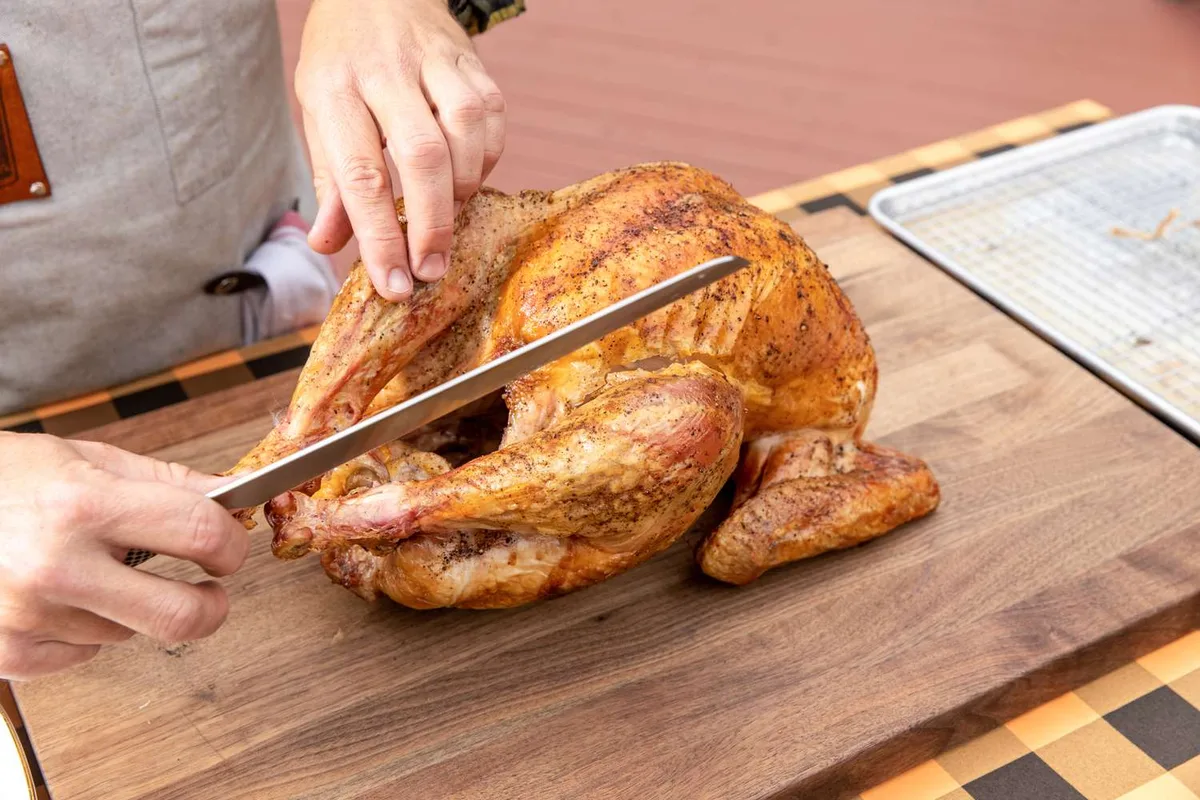
Image source: Bing (Web (fair-use with source credit))
For instance, when carving a boneless ham, holding it steady with a roasting fork is essential. Then, begin slicing from the thinner end, working your way towards the thicker end, keeping your slices consistent in thickness. This process generally requires a knife that's agile enough to navigate curves and firm enough to slice through denser parts.
If you find yourself needing to store large amounts of leftovers, a chest freezer can be a great investment.
Slicing Through Leg of Lamb or Fish
Carving a leg of lamb typically involves identifying the grain of the meat and slicing across it. You’ll often start by removing the bone and then working in long, downward strokes. For fish, especially larger whole fish, the approach is more delicate.
You’ll want to use a very sharp knife, possibly a more flexible one, and slice gently to avoid breaking up the delicate flesh. The goal is to create clean fillets or steaks. For very large fish or cuts, having a large, stable cutting surface is paramount; a compact dishwasher might help with the cleanup afterward.
Keeping Your Carving Knife in Top Shape
A great carving knife is an investment, and like any good tool, it needs proper care to perform its best. Neglecting maintenance can quickly turn a sharp, effective knife into a dull, frustrating one, and even lead to safety hazards. Taking a few moments after each use, and a bit more periodically, will ensure your knife stays sharp and ready for your next carving task.
Daily Cleaning and Storage
After each use, hand wash your carving knife immediately with warm, soapy water. Avoid putting it in the dishwasher, as the harsh detergents and high heat can dull the blade, damage the handle (especially if it's wood), and potentially cause rust. Rinse it thoroughly and dry it completely with a soft cloth before storing it.
Persistent moisture can lead to corrosion, even on stainless steel.
Proper storage is key to protecting both the blade and your fingers. A knife block, a magnetic wall strip, or individual sheaths for each knife are excellent options. Avoid simply tossing it into a drawer where it can bang against other utensils, which dulls the edge and poses a cutting risk when you reach in.
Honing vs. Sharpening: When and How
It’s important to distinguish between honing and sharpening. Honing, which you should do regularly, even before each use if you carve frequently, realigns the microscopic teeth on the blade’s edge that get bent out of shape during use. This helps maintain sharpness.
Sharpening, on the other hand, actually removes a small amount of metal to create a new, sharp edge. This is done less frequently, perhaps once or twice a year, depending on usage and blade quality.
You can hone your knife using a honing steel. Hold the steel vertically and draw the blade down its length at a consistent shallow angle (around 20 degrees), alternating sides. For sharpening, specialized sharpening stones or professional sharpening services are recommended for best results.
Our research suggests that professional sharpening can restore a blade to factory-sharpness, a level often difficult to achieve with home methods. If you frequently use knives for tough tasks, consider looking into options for best compact freezer storage for leftovers you’ll need to sharpen for later.
Frequently Asked Questions About Carving Knives
How often should I sharpen my carving knife?
You should sharpen your carving knife when it no longer slices cleanly through materials like paper or tomatoes with minimal pressure. For most home users, this might be every six months to a year. Frequent honing will extend the time between sharpenings.
Can I use a chef's knife instead?
Yes, in a pinch, a sharp chef's knife can be used. However, carving knives are specifically designed with longer, thinner blades that offer better control for long, even slices. A chef's knife is generally wider and shorter, making it less ideal for delicate carving tasks.
What's the difference between a carving knife and a slicing knife?
While often used interchangeably, carving knives are typically a bit shorter and broader than slicing knives. Slicing knives are usually longer and narrower, sometimes featuring a Granton edge (dimples) to reduce friction and prevent meat from sticking. Both are designed for smooth, efficient slicing.
If you’re dealing with a very large roast, you might want to consider the practicality of a best side by side refrigerator for storing it before cooking.
How do I store my carving knife safely?
Store your carving knife in a dedicated knife block, a magnetic strip, or in individual sheaths. This protects the blade from damage and prevents accidental cuts when reaching into drawers. Never store it loose amongst other utensils.