How to Oil a Wooden Cutting Board
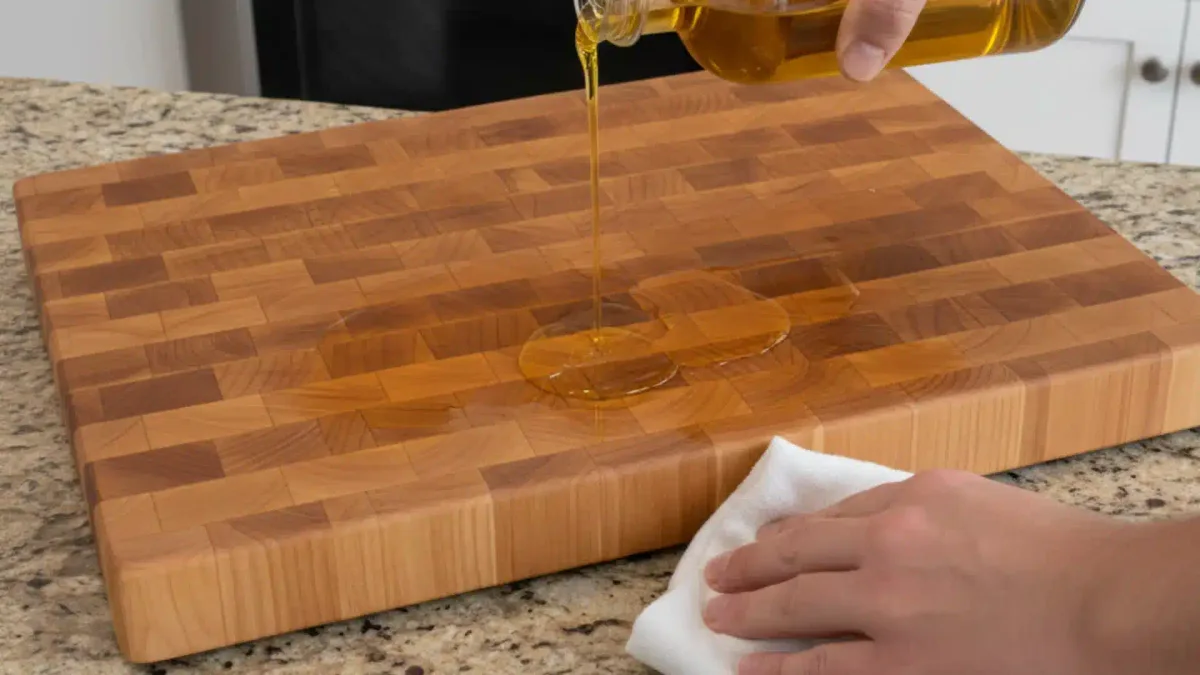
Image source: Bing (Web (fair-use with source credit))
How to Oil a Wooden Cutting Board
Your wooden cutting board is a workhorse in the kitchen, but over time, it can start to look a little dull and dry. Knowing how to oil a wooden cutting board properly is key to keeping it in great shape for years. This simple maintenance task not only preserves the wood but also makes your board more hygienic and a joy to use for all your food prep needs.
Proper oiling prevents moisture loss, which means your board won't warp or crack. According to the U.S. Department of Agriculture (USDA), proper care of wooden kitchenware helps maintain its integrity and prevent bacterial growth.
Let's dive into what you need to know to keep your board looking and functioning its best.
Quick Answer
To oil a wooden cutting board, first clean and dry it thoroughly. Apply a generous amount of food-grade mineral oil or a specialized wood conditioner to the entire surface. Let it soak in for at least 30 minutes, then wipe off any excess.
Repeat as needed until the wood no longer absorbs oil readily. This process protects the wood and extends its lifespan.
Why Oiling Your Wooden Cutting Board Matters
Keeping your wooden cutting board properly oiled isn't just about making it look pretty; it's about preserving its functionality and longevity. Wood is a natural material that, much like your skin, needs moisture to stay healthy and resilient. Without it, the wood begins to lose its natural oils, becoming dry, brittle, and more susceptible to damage.
Our research indicates that neglecting this simple maintenance can lead to several issues. The wood can shrink and warp, causing an uneven surface that’s harder to cut on and more difficult to clean effectively. Furthermore, dry wood is more porous, meaning it can absorb liquids and food particles more easily, creating an environment where bacteria can thrive.
Properly oiled boards are more water-repellent, which is a significant factor in maintaining a sanitary kitchen workspace.
Choosing the Right Oil for Your Board
This is where many people can make a mistake, and it's an easy one to avoid. Not all oils are created equal when it comes to cutting boards. You absolutely should steer clear of common kitchen oils like olive oil, vegetable oil, or canola oil.
These oils, while fine for cooking, can go rancid over time. As they break down, they can develop an unpleasant odor and leave a sticky residue on your board, which is the opposite of what you want.
Instead, focus on oils specifically designed for wood or food-grade mineral oil.
- Food-Grade Mineral Oil: This is the go-to recommendation for most cutting board owners. It's inexpensive, readily available, and most importantly, it won't go rancid. It’s colorless and odorless, so it won’t alter the look or smell of your board. You can typically find this in the pharmacy section of most drugstores or supermarkets.
- Wood Conditioners (Oil/Wax Blends): Many brands offer specialized cutting board conditioners. These are usually a blend of food-grade mineral oil and waxes like beeswax or carnauba wax. The wax provides an extra layer of protection and a smoother finish. These are excellent choices for an enhanced protective barrier.
- Pure Tung Oil or Walnut Oil: These are natural drying oils that polymerize (harden) over time, offering excellent protection. However, it's crucial to ensure they are 100% pure and not mixed with solvents or additives often found in "tung oil finishes." Be mindful of nut allergies, as these can be a concern for some individuals.
Always check the product label to confirm it's food-safe and intended for cutting boards or kitchen utensils.
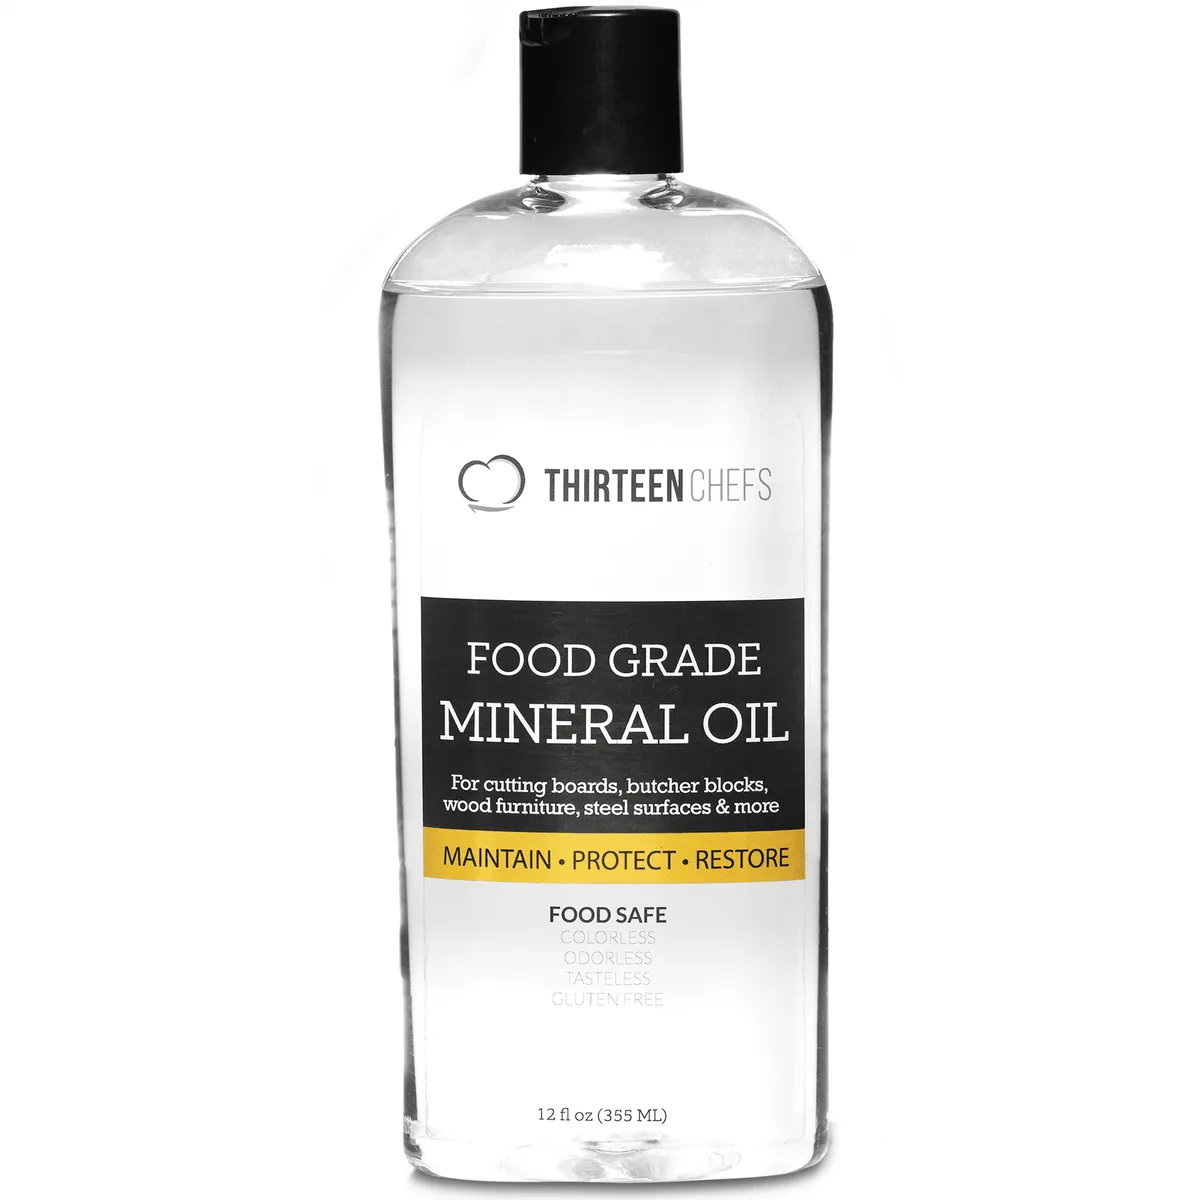
Image source: Bing (Web (fair-use with source credit))
The Simple Step-by-Step Oiling Process
Getting your cutting board oiled is a straightforward process that takes minimal time but makes a huge difference. It’s about saturating the wood so it can better resist moisture and stains. Think of it as giving your board a spa treatment.
Here's how to do it:
- Prep Your Board: Start by making sure your cutting board is clean and completely dry. If you've just washed it, let it air dry thoroughly. For boards that feel a bit rough, you can lightly sand them with a fine-grit (220-grit) sandpaper in the direction of the wood grain. Afterward, wipe away any dust with a clean, dry cloth.
- Apply the Oil: Grab a clean, lint-free cloth or a few paper towels. Pour a generous amount of your chosen food-grade mineral oil or wood conditioner onto the cloth. Begin rubbing the oil all over the surface of the board. You want to apply it liberally, ensuring you cover every inch of the main cutting surface.
- Let it Soak: Once the board is coated, let it sit undisturbed for at least 15 to 30 minutes. This allows the wood fibers to absorb the oil. For boards that appear particularly dry, you can let the oil soak in for several hours or even overnight.
- Wipe Off Excess: After the soaking period, take a clean, dry cloth and wipe away any oil that the wood hasn't absorbed. The board should feel smooth and slightly lustrous, not greasy or wet.
That's it for one application!
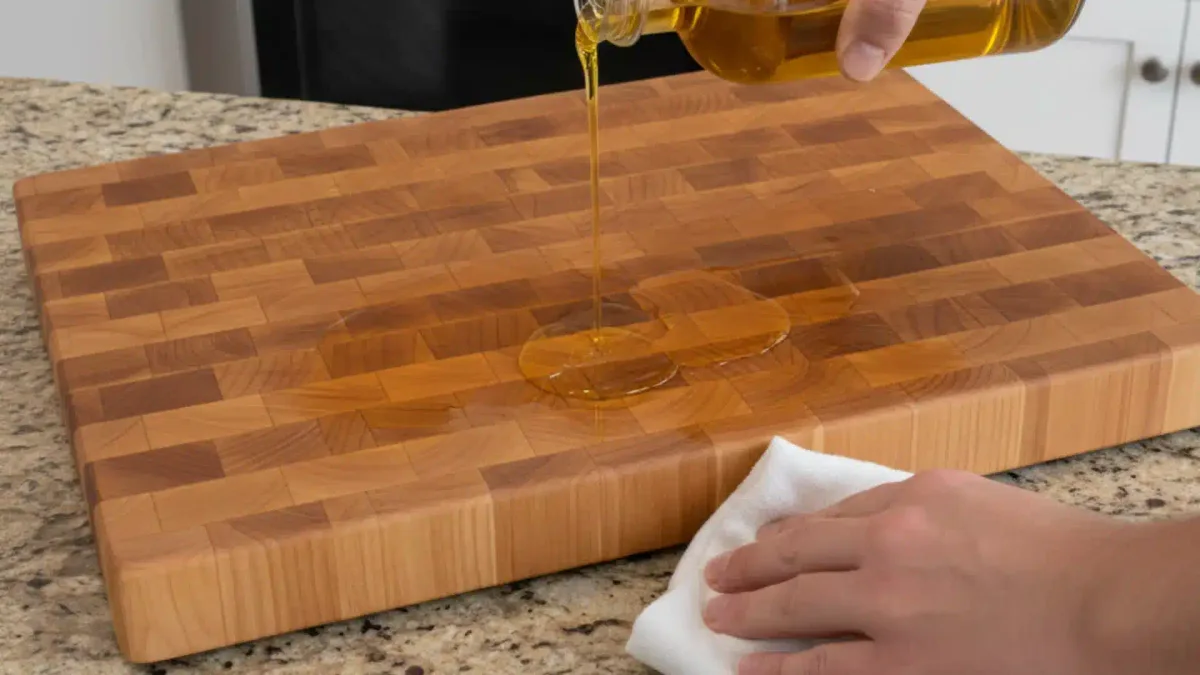
Image source: Bing (Web (fair-use with source credit))
How Often Should You Oil Your Board?
There's no hard and fast rule for how often to oil your wooden cutting board, as it really depends on how you use it and the environment it's in. The best indicator is often the board itself. When you notice the wood starting to look dull, feel dry to the touch, or see water no longer beading up but instead soaking in quickly, it's a clear sign that it's time for another oiling.
As a general guideline, most households will benefit from oiling their cutting boards about once a month. If you're a heavy user, preparing meals daily, or if you live in a very dry climate, you might need to oil it more frequently, perhaps every two weeks. Conversely, if your cutting board sees less action, oiling it every two to three months could be sufficient.
For brand new boards, it's a good idea to oil them more frequently during the first few weeks until they become well-saturated. This initial conditioning helps establish a good base of protection.
Common Mistakes to Avoid When Oiling
Even with a straightforward process like oiling a cutting board, there are a few common missteps that can hinder your efforts or even damage the board. Being aware of these can save you time and ensure your board stays in top condition.
- Using the Wrong Oil: As mentioned, using standard cooking oils like vegetable, olive, or canola oil is a big no-no. These will eventually turn rancid, leaving your board with an unpleasant smell and a sticky, unhygienic surface. Stick to food-grade mineral oil or specialized wood conditioners.
- Not Drying the Board First: Applying oil to a wet or damp board prevents proper absorption. The moisture in the wood can create a barrier, trapping water and potentially leading to mold or mildew issues underneath the oil layer. Always ensure your board is bone dry before you start.
- Skipping the Edges and Underside: It’s easy to focus only on the main cutting surface, but the edges and the bottom of the board also need protection. Neglecting these areas can lead to uneven drying and warping, as those parts will be more exposed to moisture changes.
- Over-Oiling (and not wiping): While it’s hard to truly "over-oil" in terms of damaging the wood, leaving excessive oil on the surface without wiping it off can result in a sticky, lint-collecting mess. The wood can only absorb so much; anything beyond that needs to be wiped away.
Expert Tips for Long-Term Board Care
Beyond the regular oiling, a few extra practices can significantly prolong the life and appearance of your wooden cutting board. Think of these as the "pro moves" that keep your board looking its best and functioning optimally for years.
- Gentle Cleaning is Key: Always hand-wash your wooden cutting board. A mild dish soap and warm water are usually sufficient. Avoid harsh detergents or abrasive scrubbers, as these can strip away the protective oil layer and damage the wood grain.
- Stand Up to Dry: After washing, always stand your cutting board on its edge to air dry. This allows air to circulate around both sides, preventing moisture from getting trapped and promoting even drying. Stacking boards or laying them flat can lead to uneven drying and potential warping.
- Address Stains and Scratches Promptly: Minor stains can often be lightened with a paste of baking soda and water. For deeper scratches or significant dullness, a light sanding with fine-grit sandpaper, followed by re-oiling, can work wonders. Just remember to sand in the direction of the wood grain for the best results.
- Consider a Dedicated Board: If you prepare a lot of raw meats and then switch to produce, it's wise to have separate boards to prevent cross-contamination. Keeping separate boards also means you might oil them at slightly different frequencies depending on their usage. For instance, a board dedicated to raw meats might need more frequent deep cleans, but not necessarily more oiling than a general-use board if both are properly maintained. If you use your cutting boards extensively for both raw meats and produce, you might find it useful to explore options like compact dishwashers for sanitizing certain items, though wooden boards themselves should never go in a dishwasher.
- Store Properly: When not in use, store your board in a cool, dry place away from direct heat sources like ovens or radiators, which can cause the wood to dry out and crack.
Following these tips, alongside regular oiling, ensures your wooden cutting board remains a safe, beautiful, and indispensable part of your kitchen for a long time.
Frequently Asked Questions About Board Oiling
How long does it take to oil a cutting board?
The actual application of oil usually takes about 5-10 minutes. However, you need to factor in the soaking time, which should be at least 15-30 minutes, and then the wiping-off period. For best results, especially on a dry board, letting it soak for a few hours or overnight is recommended.
Can I use coconut oil on my cutting board?
It's generally not recommended to use standard coconut oil. While it's a kitchen oil, it can eventually go rancid, similar to other cooking oils. Fractionated coconut oil, which has had the long-chain fatty acids removed and doesn't solidify, might be a better option if you prefer a coconut-based product, but food-grade mineral oil remains the safest, most stable choice.
What should I do if my cutting board looks dull after oiling?
If your board still looks dull after oiling, it likely hasn't absorbed enough oil or needs another application. Make sure you've wiped off all the excess. If it consistently looks dull, it might be time for a more thorough conditioning, possibly involving a beeswax blend, or it could indicate the wood itself is very dry and needs multiple oiling sessions.
Is it okay to oil my bamboo cutting board?
Yes, bamboo cutting boards can also benefit from oiling. Bamboo is technically a grass, but it’s still a porous material that can dry out and become brittle. The same oils and conditioning methods recommended for wood are suitable for bamboo cutting boards.
Just follow the same cleaning and application steps.