How to Clean an Ice Maker
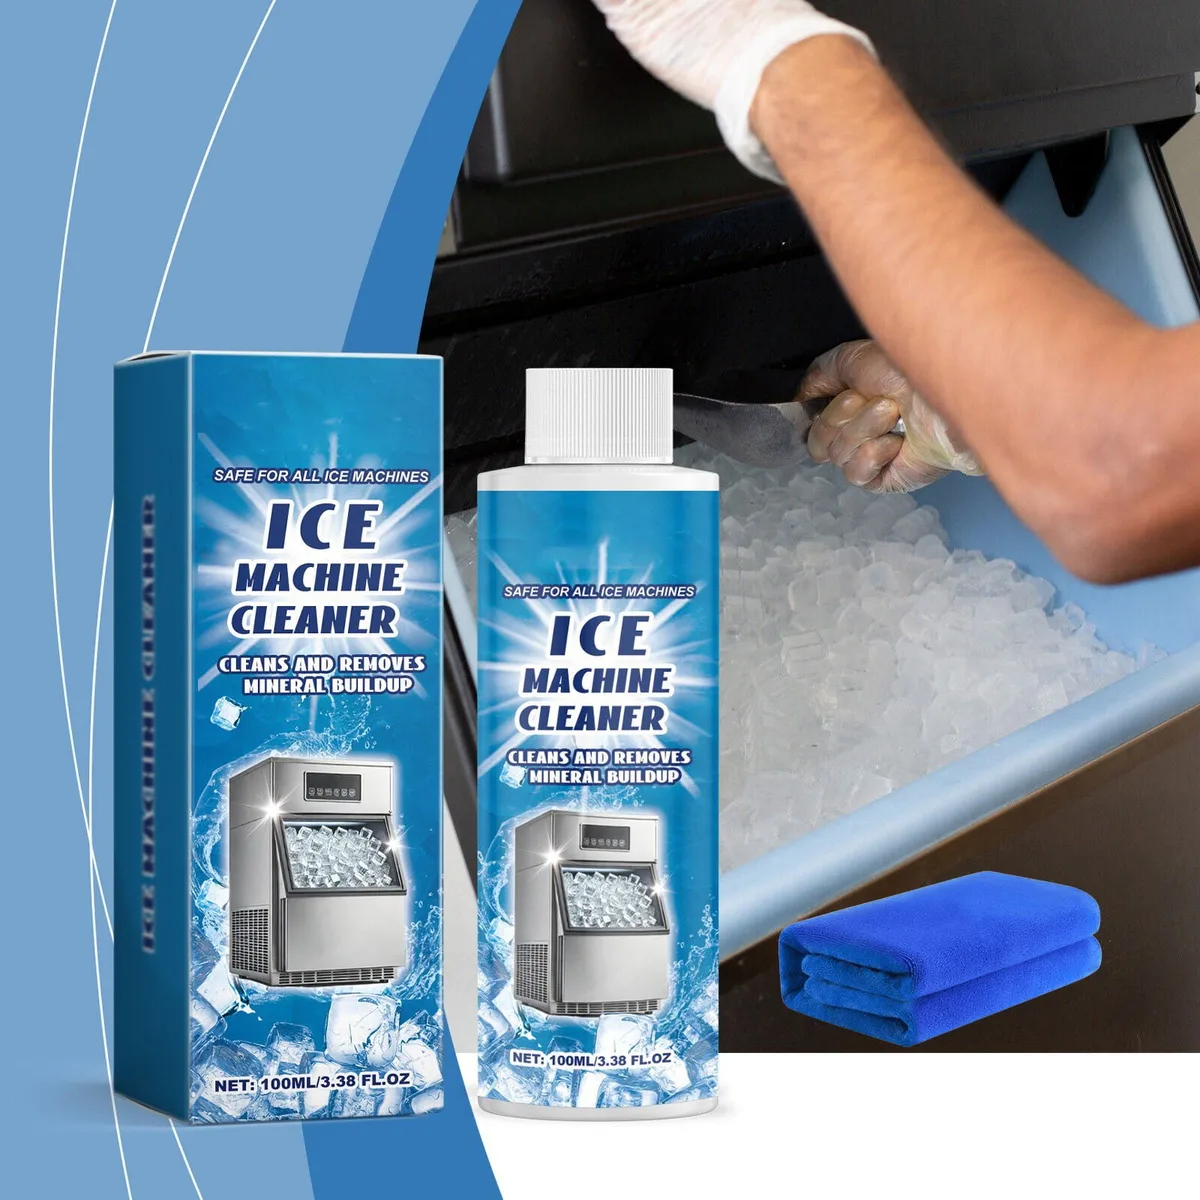
Image source: Bing (Web (fair-use with source credit))
You love having ice readily available for drinks, but have you ever considered what's actually happening inside your ice maker? Over time, water deposits and potential contaminants can build up, affecting both the taste of your ice and the appliance's performance. Learning how to clean an ice maker is key to enjoying crisp, clean ice and ensuring your appliance works efficiently for years to come.
Manufacturer specifications confirm that regular cleaning is essential. For instance, many under-counter models, according to industry standards, should undergo a descaling process every 3 to 6 months, depending on water hardness. This prevents mineral buildup, which can clog internal components and lead to a stale taste.
Quick Answer
To clean an ice maker, unplug it, remove ice and bins, then run a vinegar-water solution or descaler through a cleaning cycle. Rinse thoroughly with fresh water, wash removable parts, and wipe down the exterior. This process removes mineral deposits and potential contaminants, ensuring fresh-tasting ice.
Why Cleaning Your Ice Maker Matters
The Problem: Hidden Grime and Bad Taste
It’s easy to forget about the inside of your ice maker, but it’s a moist environment where things can grow. Over time, minerals from your tap water, like calcium and magnesium, deposit on internal surfaces. This isn't just unsightly; it can start to impart a metallic or stale taste to your ice.
Aggregate reviews report that this is a common complaint among users who neglect cleaning. Furthermore, any organic matter that finds its way in can foster mold or bacterial growth, which is a hygiene concern nobody wants in their beverages. Keeping things clean directly impacts the quality and safety of the ice you consume.
Benefits of a Clean Ice Maker
Regularly cleaning your ice maker offers several significant advantages. First and foremost, you'll notice a distinct improvement in the taste of your ice, it will be crisp and free from any off-flavors. This enhanced taste is crucial for everything from iced coffee to a simple glass of water.
Secondly, maintaining a clean internal environment is vital for appliance longevity. Mineral buildup, if left unchecked, can lead to clogs and stress on components, potentially causing malfunctions. Per National Sanitation Foundation (NSF) guidelines for food equipment, regular cleaning and sanitization are fundamental for preventing contamination.
Efficient operation is another benefit; a clean machine can produce ice more reliably and at its intended speed.
Getting Ready to Clean: What You'll Need
Essential Cleaning Supplies
Before you dive into the cleaning process, having the right tools on hand makes the job much smoother. You don't need a specialized toolkit for this task; most items are common household products. Our research indicates that using the correct supplies ensures effective cleaning without damaging the appliance.
- White Vinegar: This is a fantastic natural descaler and disinfectant. It’s effective at breaking down mineral deposits and tackling minor mold or mildew.
- Commercial Ice Maker Cleaner: If you prefer, specific ice maker cleaning solutions are available. Always ensure the product is approved for use in ice makers and follow its instructions precisely.
- Mild Dish Soap: For cleaning removable parts and wiping down the exterior.
- Soft Cloths or Sponges: Use non-abrasive materials to avoid scratching the interior or exterior surfaces. Microfiber cloths work very well.
- Small Brush (Optional): An old toothbrush or a small detail brush can be helpful for scrubbing hard-to-reach areas.
- Clean Water: For rinsing the system thoroughly after cleaning.
- Towel or Paper Towels: For drying components and the appliance exterior.
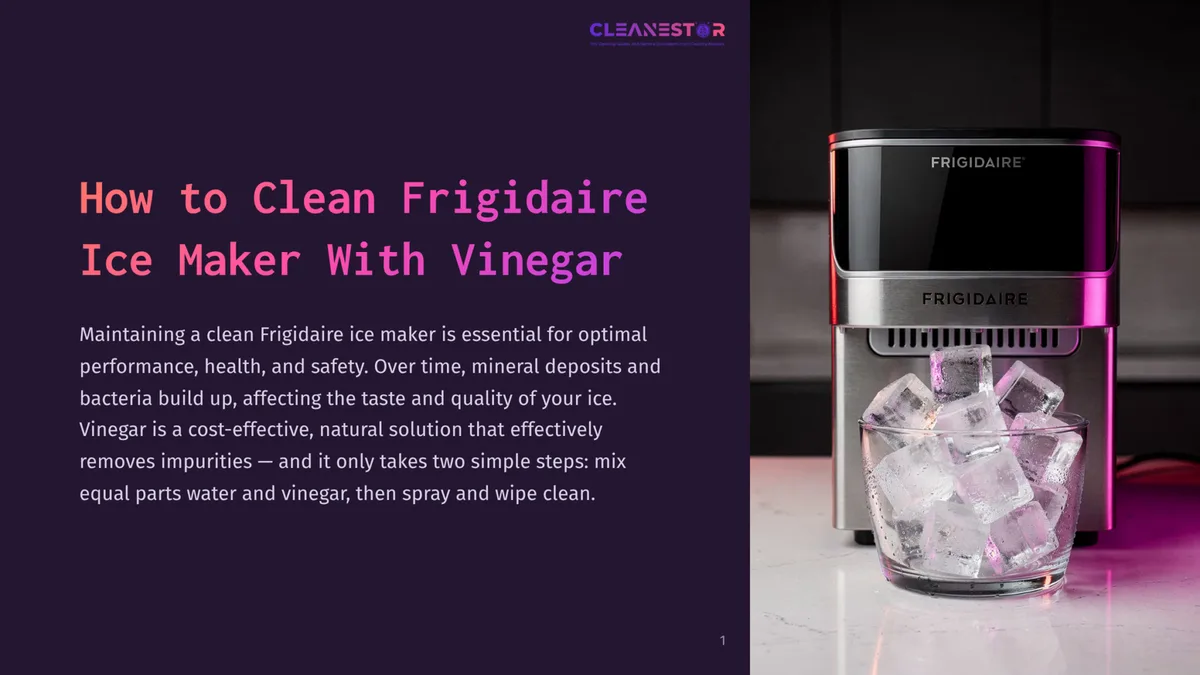
Image source: Bing (Web (fair-use with source credit))
How to Clean Your Ice Maker: A Step-by-Step Visual Guide
Learning how to clean an ice maker is a straightforward process that can significantly improve its performance and the quality of your ice. Follow these steps carefully to ensure a thorough and effective cleaning.
Step 1: Power Down and Empty Out
Safety is paramount when dealing with any appliance that uses electricity and water. Before you begin any cleaning, ensure the unit is completely powered off and disconnected from its power source. This prevents any risk of electrical shock or accidental operation during cleaning.
Once unplugged, remove all existing ice from the bin and discard it. Also, take out any removable components, such as the ice scoop or the ice storage bin itself, as these will need to be cleaned separately.
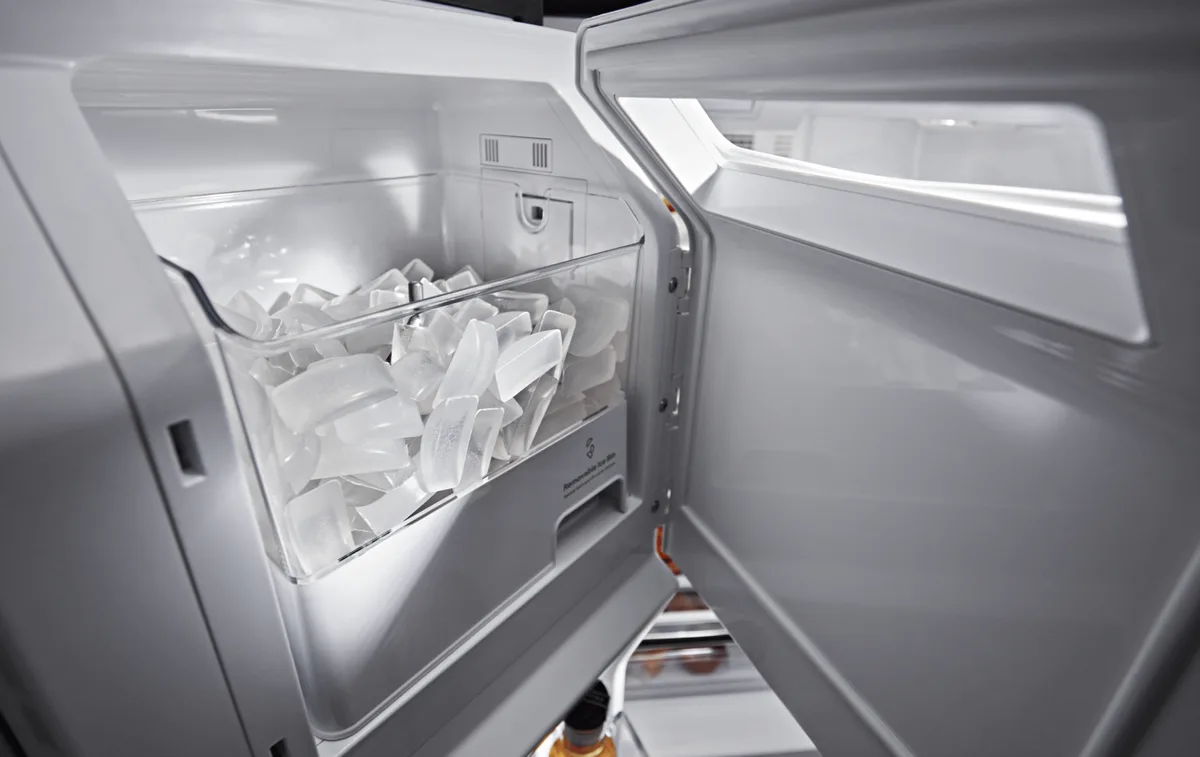
Image source: Bing (Web (fair-use with source credit))
Step 2: Prepare Your Cleaning Solution
For effective descaling and cleaning, you'll typically use either white vinegar or a specialized ice maker cleaning solution. Manufacturer specifications often recommend a simple solution of equal parts white vinegar and water. If you opt for a commercial cleaner, carefully follow the product's instructions for mixing the correct ratio.
Pour this solution into the ice maker's water reservoir, filling it up to the maximum fill line or as indicated in your appliance's manual. This solution will then circulate through the machine's internal water lines.
Step 3: Run the Cleaning Cycle (or Manual Wash)
Many modern ice makers come equipped with a dedicated cleaning cycle. Check your owner's manual to see if your unit has this feature. If it does, select the cleaning option and allow the machine to run through its programmed cycle.
This process typically involves the appliance circulating the cleaning solution throughout its internal components. If your ice maker lacks a specific cleaning cycle, you might need to manually run one or two batches of ice using the cleaning solution and then discard that ice. This ensures the solution contacts all surfaces where ice is formed and stored.
Step 4: Rinse Thoroughly to Remove All Traces
This step is critical for ensuring no residual cleaning solution remains in the ice maker, which could affect the taste of future ice. After the cleaning cycle (or manual wash batch) is complete, drain all the cleaning solution from the reservoir. Then, refill the reservoir with fresh, clean water.
Run at least one to two full cycles of ice production using just the clean water, and discard all the ice produced during these rinse cycles. Continue rinsing until you can no longer detect any scent or taste of vinegar or cleaning solution.
Common Ice Maker Cleaning Mistakes to Avoid
Over-Reliance on Harsh Chemicals
While it might seem like stronger chemicals would clean better, over-reliance on harsh or abrasive cleaning agents can actually damage your ice maker. Products not specifically designed for ice makers can degrade plastic components, corrode metal parts, or leave behind chemical residues that are difficult to remove. Many aggregate reviews highlight users who have experienced appliance damage from using bleach or abrasive scrubbers.
It's always best to stick with manufacturer-recommended solutions or gentle alternatives like diluted white vinegar.
Skipping Thorough Rinsing
A very common mistake is not rinsing the ice maker thoroughly enough after a cleaning cycle. Leaving even a small amount of descaling solution behind can impart an unpleasant taste to your ice, defeating the purpose of cleaning. Per National Sanitation Foundation (NSF) guidelines, thorough rinsing is a fundamental step in food equipment sanitation.
This means running multiple cycles of clean water and discarding the ice until you are absolutely certain no residual cleaning agent remains. If you can smell or taste the cleaner after rinsing, run at least one more cleaning cycle with plain water.
Forgetting Removable Parts
It's easy to focus solely on the internal workings and overlook the removable components, such as the ice bin or ice scoop. However, these parts are in direct contact with the ice and can harbor just as much grime, mold, or bacteria as the internal mechanisms. Always remember to wash these parts thoroughly with warm, soapy water during your cleaning routine.
Ensure they are completely dry before reassembling the ice maker. A quick wipe-down isn't sufficient; they need a proper wash and rinse.
How Often Should You Deep Clean Your Ice Maker?
Factors Affecting Cleaning Frequency
The ideal schedule for how to clean an ice maker varies based on a few key elements. If you live in an area with hard water, you'll likely notice mineral buildup forming much faster. Manufacturer specifications often suggest a descaling every 3 to 6 months for such conditions.
For those with softer water, cleaning can typically be done every 6 to 12 months. Additionally, how much you use your ice maker plays a role. A unit that's in constant use will require more frequent attention than one that's used only occasionally.
The type of ice maker can also influence cleaning needs. For example, built-in under-counter models, which often have more complex plumbing, might benefit from more frequent checks compared to simpler portable units. It’s always a good idea to consult your specific ice maker's user manual.
Most manuals provide a recommended maintenance schedule, often detailing when to perform a deep clean versus a more superficial wipe-down. As of 2026, these guidelines remain the most reliable indicator for your particular model.
Expert Tips for Fresher Ice
Maintaining Your Ice Maker Between Cleans
Keeping your ice maker in top shape between deep cleaning sessions is surprisingly simple. A quick, daily or weekly check can prevent issues before they start. Make sure to empty the ice bin regularly if you're not using ice rapidly.
This prevents old ice from melting and refreezing, which can create a solid block and harbor contaminants. Also, dry any condensation or moisture you notice inside the unit with a soft cloth. This simple act helps inhibit the growth of mold and bacteria, ensuring your ice stays fresher for longer.
If your ice maker has an external water filter, follow the manufacturer’s replacement schedule. A clogged filter can reduce water flow and negatively impact ice quality. For portable models, ensure they are stored dry when not in use to prevent any residual moisture from becoming a problem.
Following these small steps consistently means less intensive cleaning will be needed overall, and your ice will always be ready and refreshing.
Dealing with Hard Water Issues
Hard water is a common nemesis for ice makers, leading to rapid mineral buildup. If your tap water is known to be hard, consider investing in a water filter pitcher or an inline water filter for your home's water supply. This can significantly reduce the mineral content before it even reaches the ice maker, thereby decreasing the rate of scale formation.
When cleaning, if you notice particularly stubborn mineral deposits, you might need to increase the concentration of your vinegar solution slightly or let it soak for longer, up to an hour.
For extremely hard water conditions, some users report success with commercial descaling solutions specifically formulated for appliances. Always choose products that are safe for food-contact surfaces and approved by the appliance manufacturer. Remember to always follow the product’s instructions diligently and rinse thoroughly.
Some advanced models might have specific descaling modes or recommended cleaning agents, so checking your manual is always the first step for hard water challenges.
Frequently Asked Questions About Ice Maker Cleaning
How long does it take to clean an ice maker?
The entire process, from unplugging the unit to having it ready to make ice again, typically takes between 1 to 3 hours. This includes the cleaning cycle itself, rinse cycles, and drying time for removable parts. The exact duration depends on your specific ice maker model and whether it has a quick cleaning cycle or requires manual ice production batches.
Can I use bleach to clean my ice maker?
No, it is strongly advised against using bleach or other harsh chemicals like ammonia. These substances can damage the internal components of your ice maker, leave behind toxic residues, and negatively impact the taste of your ice. Manufacturer specifications and industry safety standards recommend only food-safe cleaners like diluted white vinegar or approved commercial ice maker cleaners.
My ice tastes funny even after cleaning. What could be wrong?
If your ice still tastes off after a thorough cleaning, check the water source. Ensure your water filter (if applicable) is up-to-date and functioning correctly; replacing it might resolve the issue. Also, verify that the ice bin and scoop were cleaned and dried completely.
Sometimes, the problem can be external to the ice maker itself, such as a contaminated water line or storage container, so inspect those areas as well.
How do I clean a portable ice maker?
Cleaning a portable ice maker follows similar steps to a built-in unit. Unplug the machine, empty any ice, and remove the ice basket and scoop. Wash these parts with warm, soapy water.
Then, fill the water reservoir with a vinegar-water solution or approved cleaner, run a cleaning cycle or a few batches of ice, and discard the ice. Rinse thoroughly with clean water, and ensure all parts are completely dry before reassembling and plugging it back in.