How to Clean a Countertop Ice Maker
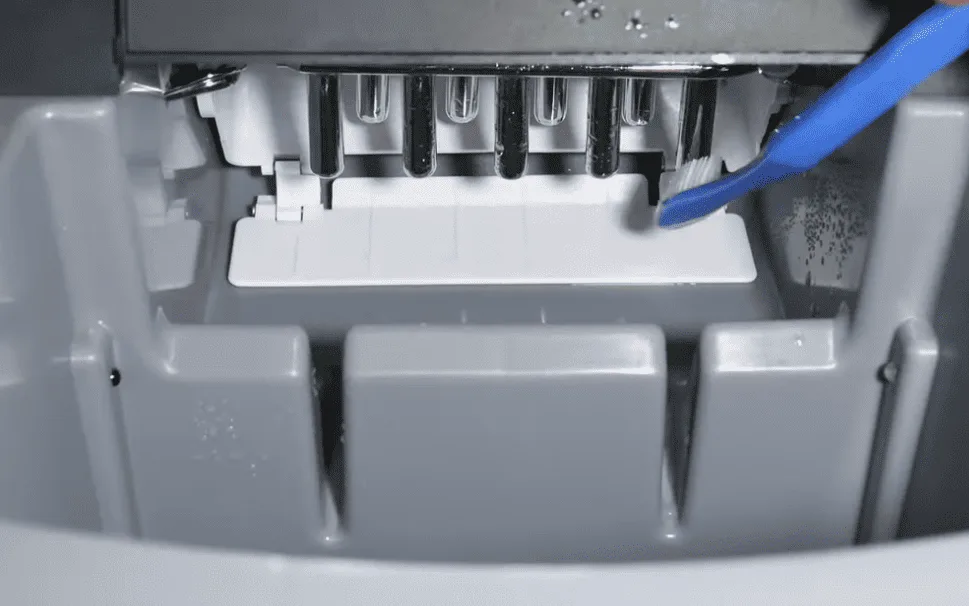
Image source: Bing (Web (fair-use with source credit))
Cleaning Your Countertop Ice Maker: A Step-by-Step Guide
You bought a countertop ice maker for quick, convenient ice, but lately, that ice hasn't tasted quite right. Or maybe you've noticed a bit of gunk forming inside. Keeping your portable ice maker sparkling clean is key to delicious, safe ice and ensuring it lasts for years.
This guide walks you through exactly how to do it.
Proper maintenance, including regular cleaning, is vital for all countertop ice makers. Manufacturer specifications often recommend a cleaning cycle monthly, or as soon as visible build-up appears, to prevent mold and mineral deposits. Following these steps ensures your ice stays fresh and your machine runs efficiently, no matter the brand or model.
Quick Answer
To clean a countertop ice maker, unplug it, empty the water reservoir, and wipe down the interior with a damp cloth. Use a food-grade cleaner or a diluted vinegar solution for tougher grime and scale. Rinse thoroughly, then air dry all components before reassembling.
Why Cleaning Your Ice Maker Matters
Mold, Scale, and What Else?
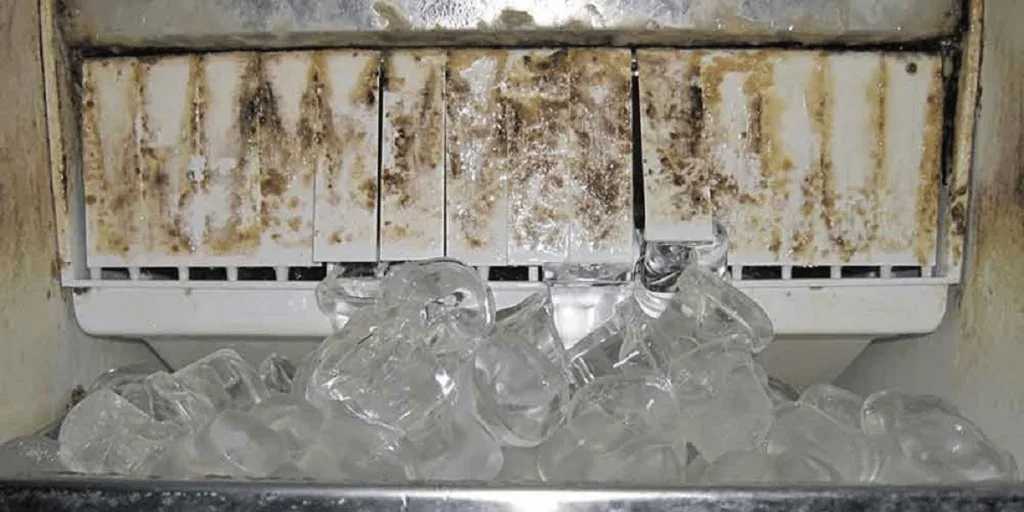
Think about it: water sits in a reservoir, gets processed, and then forms ice. That moist environment is a breeding ground for all sorts of unwanted guests. Over time, mineral deposits from your tap water can build up, creating a chalky layer known as scale.
This scale isn't just unsightly; it can clog internal components and affect ice production. Worse, stagnant water and residue can lead to the growth of mold and mildew. Organic growths can cause a distinct, unpleasant odor and, more importantly, can impact the safety of the ice you consume.
Cloudy Ice and Bad Taste: The Warning Signs
Your countertop ice maker might be trying to tell you something. If the ice cubes it produces are consistently cloudy, that's often a sign of mineral buildup or dissolved solids in the water. While some cloudiness is normal and just means the ice froze quickly, persistent cloudiness can point to a cleaning issue.
Off-tastes or odors that transfer to your drinks are even more obvious indicators. If your water tastes stale, metallic, or a bit musty, it's time to give your ice maker a thorough cleaning. Ignoring these signs can lead to poor-tasting beverages and a machine that starts to underperform.
The Essential Cleaning Toolkit
Before you start, gather a few simple items. You won't need anything fancy, just everyday household supplies that are safe for food-contact surfaces. Having everything ready means you can tackle the cleaning efficiently without interruption.
Here’s what you'll want on hand:
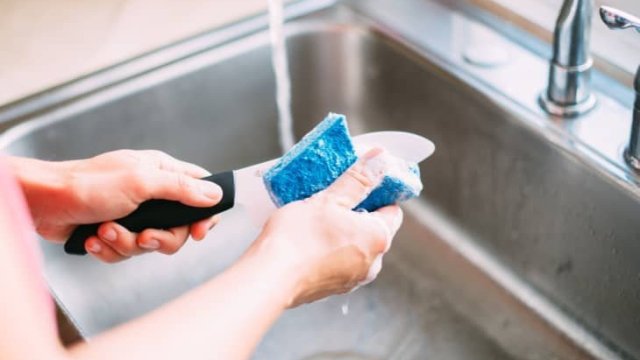
- Soft cloths or sponges: Microfiber cloths are great because they’re absorbent and won’t scratch surfaces. Avoid abrasive scrubbers.
- Mild dish soap: For general wiping and cleaning.
- White vinegar: A natural disinfectant and descaler, excellent for breaking down mineral deposits.
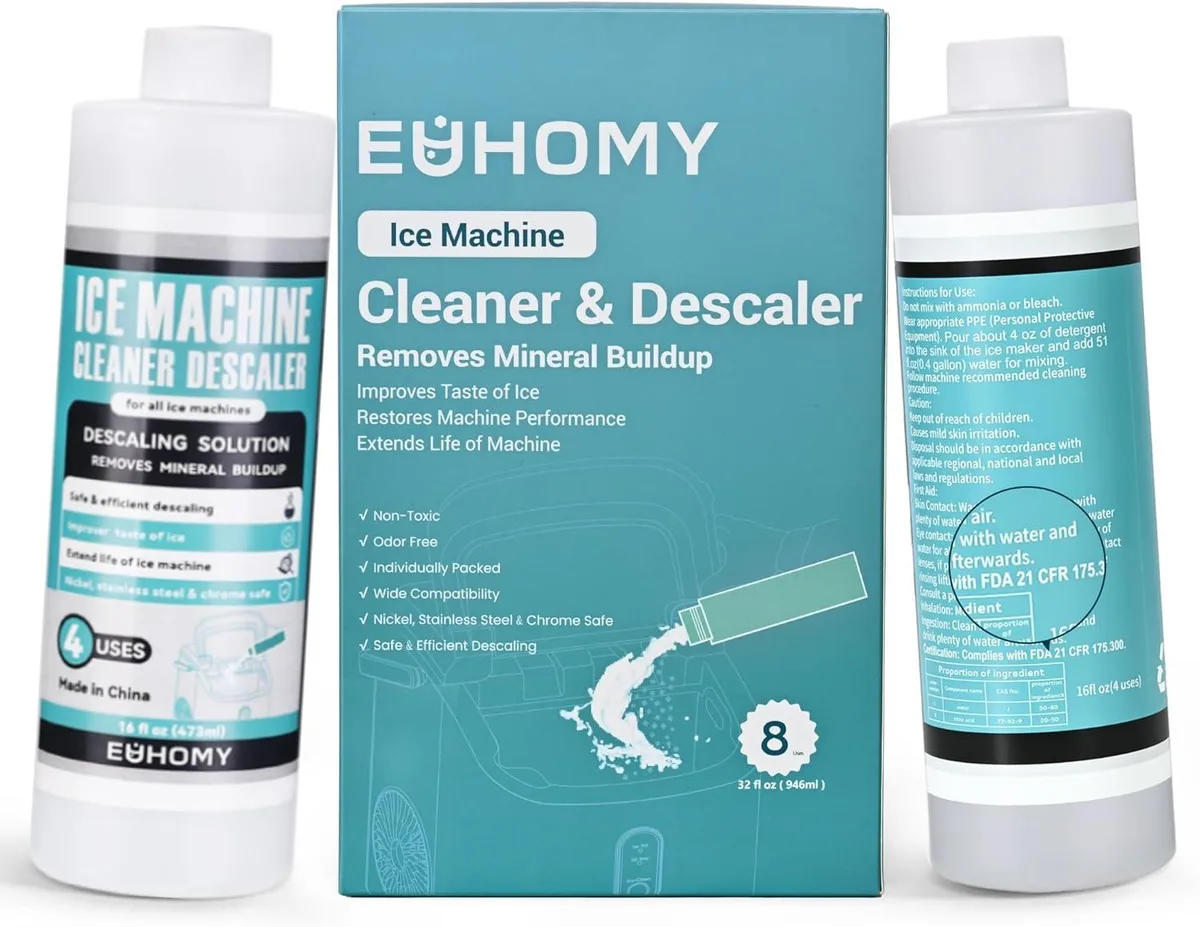
- Food-grade ice maker cleaner (optional): Many manufacturers recommend specific cleaning solutions designed for their machines. If you have one, use it according to its instructions.
- Small brush: An old toothbrush or a small cleaning brush can help get into nooks and crannies.
- Bucket or basin: For rinsing parts or holding cleaning solutions.
- Clean towel: For drying accessible parts.
Routine Cleaning: Keeping It Fresh Weekly
Giving your ice maker a quick clean once a week is the easiest way to prevent major build-up and keep your ice tasting fresh. This isn't a deep scrub; it's more like a light tidy-up to remove any immediate residue. It takes just a few minutes but makes a huge difference in the long run.
Daily Wipes
If you use your ice maker daily, a quick wipe-down after emptying the ice basket can be beneficial. Once the ice is scooped out, take a dry or slightly damp soft cloth and wipe around the inside of the ice chute and the ice basket. This removes any condensation or small ice chips that might be sticking around and prevents them from melting and pooling.
Weekly Rinse and Air Dry
This is your go-to maintenance step.
- Unplug the unit: Safety first! Always disconnect the power before you do any cleaning.
- Empty the ice basket: Remove all ice and discard it.
- Remove the ice basket and any other removable parts: This typically includes a drip tray or a water filter. Check your user manual for specific instructions on removing these components for your model.
- Rinse everything: Wash the ice basket, drip tray, and any other removable parts with warm water and a little mild dish soap. Rinse them thoroughly to remove all soap residue.
- Wipe the interior: Use a soft cloth dampened with plain water to wipe down the inside of the water reservoir and the ice chute.
- Air dry: Place all removed parts on a clean towel or drying rack and let them air dry completely. This is crucial to prevent mold growth.
Deep Cleaning and Descaling: The Monthly Mission
Once a month, or whenever you notice signs of mineral buildup or a faint odor, it's time for a more thorough cleaning and descaling. This process tackles the tougher stuff and ensures your machine is running at its best. Think of it as a spa day for your ice maker.
Step 1: Unplug and Disassemble
First things first: make sure the unit is unplugged. Then, remove all the same components you would for a weekly clean: the ice basket, drip tray, and any water filters. Set them aside to be washed separately.
Step 2: Cleaning the Interior Surfaces
With the removable parts out, it’s time to get inside the main unit. Use a soft cloth or sponge dampened with warm water and a small amount of mild dish soap to wipe down all interior surfaces. This includes the walls of the water reservoir, the sides where ice forms, and the area around the ice chute.
For stubborn spots, you might need a soft brush (like an old toothbrush) to gently scrub away residue.
Step 3: Descaling the Water System
This is where you tackle mineral buildup. Most countertop ice makers have a specific descaling cycle, or you can use a cleaning solution. Check your ice maker’s manual.
Many recommend using a solution of equal parts white vinegar and water. Some manufacturers also offer their own specialized ice maker cleaners.
- Using a Cleaning Solution: Fill the reservoir with your chosen cleaning solution (vinegar-water mix or commercial cleaner) up to the MAX fill line.
- Run a Cleaning/Descaling Cycle: If your ice maker has a dedicated cleaning or descaling button, press it and let the cycle run. If not, you might need to manually run an ice-making cycle with the cleaning solution in the reservoir. The goal is to let the solution circulate through the water lines and ice-making components.
Step 4: Rinsing Thoroughly
This step is critical to remove any cleaning solution residue. After the cleaning or descaling cycle is complete, drain all the cleaning solution from the reservoir. Fill the reservoir with fresh, clean water to the MAX line.
Run at least two full ice-making cycles using only fresh water. Discard all the ice produced during these cycles. This ensures no lingering taste or scent from the cleaning solution remains.
Step 5: Cleaning the Exterior
Don't forget the outside! Use a soft cloth dampened with water and a little mild dish soap to wipe down the exterior of the ice maker. Pay attention to the control panel and any vents.
Rinse the cloth and wipe down the exterior again with plain water to remove any soap. Dry the exterior thoroughly with a clean, soft towel.
Finally, reassemble your ice maker with the now-clean and dry parts. Plug it back in and run one more ice-making cycle to ensure everything is working perfectly before making ice for consumption. This entire deep cleaning process, from start to finish, typically takes about 45-90 minutes.
Common Ice Maker Cleaning Mistakes to Avoid
Even with the best intentions, a few common missteps can hinder your cleaning efforts or even damage your ice maker. Knowing these pitfalls ahead of time helps you sidestep them and ensure you're cleaning your appliance effectively and safely. Avoiding these errors means your ice maker will run better for longer.
Using Harsh Chemicals
Harsh cleaners like bleach, ammonia, or abrasive powders can damage the plastic and metal components inside your ice maker. They might seem like they’d sanitize more effectively, but they can also leave behind harmful residues that leach into your ice. Always stick to mild dish soap, white vinegar, or a cleaner specifically approved by the manufacturer.
Per FDA guidance, food contact surfaces should be cleaned with non-toxic, food-grade sanitizers, and all cleaning agents must be thoroughly rinsed away.
Forgetting the Water Lines
It’s easy to focus on the visible parts like the ice basket and reservoir, but the internal water lines and the evaporator plate (where ice forms) are prime spots for mold and scale. If you only wipe down the accessible surfaces, you're missing the main culprits for odors and poor ice quality. Many units have a specific descaling cycle designed to flush these areas.
If yours doesn't, you might need to be more diligent with your manual descaling process.
Not Drying Properly
Moisture is the enemy of a clean ice maker. If you reassemble the unit with parts that are still damp, you're creating a perfect environment for mold and mildew to start growing again immediately. Always allow every component, including the interior surfaces, to air dry completely before putting everything back together.
This might mean leaving the lid off for a few hours or even overnight if your unit has many nooks and crannies.
When to Call It Quits or Seek Professional Help
While regular cleaning and descaling can solve most issues, sometimes problems go beyond simple maintenance. If you've diligently followed the cleaning steps and are still experiencing issues, it might be time to consider other options. Recognizing when a problem is beyond your DIY capabilities is key to avoiding further damage or safety risks.
Persistent Odors or Taste
If you’ve thoroughly cleaned and descaled your ice maker multiple times, yet a persistent odor or off-taste remains, the issue could be deeper. This might indicate a problem with the refrigeration system itself or a type of mold that’s very difficult to remove without specialized equipment. In such cases, consulting a repair technician might be necessary.
Functional Issues After Cleaning
Did your ice maker suddenly stop producing ice after cleaning, or is it leaking water? While cleaning can sometimes dislodge small pieces of debris that might cause minor blockages, significant functional problems suggest a more serious issue. If you suspect you may have damaged a component during cleaning, or if the problem began immediately after, it’s best to refer to your appliance's troubleshooting guide or contact a service professional.
Some problems, like a malfunctioning water pump or a faulty evaporator, require expert diagnosis and repair.
Frequently Asked Questions About Ice Maker Cleaning
How often should I clean my countertop ice maker?
You should perform a routine clean weekly and a deep clean or descaling monthly. However, if you use heavily mineralized water or notice any signs of odor or buildup, you may need to clean it more frequently. Some manufacturers recommend a cleaning cycle as often as every two weeks.
Can I use vinegar to clean my ice maker?
Yes, diluted white vinegar is a common and effective cleaning agent for countertop ice makers. Mix equal parts white vinegar and water. Always rinse thoroughly afterward with clean water and run a few ice-making cycles to remove any vinegar taste or smell.
What if my ice maker doesn't have a cleaning cycle?
If your unit lacks a dedicated cleaning cycle, you can manually perform a cleaning by filling the reservoir with your cleaning solution (like vinegar and water). Then, initiate an ice-making cycle and let it run for about 10-15 minutes, allowing the solution to circulate through the system. After draining and rinsing, run several full ice-making cycles with clean water, discarding the ice from each.
This manual process helps to flush out the internal components.