How to Clean Wooden Utensils
Image source: Bing (Web (fair-use with source credit))
When it comes to your beloved wooden spoons and spatulas, knowing exactly how to clean wooden utensils is key to their longevity and your kitchen's hygiene. They soak up more than just flavors, so a little care goes a long way in preventing them from drying out, cracking, or harboring unwanted germs. We've gathered the essential steps and best practices.
Our research indicates that proper hand-washing and regular conditioning are paramount for maintaining wood's natural beauty and function. According to industry standards for food-safe materials, consistent maintenance can significantly extend the life of wooden kitchenware, preventing common issues like warping and splintering. Let's get them looking and feeling their best.
Quick Answer
To clean wooden utensils, always hand wash them with warm water and mild soap, then dry them immediately and thoroughly. Avoid dishwashers and prolonged soaking. For odors or stains, use a lemon and salt scrub or a baking soda paste, followed by a conditioning treatment with food-safe mineral oil.
The #1 Rule: Keep Them Out of the Dishwasher
This is the absolute golden rule of wooden utensil care. Your dishwasher is your wooden spoons' worst enemy. The prolonged exposure to hot water and aggressive detergents strips away the natural oils that keep wood supple and strong.
This process leads to them drying out, becoming brittle, and eventually cracking or warping.
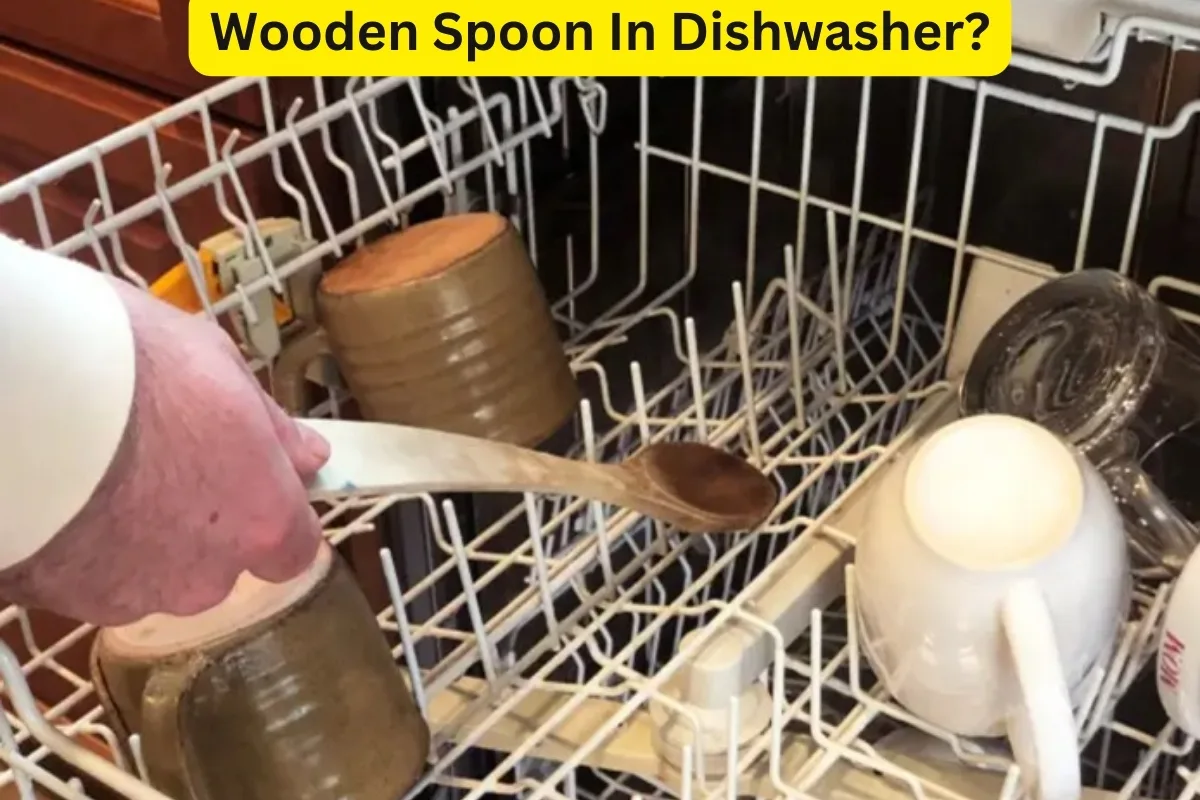
Image source: Bing (Web (fair-use with source credit))
Aggregate reviews from home cooks and manufacturer specifications consistently highlight this one point above all others. Using the dishwasher can undo weeks of proper care in a single cycle. Always opt for hand washing to preserve the integrity and beauty of your wooden kitchen tools.
Quick Clean: Your Daily Defense Against Grime
For most everyday cooking tasks, a simple, quick clean after each use is all your wooden utensils need to stay in great shape. This process is straightforward and takes just a minute or two, forming the foundation of good wood care. It’s about preventing immediate issues rather than fixing bigger problems later.
Washing Up: The Basic Steps
When you're done cooking, here's the routine:
- Grab Your Tools: You'll need a soft sponge or cloth and a small amount of mild dish soap.
- Gentle Scrubbing: Rub the utensil under warm running water, using the soap to gently scrub away any food residue. Pay attention to any grooves or crevices where bits might hide.
- Thorough Rinse: Rinse the utensil completely under clean, warm water until all soap suds are gone.
Drying: The Critical Follow-Up
This step is just as crucial as the washing itself. How you dry your wooden utensils makes a big difference.
- Immediate Towel Dry: As soon as you're done rinsing, grab a clean, absorbent towel and dry the utensil thoroughly. Don't let water sit on the surface.
- Air Circulation: After towel drying, let the utensil air dry completely. It's best to lay it flat or prop it upright so air can circulate around all sides. Avoid letting it sit in a damp dish rack or sink.
Tackling Tough Stains and Lingering Smells
Sometimes, a simple wash isn't enough. If you've been cooking with tomato-based sauces, turmeric, or strong-smelling ingredients like garlic or onions, your wooden spoons might show stains or retain odors. Don't worry; we have a couple of effective natural methods to deal with these issues.
The Lemon & Salt Power Duo
This is a classic kitchen trick that works wonders for both light stains and persistent odors. The acidity in lemon juice cuts through grease and breaks down staining compounds, while coarse salt acts as a gentle abrasive.
- Salt Application: Sprinkle a generous amount of coarse salt (like kosher or sea salt) over the surface of the stained or smelly part of the utensil.
- Lemon Scrub: Cut a lemon in half. Use the cut side of the lemon to scrub the salt into the wood. Squeeze a little juice as you go.
- Let it Sit: Allow the salt and lemon juice mixture to sit on the wood for about 5 to 10 minutes to work its magic.
- Rinse and Dry: Scrub gently one more time with a soft sponge, then rinse thoroughly with warm water and dry immediately and completely with a clean towel.
Baking Soda: Your Go-To for Stubborn Spots
For more deeply set stains or particularly stubborn odors, a paste made from baking soda and water can be very effective. Baking soda is a natural deodorizer and a mild cleaner.
- Make the Paste: Mix a few tablespoons of baking soda with just enough water to form a thick paste, similar in consistency to toothpaste.
- Apply and Wait: Spread the paste directly onto the stained areas of the wooden utensil. Let it sit for 15-20 minutes.
- Gentle Scrubbing: Use a soft brush (like an old toothbrush) or a damp sponge to gently scrub the paste into the wood.
- Rinse and Dry: Thoroughly rinse the utensil under warm water and dry it immediately with a clean towel. Ensure it's completely dry before storing.
Revitalizing Your Wood: Conditioning for Longevity
Wood, like our skin, needs moisture to stay healthy. Over time, washing and air exposure can dry out your wooden utensils, leading to dullness, stiffness, and eventual cracking. Regular conditioning with the right type of oil will keep your wood supple, protected, and looking its best for years to come.
What Oil to Use (And What to Skip)
It's important to use a food-safe oil that won't go rancid.
- Recommended:
- Food-grade mineral oil: This is the most common and recommended choice. It's readily available, odorless, tasteless, and won't spoil. It penetrates the wood well and provides excellent protection.
- Beeswax blends: Some products combine mineral oil with beeswax, offering a slightly more durable protective layer.
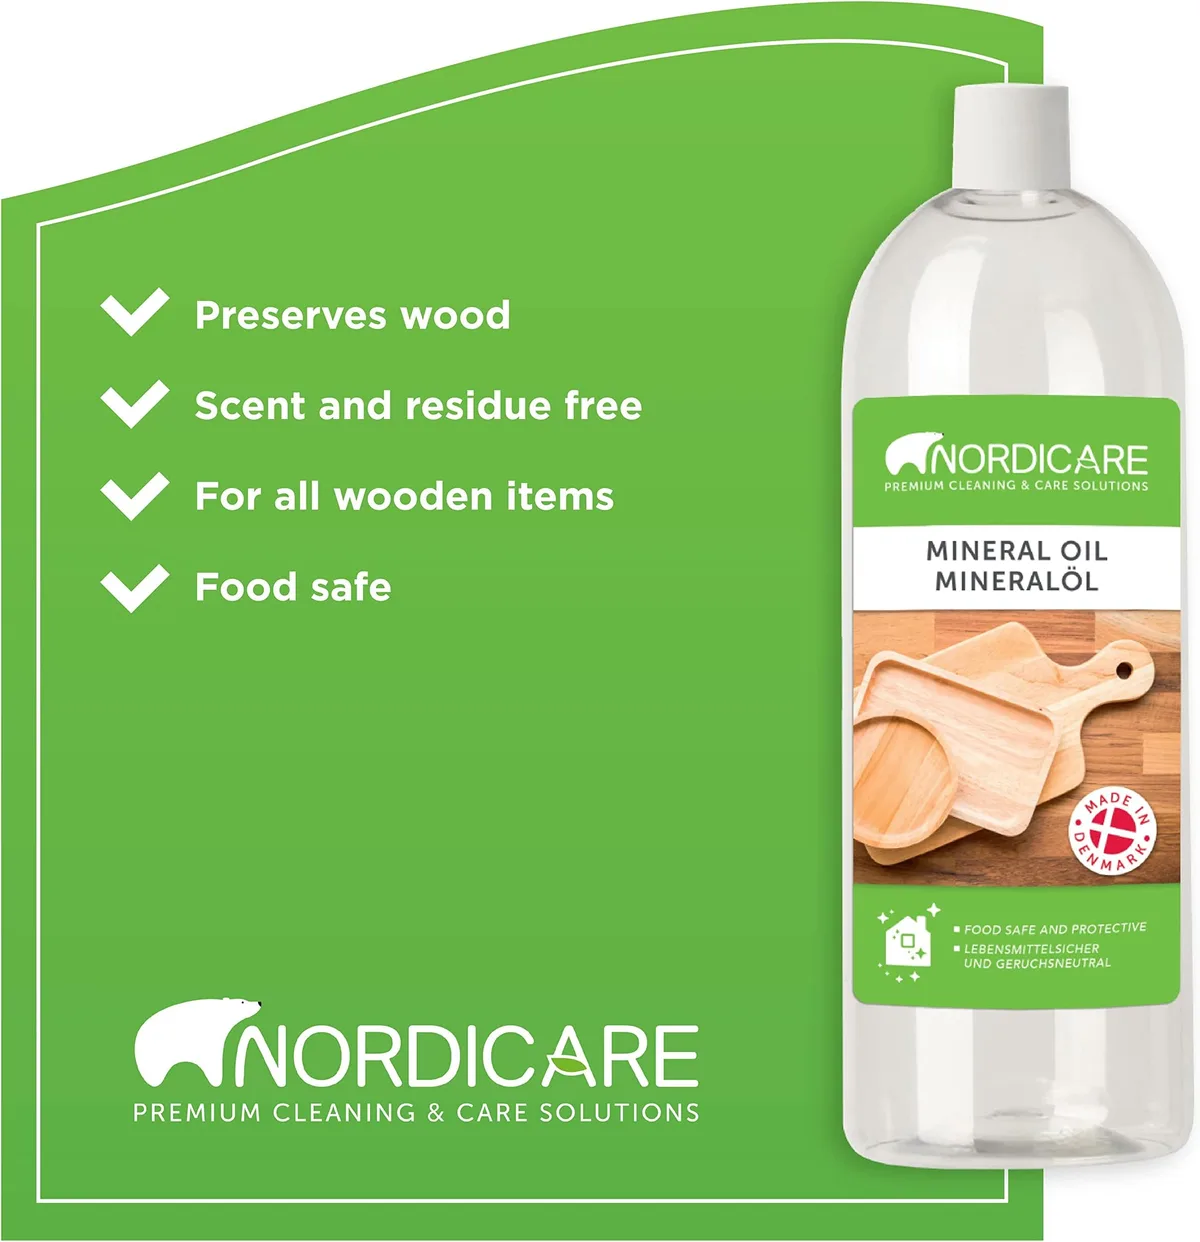
Image source: Bing (Web (fair-use with source credit))
- What to Avoid:
- Vegetable oils: Think olive oil, canola oil, or vegetable oil. While they are technically food-safe, they can go rancid over time, leading to unpleasant odors and sticky residues.
- Nut oils: Similar to vegetable oils, these can spoil and develop a rancid smell.
- Waxes or varnishes not rated for food contact: These can chip or leach into food.
The Conditioning Process: Step-by-Step
Performing this maintenance task, ideally once a month or whenever your utensils look dry, is a game-changer.
- Start Clean and Dry: Ensure your wooden utensils are thoroughly washed and completely dry before you begin oiling. Any residual moisture can trap bacteria.
- Apply Generously: Pour a generous amount of your chosen food-safe mineral oil onto a clean, lint-free cloth or paper towel.
- Rub It In: Rub the oil all over the surface of the utensil, making sure to cover every inch, handles, bowls, edges, everywhere. Work the oil into the grain.
- Let It Soak: Allow the utensil to sit and absorb the oil for at least 30 minutes. For deeper conditioning, you can leave it overnight. The wood will soak up what it needs.
- Wipe Off Excess: After the soaking period, use a fresh, clean cloth to wipe away any excess oil that hasn't been absorbed. Your utensils should feel smooth and slightly moisturized, not greasy.
This simple conditioning step will prevent your wooden tools from drying out, cracking, and becoming brittle, ensuring they remain a staple in your kitchen for years to come.
Common Mistakes That Ruin Wooden Utensils
Even with the best intentions, it's easy to make a few common mistakes that can quickly damage your wooden utensils. Being aware of these pitfalls can help you avoid them and keep your favorite spoons and spatulas in top condition for much longer. It's about understanding what not to do as much as knowing what to do.
- Dishwasher Abuse: We've already covered this, but it bears repeating. The high heat, prolonged moisture, and harsh detergents of a dishwasher are a death sentence for wood. If you've done this, and the damage isn't too severe, you might be able to salvage them with immediate conditioning, but it's best to avoid it entirely.
- Soaking in Water: Leaving wooden utensils to soak in the sink or a basin of water is just as damaging as the dishwasher. This excessive moisture causes the wood to swell unevenly, which can lead to warping and cracking as it dries.
- Using Abrasive Cleaners: While scrubbing is necessary, using steel wool, harsh scouring pads, or abrasive cleaning powders can scratch the surface of the wood. This not only damages the finish but can also create tiny fissures where bacteria can hide. Stick to soft sponges or cloths.
- Air Drying Incorrectly: Simply leaving a wet utensil to air dry can sometimes lead to water spots or uneven drying, which can contribute to warping. Always ensure good air circulation around the utensil as it dries.
- Using the Wrong Oil: As mentioned, using cooking oils like olive oil or vegetable oil for conditioning is a mistake. They can go rancid, leaving a sticky, unpleasant residue and potentially a foul odor. Always opt for food-grade mineral oil or a dedicated wood conditioner.
Avoiding these common blunders will go a long way in preserving the life and appearance of your wooden kitchen tools.
Caring for Your Wooden Utensils: A Maintenance Checklist
Keeping your wooden utensils in top shape doesn't require a lot of effort, but it does benefit from a consistent routine. Think of it like a simple skincare regimen for your kitchen tools. By following a regular maintenance checklist, you can prevent common problems before they start and ensure your favorite wooden spoons and spatulas remain functional and beautiful for years.
This proactive approach is far better than trying to fix damage later.
Here's a simple, actionable checklist to keep your woodenware in excellent condition:
After Each Use (Daily):
- Hand wash: Use warm water and mild dish soap.
- Rinse thoroughly: Ensure all soap residue is gone.
- Dry immediately: Pat dry with a clean towel.
- Ensure air circulation: Let air dry completely before storing.
Weekly Check:
- Inspect for dryness: Look for any signs of dullness, pale spots, or a feeling of dryness to the touch.
- Assess for odors/stains: If any lingering smells or persistent stains are present, plan a deeper cleaning session.
Monthly (or As Needed):
- Deep Clean (if necessary): Use the lemon/salt or baking soda paste method for stubborn issues.
- Condition with Oil: Apply food-grade mineral oil or a wood conditioner. This is crucial for preventing cracks and maintaining the wood's integrity.
Storage:
- Keep Dry: Store utensils in a dry place, away from moisture or steam.
- Avoid Crowding: Don't pack them too tightly in a drawer or holder, as this can lead to scratches and hinder air circulation.
By integrating these simple steps into your kitchen routine, you'll find that your wooden utensils not only perform better but also retain their natural charm, making cooking an even more enjoyable experience. This mindful approach to maintenance ensures your tools serve you reliably for the long haul.
The Right Tools for the Job: What You Actually Need
When it comes to cleaning and conditioning your wooden utensils, you don't need a whole cabinet full of specialized products. A few simple, readily available items are all it takes to do the job right. Having the right tools makes the process quicker and more effective.
Here's what you'll want to have on hand:
- Mild Dish Soap: A standard, gentle dish soap is perfect for everyday cleaning. Avoid anything with harsh degreasers or strong perfumes that might linger.
- Warm Water: This is your primary cleaning agent. It helps to loosen food particles and rinse away soap.
- Soft Sponge or Cloth: Opt for non-abrasive materials. A soft dish sponge or a cotton cloth works well for scrubbing without scratching the wood.
- Clean Towels: Several absorbent, lint-free towels are essential for immediate drying. Microfiber towels are a good option.
- Food-Grade Mineral Oil: This is the key to conditioning. Make sure it's labeled as food-grade, often sold as "butcher block oil" or "cutting board oil."
- Optional: Coarse Salt & Lemon: For tackling stains and odors, having some salt and a lemon on hand is very useful.
- Optional: Baking Soda: Another great natural cleaner for tougher grime.
Having these items ready means you can tackle cleaning and conditioning whenever needed without a last-minute trip to the store. It simplifies the entire process.
When to Clean vs. When to Condition
Understanding when to perform a quick clean versus a more thorough conditioning treatment is vital for effective wooden utensil care. These aren't interchangeable tasks; they serve different purposes in maintaining your tools. Think of it as a daily upkeep versus a monthly spa treatment for your wood.
Daily Cleaning: The Immediate Response
- What it addresses: Fresh food debris, light grease, and general use after cooking.
- When to do it: After every single use, especially if the utensil has come into contact with food.
- Why it matters: Prevents food particles from drying on, reduces the risk of odor absorption, and stops immediate staining.
Deeper Cleaning (Stains/Odors): The Problem Solver
- What it addresses: Stubborn food stains, strong lingering smells (like garlic or curry), or slightly sticky residue.
- When to do it: As needed, when a quick wash isn't sufficient. You'll notice this when food marks persist or odors don't wash out.
- Why it matters: Restores the utensil's appearance and removes any unpleasant smells that could transfer to future dishes.
Conditioning: The Protective Measure
- What it addresses: Dryness, dullness, potential cracking, and overall wood health.
- When to do it: As a preventative measure, typically once a month, or any time the wood looks or feels dry.
- Why it matters: Replenishes lost oils, keeps the wood supple, prevents warping and cracking, and creates a protective barrier against moisture and stains.
By differentiating these needs, you can apply the right treatment at the right time, ensuring your wooden utensils get the best care without unnecessary effort.
How to Troubleshoot Common Wood Utensil Issues
Even with regular care, you might encounter a few common problems with your wooden utensils. Knowing how to troubleshoot these issues can save your favorite tools from the discard pile. Most problems stem from moisture, lack of oil, or improper cleaning methods.
What if my utensil has a persistent odor?
If a faint smell of garlic, onion, or other strong foods lingers after washing, try the lemon and salt scrub. Sprinkle coarse salt generously on the affected area, then scrub with a lemon half. Let it sit for 10 minutes, then rinse and dry thoroughly.
For tougher odors, a baking soda paste can also help.
Why is my wooden utensil looking dull or pale?
This is a clear sign that the wood is drying out and needs conditioning. Apply a generous coat of food-grade mineral oil using a clean cloth. Let it soak in for at least 30 minutes, or even overnight if the wood is very dry, then wipe off any excess.
Regular monthly conditioning prevents this.
My wooden spoon has a small crack. Can I fix it?
For very small, superficial cracks, thorough cleaning and deep conditioning with mineral oil might help them seal somewhat. Apply plenty of oil and let it soak for an extended period. However, if the crack is deep, wide, or starts to splinter, it’s often best to replace the utensil.
Deep cracks can harbor bacteria and compromise the utensil's integrity.
Is it okay if my utensil has slight warping?
Minor warping can sometimes occur if the wood has been exposed to uneven moisture. Ensure it's completely dry and then try conditioning it thoroughly. If the warping is significant and affects usability or stability, it may be time to consider replacing it, as significant warping can indicate deeper structural damage to the wood fibers.
Frequently Asked Questions About Wooden Utensil Care
Have more questions about keeping your wooden spoons and spatulas in tip-top shape? We've gathered some of the most common queries to help you out.
### Can I use my wooden spoons for cooking acidic foods?
Yes, you can use wooden spoons for acidic foods like tomato sauce or lemon-based marinades. However, it's important to clean and dry them immediately afterward, as prolonged contact with acids can sometimes cause minor discoloration or faster wear. Conditioning regularly helps protect the wood.
### How often should I condition my wooden utensils?
For best results, aim to condition your wooden utensils with food-grade mineral oil or a wood conditioner about once a month. If you notice them looking dry, pale, or feeling rough, that's a good sign they need conditioning sooner. Frequent use and washing will dictate the exact frequency.
### What should I do if my wooden spoon develops a crack?
Minor cracks can sometimes be addressed by cleaning the utensil thoroughly and then applying a generous amount of food-grade mineral oil, allowing it to soak in deeply. For larger, deeper cracks, or if the utensil starts to splinter, it might be safer to retire that particular utensil to avoid potential hygiene issues or further damage during use.
### Can I use olive oil to condition my wooden utensils?
It's best to avoid using regular cooking oils like olive oil or vegetable oil for conditioning your wooden utensils. While they are food-safe, they can go rancid over time, leading to unpleasant odors and a sticky residue. Stick to food-grade mineral oil, which is specifically designed not to spoil.