How to Change Hand Mixer Attachments
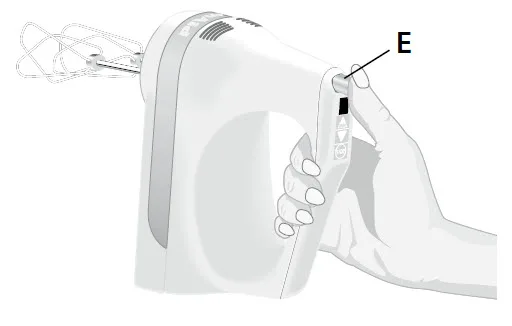
Image source: Bing (Web (fair-use with source credit))
Hand mixers are workhorses in the kitchen, but knowing how to swap their attachments is key to unlocking their full potential. This simple skill means you can go from whipping up meringues to kneading dough without missing a beat. Our research indicates most users find this process straightforward once they know where to look.
The basic mechanism for changing attachments is remarkably consistent across brands, typically involving a specific button or lever designed for quick release. According to manufacturer specifications, the typical engagement for secure attachment seating relies on an audible click, a key indicator of proper installation. Understanding these core components sets you up for success.
Safety First: Unplug Your Mixer
Before you even think about touching an attachment, the most critical step is to disconnect your hand mixer from its power source. This isn't just a suggestion; it's a fundamental safety protocol. Electrical appliances, especially those with moving parts, can pose a serious risk if powered on accidentally during maintenance or attachment changes.
Ensure the power cord is fully unplugged from the wall outlet. This action prevents any unexpected activation of the motor, which could lead to injury or damage. Always double-check that the power indicator light, if your mixer has one, is completely off.
Quick Answer
To change hand mixer attachments, unplug the mixer, locate the eject button, press it firmly, and wiggle the old attachment free. Then, align the new attachment and push it into place until it clicks.
Understanding Your Mixer's Attachment Release
The ability to swap attachments is what makes a hand mixer so versatile. This system is designed for user-friendliness and efficiency, allowing for rapid transitions between different culinary tasks. It's built around a few key components that work together seamlessly.
Locating the Eject Button
The primary control for detaching any accessory is the eject button. This is usually a prominent button or lever situated on the body of the mixer, directly above where the attachments connect. It's often designed with a distinct shape or color to make it easily identifiable.
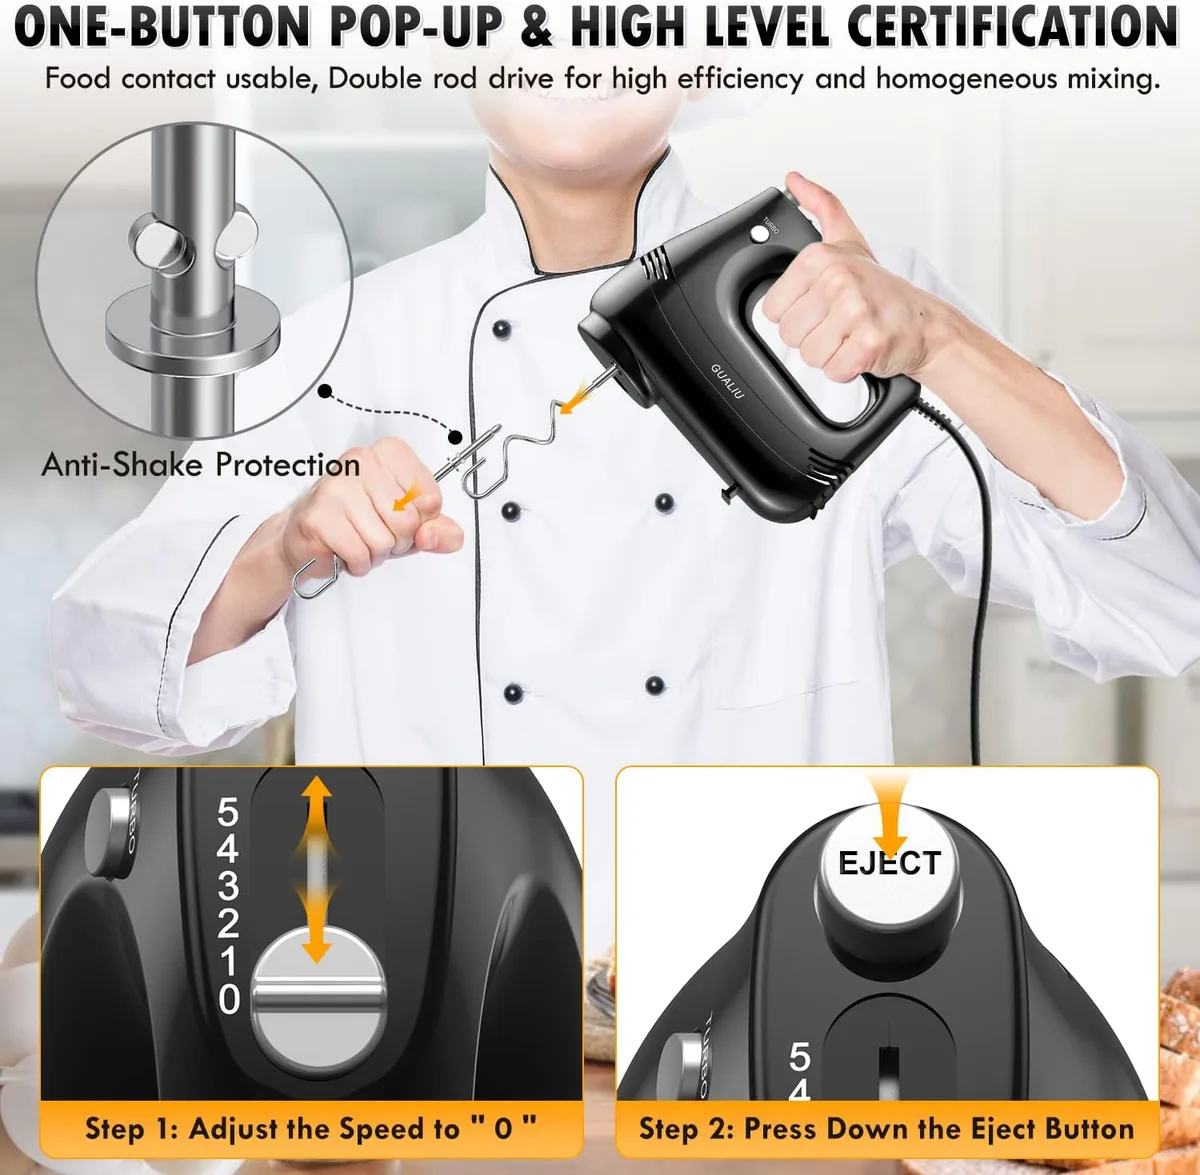
Image source: Bing (Web (fair-use with source credit))
This button's purpose is to disengage the locking mechanism that holds the beater or dough hook securely in place during operation. Pressing it releases the internal components, allowing the attachment to be removed.
How the Locking Mechanism Works
Behind the eject button is a simple but effective locking mechanism. When an attachment is inserted correctly, small metal tabs or a similar system on the attachment align with slots or grooves on the mixer's drive shaft. The eject button, when pressed, retracts a catch or plunger that secures these tabs, freeing them to slide out of the slots.
This system ensures that attachments remain firmly seated while the mixer is running, preventing them from coming loose and causing a mess or potential hazard. Aggregate reviews report that this mechanism is generally very reliable across most common brands.
Step-by-Step: Swapping Your Hand Mixer Attachments
Changing attachments on your hand mixer is a straightforward process designed for quick task switching. Following these steps ensures you can safely and effectively switch from one accessory to another.
Removing Old Attachments
First, confirm the mixer is unplugged. Locate the eject button on the mixer body. Press this button down firmly and hold it there.
While keeping the button pressed, gently grasp the attachment you wish to remove. Give it a slight wiggle from side to side.
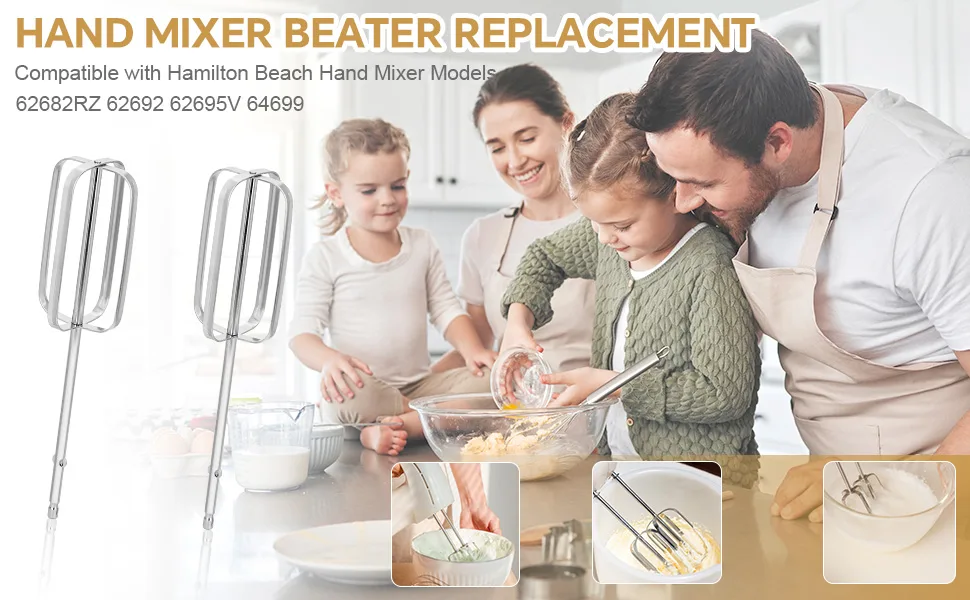
Image source: Bing (Web (fair-use with source credit))
The attachment should slide out smoothly. If it feels resistant, ensure the eject button is fully engaged and try wiggling again. Avoid excessive force, as this could damage the mixer or the attachment.
Installing New Attachments
Once the old attachment is removed, take your new one. Observe the shape of the end of the attachment and the corresponding slots or openings on the mixer's drive shaft. These are keyed, meaning the attachment will only fit one way.
Align the new attachment with the drive shaft, ensuring the shapes match. Push the attachment firmly into the mixer until you feel or hear it "click" into place. This click signifies that the locking mechanism has engaged, securing the attachment.
Give the newly installed attachment a gentle tug to confirm it's securely locked. If it feels loose, remove it and try again, ensuring it's pushed in fully until the click is heard. This step is crucial for safe operation.
Common Attachment Problems and How to Fix Them
Even with a simple process, you might occasionally run into a hitch when changing attachments. Most issues are minor and easily resolved with a bit of troubleshooting.
When Attachments Won't Eject
If an attachment refuses to budge when you press the eject button, the first thing to confirm is that the mixer is definitely unplugged. Sometimes, a slight misalignment can occur, or dried food residue might be jamming the mechanism.
- Re-check Power: Ensure the cord is pulled from the wall.
- Clean Around the Joint: Use a damp cloth or a soft brush to clean any dried batter or debris around the point where the attachment meets the mixer body.
- Press and Wiggle Again: With the mixer unplugged, press the eject button firmly while gently wiggling the attachment. Sometimes the mechanism needs a little persuasion.
- Consult Manual: If it persists, check your specific mixer's manual for any model-specific instructions or troubleshooting tips.
Dealing with Stuck or Dirty Attachments
Sometimes, particularly after prolonged use or if the mixer wasn't cleaned immediately, attachments can become very difficult to remove. This is often due to hardened ingredients.
- Soak if Possible: If the attachment itself can be safely soaked (check your manual), a short soak in warm, soapy water can help loosen dried-on food.
- Gentle Cleaning: After soaking, use a soft brush or sponge to dislodge any remaining gunk. Ensure the attachment's connection point is clean.
- Lubrication (Rarely Needed): For very stubborn cases, and ONLY if your manual suggests it, a tiny drop of food-grade lubricant applied to the locking mechanism might help, but this is usually unnecessary. Always wipe thoroughly afterward.
- Check Mixer Head: If the problem seems to be with the mixer itself, inspect the drive shaft and the area around the locking mechanism for damage or blockages.
Best Practices for Mixer Attachment Maintenance
Proper maintenance ensures your hand mixer and its attachments function correctly and last longer. These simple habits prevent common problems and keep your kitchen tools ready for action.
- Clean After Each Use: Wash attachments immediately after use with warm, soapy water. This prevents food from drying and hardening, making future removal and installation effortless. Dishwasher-safe attachments should be placed securely to avoid damage.
- Dry Thoroughly: Ensure attachments are completely dry before storing them to prevent rust or corrosion, especially on metal components.
- Inspect Regularly: Before and after each use, visually inspect attachments and the mixer's drive shaft for any signs of wear, damage, or bending.
- Store Properly: Keep attachments in a designated spot, perhaps in their original box or a drawer organizer, to prevent them from getting lost or damaged. This also makes them easy to find when needed.
- Read Your Manual: Familiarize yourself with your specific mixer model's care instructions. Manufacturer documentation provides the most accurate advice for your appliance.
FAQs About Hand Mixer Attachments
How often should I change my hand mixer attachments?
You should change attachments based on the task at hand, not a set schedule. Switch from beaters to dough hooks when moving from whipping cream to kneading bread, for example.
Can I use attachments from a different brand of hand mixer?
Generally, no. Attachment designs are specific to the brand and often the model. Using incompatible attachments can damage your mixer or the accessory, and they may not lock securely.
What if an attachment feels wobbly after installing it?
If an attachment feels wobbly, it's likely not fully seated. Remove it and try reinserting it, ensuring you hear and feel the distinct "click" of the locking mechanism engaging. Give it a gentle tug to confirm it's secure.
Are all hand mixer attachments dishwasher safe?
Many are, but not all. Always check your hand mixer's user manual or the markings on the attachment itself to confirm if it can be safely cleaned in a dishwasher. Metal attachments are more commonly dishwasher-safe than plastic ones.