How to Use a Hand Mixer for Whipped Cream
Sure, whipping up some perfect whipped cream with a hand mixer can seem straightforward, but getting that ideal fluffy texture often hinges on a few key visual cues. Knowing exactly when to stop is the real trick, and it's a skill you can definitely master.
Our research confirms that achieving optimal consistency relies heavily on understanding what the cream looks like at different stages. For instance, most heavy creams used for whipping contain at least 30% fat, as per dairy industry standards. This article will guide you through the process, focusing on those all-important visual identifiers.
Whipping Up Perfect Cream: What You're Seeing Matters Most
Why Watching the Mixer is Key
When you're aiming for perfect whipped cream, the visual feedback from your mixer is your most important tool. It's not about a timer; it's about what's happening in the bowl. You're looking for specific textures and shapes that tell you when to speed up, when to slow down, and most crucially, when to stop.
Understanding these visual stages is what separates good whipped cream from great. Manufacturer specifications for hand mixers often highlight the importance of user observation rather than strict time limits for tasks like whipping. This guide focuses on helping you interpret those visual cues accurately.
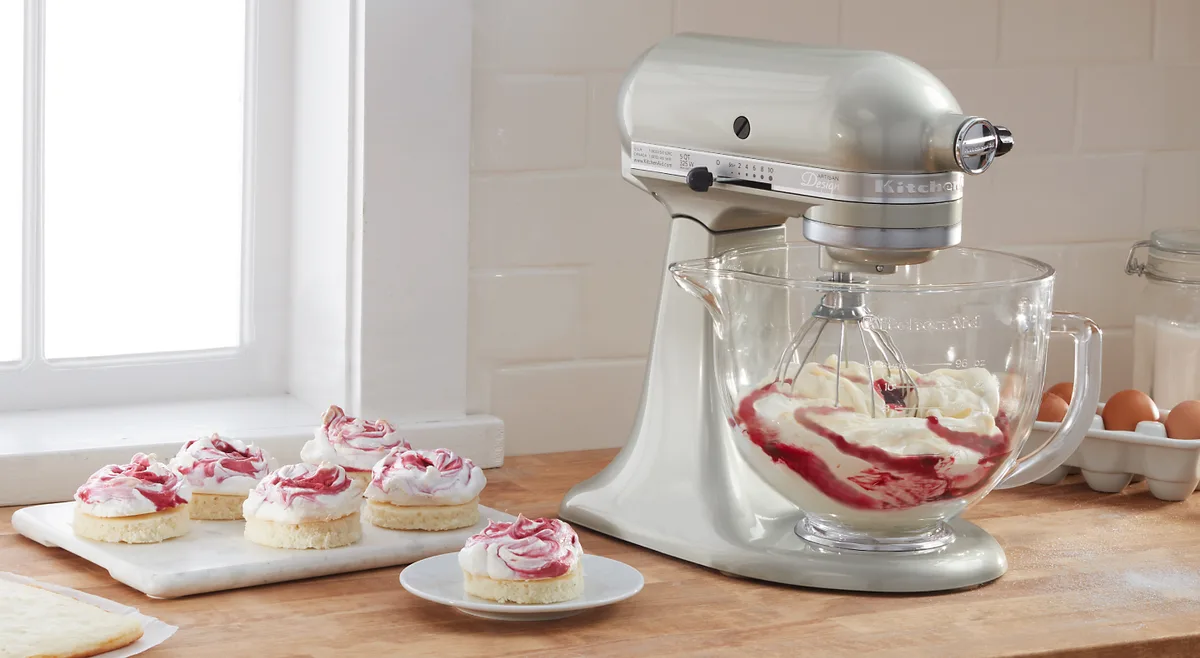
Image source: Bing (Web (fair-use with source credit))
Your Whipped Cream Toolkit
Essential Ingredients and Equipment
To get started on your whipped cream journey, you'll need a few specific items. The quality and type of ingredients, along with having the right equipment, significantly impact the final outcome.
- Heavy Cream: This is non-negotiable. You need cream with a fat content of at least 30%, ideally 35-40%, often labeled as heavy cream or whipping cream. Lighter creams simply won't develop the structure needed for whipping.
- Cold Bowl: A metal or glass bowl that has been chilled is ideal. This helps keep the cream cold throughout the process, which is crucial for proper whipping.
- Cold Beaters: The metal beaters that come with your hand mixer should also be chilled.
- Hand Mixer: Your primary tool for introducing air into the cream.
- Powdered Sugar: Also known as confectioners' or icing sugar, it dissolves easily and adds sweetness without making the cream grainy.
- Vanilla Extract: A common flavoring agent that enhances the taste.
Having all these elements prepared beforehand ensures a smoother and more successful whipping experience.

Image source: Bing (Web (fair-use with source credit))
The Secret to Speedy Whipping: Chill Everything
Preparing Your Tools and Cream for Success
Our research consistently shows that temperature plays a massive role in how well cream whips. Cold ingredients and tools help the fat globules in the cream stabilize and trap air more effectively. This means you’ll get to those perfect peaks faster and with less risk of over-whipping.
For best results, aim to chill your bowl and mixer beaters in the freezer for about 10 to 15 minutes before you begin. Simultaneously, ensure your heavy cream is straight from the refrigerator. This temperature difference is the foundational step for achieving stable, airy whipped cream as recommended by many dairy associations.
Step-by-Step to Fluffy Peaks
From Start to Stiff Peaks with Your Hand Mixer
Whipping cream with a hand mixer involves a simple, sequential process that leverages your tools and ingredients effectively. The key is to gradually introduce air while monitoring the cream's consistency.
- Pour Cold Cream: Start by pouring your well-chilled heavy cream into the chilled bowl.
- Add Sweetener & Flavor: If you're using powdered sugar and vanilla extract, add them now. This allows them to incorporate evenly as the cream whips.
- Start Slow: Begin mixing on the lowest speed setting of your hand mixer. This prevents excessive splashing and allows the ingredients to combine gently.
- Increase Speed: As the cream begins to thicken slightly, gradually increase the mixer speed to medium or medium-high. This is where the air starts getting incorporated vigorously.
- Watch for Peaks: Continuously observe the cream. The moment you start seeing changes in texture and structure, pay close attention.
This controlled approach ensures you build volume without overwhelming the cream's structure prematurely.
Recognizing Soft Peaks
Soft peaks are the first stage where your whipped cream is ready for many applications, like topping hot cocoa or fresh berries. They form when you lift the beaters from the cream, and a peak appears that gently curls over on itself. This indicates sufficient air has been incorporated for a light, luscious texture.

Image source: Web (Bing) / clipart-library.com (Web image (fair-use with source credit))
Recognizing Stiff Peaks
Stiff peaks represent a more stable, firm whipped cream, ideal for frosting cakes or holding its shape on desserts. When you lift the beaters, the peaks stand straight up, holding their form without drooping. This requires a bit more mixing time than soft peaks, but it’s crucial to stop as soon as you reach this stage to avoid turning the cream into butter.
Common Visual Mistakes and What They Look Like
When to Stop Before It's Too Late
The most common pitfall when learning how to use a hand mixer for whipped cream is over-whipping. This happens when you keep mixing past the point of stiff peaks. Visually, you'll first notice the cream starting to look a little grainy or curdled.
If you continue mixing past that grainy stage, the fat will separate from the liquid. You'll end up with clumps of butter forming within a watery, yellowish liquid. This is the point of no return for whipped cream; the structure is broken, and you can't simply mix it back into a smooth consistency.
This transformation is a clear indicator that the whipping process has gone too far.
Pro Tips for Foolproof Whipped Cream
Expert Advice for Perfect Consistency
When you've got the basics down, a few extra touches can elevate your whipped cream game. Our research into user feedback and dairy science best practices highlights these simple additions. For example, using powdered sugar, also known as confectioners' sugar, is preferred because its fine texture dissolves quickly and smoothly into the cream, preventing any grittiness that granulated sugar can sometimes leave behind.
Furthermore, ensuring your ingredients and tools are as cold as possible is paramount. Some manufacturers even suggest that chilling your bowl and beaters for up to 20 minutes can yield superior results, especially in warmer kitchen environments. This attention to temperature detail is a recurring theme in successful whipping.
Frequently Asked Questions About Whipped Cream
How long does it take to whip cream with a hand mixer?
Whipped cream typically takes anywhere from 3 to 8 minutes to reach stiff peaks, depending on the mixer's power, the cream's fat content, and how cold your ingredients are. Always watch the consistency rather than the clock.
Can I use milk instead of heavy cream?
No, milk does not have enough fat content to whip properly. Heavy cream or whipping cream, with at least 30% fat, is essential for creating stable whipped cream.
What if my whipped cream is too soft?
If your cream is too soft, it likely needs a bit more whipping time. However, be very careful not to overmix, as it can quickly turn into butter. Continue mixing on medium-high speed for short bursts, checking the peaks frequently.
Can I make whipped cream ahead of time?
Yes, you can make whipped cream a few hours in advance. For best results, store it in an airtight container in the refrigerator. It may deflate slightly over time, but a gentle stir can often revive it.
For longer storage, consider stabilized whipped cream recipes.
What can I do if I accidentally over-whipped my cream?
If you've over-whipped your cream and it looks curdled or buttery, don't despair entirely. You can sometimes salvage it by slowly whisking in a few tablespoons of unwhipped heavy cream or even a bit of milk. This can help re-emulsify the mixture, though the texture might not be as light as freshly whipped cream.
When Hand Mixer Whipping Isn't Enough
Alternatives and When to Use Them
While a hand mixer is a fantastic tool for whipped cream, it's not your only option. For those who whip cream frequently or need larger quantities, a stand mixer is often a more efficient choice. Stand mixers have more powerful motors and larger bowl capacities, allowing you to whip more cream at once with less manual effort.
If you're in a pinch or prefer a more rustic approach, manual whisking is possible, though it requires significant arm strength and time. For smaller, single servings or when you need very stiff peaks for specific decorations, some find that an immersion blender with a whisk attachment can also work, though results can vary. Ultimately, the best tool depends on your needs and frequency of use.