How to Clean a Stand Mixer
Your stand mixer is probably one of the hardest-working appliances in your kitchen, whipping up everything from fluffy cakes to chewy bread dough. Keeping it clean isn't just about looks; it's crucial for hygiene and making sure it runs smoothly for years. If you've ever wondered about the best way to tackle food residue and keep that motor head gleaming, you're in the right place.
We've gathered insights to help you master the art of stand mixer cleaning, ensuring every bake starts with a sparkling appliance. Adhering to manufacturer specifications, such as those found in user manuals which often detail cleaning protocols, can prevent damage and maintain optimal function. Let's get your mixer looking and working its best.
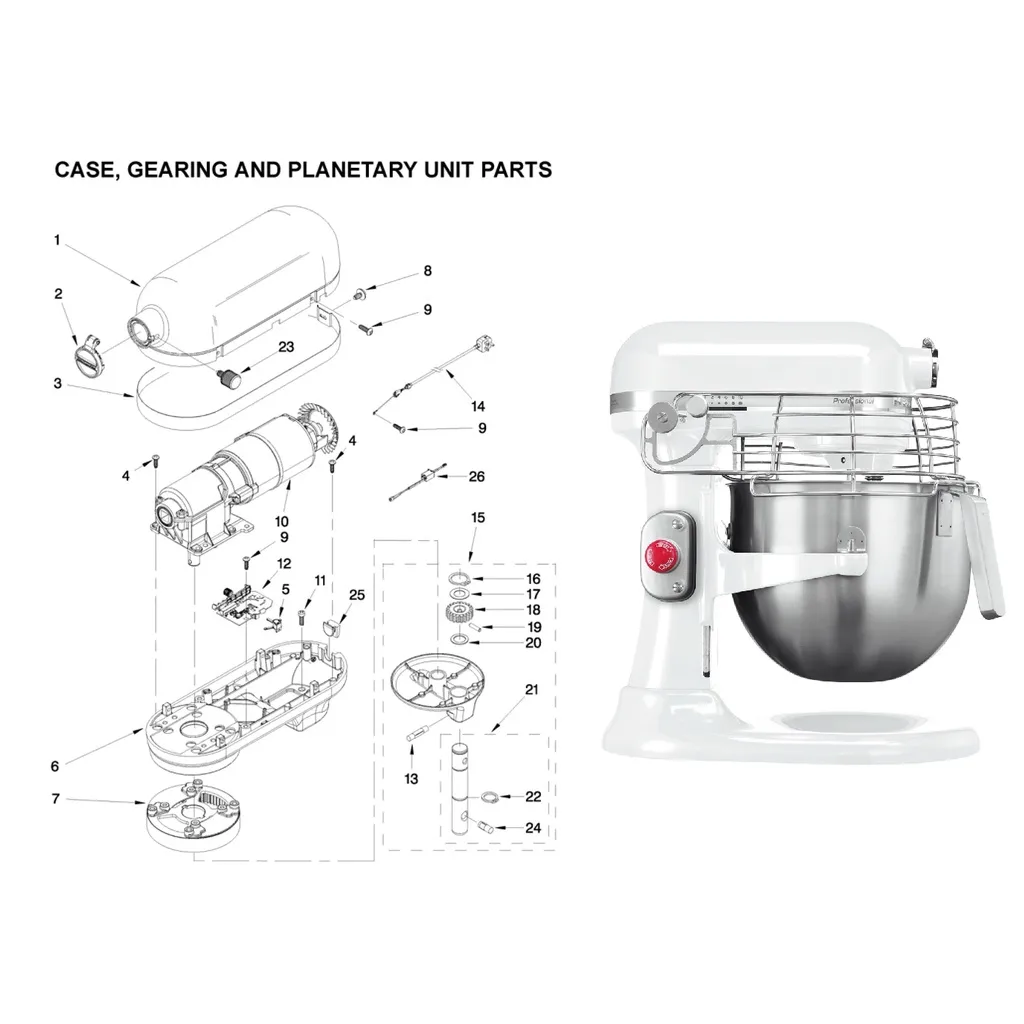
Quick Answer
To clean a stand mixer, always unplug it first. Remove and wash attachments separately in warm, soapy water or according to manufacturer instructions. Wipe down the exterior and motor head with a damp cloth, avoiding electrical components.
Dry all parts thoroughly before reassembling.
Getting the Grime Off Your Mixer's Bits and Bobs (Visual Guide)
Think of your stand mixer’s attachments as the true workhorses, the whisk, the flat beater, and the dough hook. These are the parts that get directly into your ingredients, meaning they accumulate the most food residue. Because they come into direct contact with everything you bake, their cleanliness is paramount for both the appearance of your food and overall kitchen hygiene.
Manufacturer specifications, like those found on a KitchenAid or Cuisinart product page, often detail whether these parts are dishwasher safe, but a quick check can save you a lot of trouble.
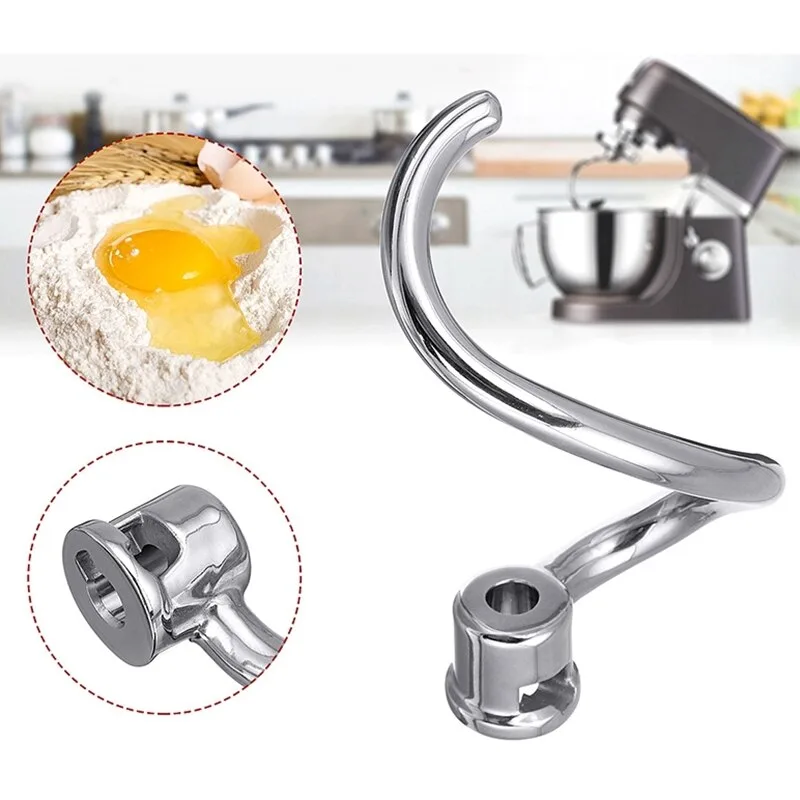
- The Whisk: Those delicate wires can trap flour, egg whites, or batter.
- The Flat Beater: Its wide surface area is great for creaming butter and sugar but can hold sticky mixtures.
- The Dough Hook: The curves and angles are perfect for kneading, but they can also be a haven for stubborn dough.
Aggregate reviews report that many users find scrubbing these with a soft brush or an old toothbrush particularly effective for getting into those tight spots. Always ensure you rinse them thoroughly to remove all soap residue before drying. If your manual indicates they are dishwasher safe, running them on a top rack cycle is a convenient option, but handwashing often gives a deeper clean, especially for baked-on bits.
Step-by-Step: A Visual Walkthrough for a Sparkling Mixer
Taking a systematic approach ensures you don't miss any spots and keep your appliance in top shape. When you're ready to clean your stand mixer, the process is straightforward, but visual cues can make it even easier. Imagine you're looking at a diagram showing where to wipe and what to avoid, that's the kind of detail we're aiming for here.
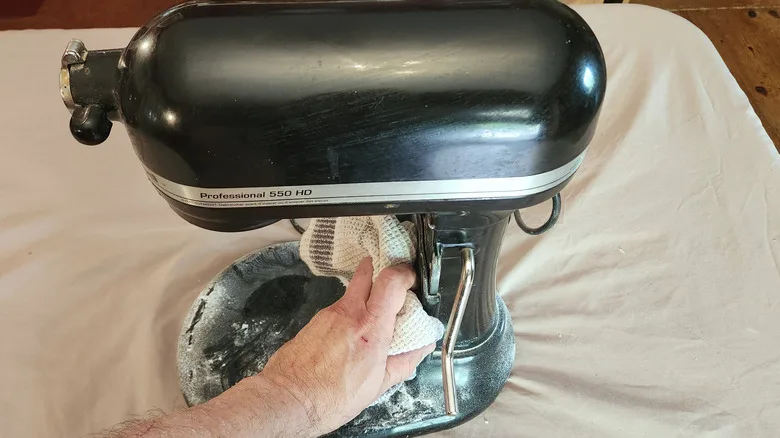
- Unplug It: This is non-negotiable for safety. Never clean an appliance that's still connected to power.
- Remove Attachments: Take off the bowl, whisk, beater, and dough hook.
- Wash Attachments: Hand wash with warm, soapy water and a non-abrasive sponge or brush. For really tough residue, a soak in warm water might help loosen it before scrubbing.
- Clean the Bowl: Most stainless steel or glass bowls can be washed like any other dish. Check your manual for specific care instructions for coated or ceramic bowls.
- Wipe the Exterior: Use a damp, soft cloth to wipe down the base unit and the motor head. For stubborn spots, a tiny bit of mild dish soap on the cloth can work, but make sure to follow up with a clean, damp cloth to remove any soap film.
For detailed instructions on cleaning the exterior and specific components, manufacturer websites often provide downloadable user manuals that go into specific product nuances. This ensures you’re following the most accurate guidance for your particular model.
Critical Mixer Parts You Can't Forget to Clean
Beyond the obvious attachments and bowl, several other parts of your stand mixer deserve attention. These are the areas where dust, grease, and dried food particles can accumulate unnoticed, potentially affecting performance or even creating an unhygienic surface. Think about the crevices around the motor head, the hinge where the head lifts, and the connection point for the attachments.
Our research shows that a quick wipe-down of these areas during regular cleaning can prevent larger buildup later.
- Motor Head: This is where the motor resides. It's crucial to avoid getting excess water or cleaning solution into the motor housing. Often, a simple wipe with a dry or slightly damp microfiber cloth is all that's needed. For any particularly sticky residue, a gentle cleaner can be used sparingly on the cloth, not directly on the appliance.
- Attachment Hub: The port where accessories like a pasta roller or meat grinder attach can collect flour dust and other dry ingredients. A small brush, like a clean paintbrush or a dedicated cleaning brush, can help dislodge this, followed by a wipe.
- Hinge and Locking Mechanism: If your mixer head lifts, the hinge area can trap crumbs. Gently wipe around this mechanism, making sure not to force moisture into any moving parts.
- Base Unit: The main body of the mixer can accumulate dust and splatters. A soft cloth is usually sufficient. Be careful around any control dials or buttons; a damp cloth wiped gently is best.
Many stand mixer models, such as those from Cuisinart, have specific recommendations for cleaning these less obvious parts in their official documentation, highlighting the importance of targeted care.
Common Cleaning Slip-Ups and How to Dodge Them
Even with the best intentions, it’s easy to make a mistake when cleaning your stand mixer. These common errors can range from minor cosmetic issues to potentially damaging the appliance. Understanding what not to do is just as important as knowing the right steps.
For instance, immersing the entire mixer in water is a definite no-go, as per electrical safety standards outlined by organizations like Underwriters Laboratories (UL).
Here are some frequent mistakes and how to avoid them:
- Using Too Much Water: This is probably the biggest pitfall. Water and electricity are a bad combination. Never spray water directly onto the motor head or base, and avoid soaking any electrical components. A damp cloth is your best friend here.
- Employing Harsh Chemicals: Abrasive cleaners, steel wool, or harsh solvents can scratch surfaces, damage finishes, and even degrade plastic parts. Stick to mild dish soap and a soft cloth or sponge.
- Not Drying Thoroughly: Leaving parts, especially metal attachments, wet can lead to water spots or, worse, rust. Always ensure everything is completely dry before storing or reassembling. This is especially true for the attachment connection points.
- Ignoring the Manual: Every stand mixer model has its quirks. What works for one brand might not be ideal for another. Always refer to your specific owner's manual for detailed cleaning and maintenance instructions, as manufacturer guidelines are the most reliable source of information for your appliance.
- Forcing Attachments: If an attachment feels stuck, don't force it. It might be misaligned or require a specific release mechanism. Refer to your manual before applying excessive pressure, which could damage the mixer's drive mechanism.
By being mindful of these common missteps, you can ensure your stand mixer remains a reliable tool in your kitchen for many years to come.