How to Clean a Drip Coffee Maker
A clean drip coffee maker means better-tasting coffee, a longer-lasting machine, and a more hygienic kitchen. Over time, mineral deposits from your water, called scale, can build up inside the machine. This buildup can affect brewing temperature, slow down the process, and even make your coffee taste bitter or burnt.
Regular cleaning prevents these issues and ensures you get the best cup every time. Manufacturer specifications often recommend a descaling cycle at least once a month, depending on your water hardness. Here’s how to tackle it.
Quick Answer
To clean a drip coffee maker, run a full brew cycle with a mixture of white vinegar and water, then rinse with fresh water. Alternatively, use a commercial descaling solution following its specific instructions. Periodically clean removable parts like the carafe and filter basket with soap and water.
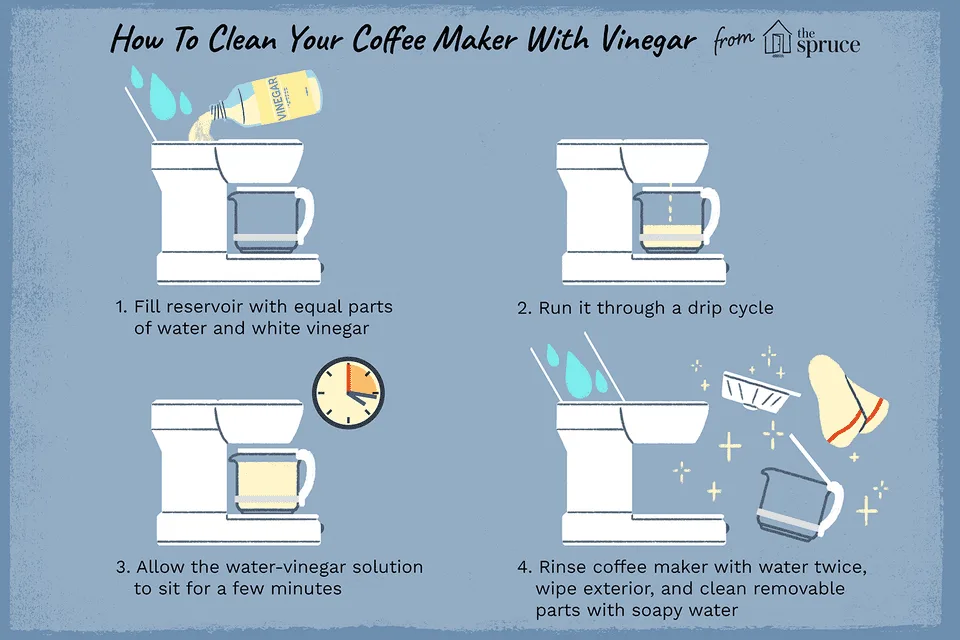
Image source: Bing (Web (fair-use with source credit))
Why Cleaning Your Drip Coffee Maker Matters
Think of your drip coffee maker like any other kitchen appliance that handles liquids and heat. Over time, it’s going to accumulate things it shouldn't. For coffee makers, that mainly means two things: mineral deposits and coffee oil residue.
The mineral deposits, often called scale, come from the water you use. Tap water, even if it tastes fine, has minerals like calcium and magnesium. When water heats up and evaporates inside your coffee maker, these minerals are left behind, forming a hard, chalky layer.
This is most common in the heating element and water lines.
The other culprit is coffee oil. As coffee brews, oils from the grounds get into the system. While less visible than scale, these oils can go rancid, affecting the taste of your coffee and potentially contributing to blockages.
Aggregate reviews of coffee maker maintenance suggest that not cleaning can lead to a noticeably duller, less flavorful brew, sometimes even a metallic taste. This buildup doesn't just affect taste; it can also impact the machine's performance, making it brew slower or less effectively, and ultimately shortening its lifespan. Keeping your brewer clean is essential for consistent quality and longevity.
Quick Guide: When to Clean Your Coffee Maker
How often you need to clean your drip coffee maker really depends on a few factors, mainly how hard your water is and how often you use it. A good general rule of thumb is to do a deep clean, or descaling, about once a month. If you have very hard water, you might need to clean it more often, perhaps every two to three weeks.
Consider these signs that it's time for a cleaning:
- Slower brewing: If your coffee maker takes longer than usual to brew a pot.
- Noisy operation: Unusual gurgling or struggling sounds during brewing.
- Reduced coffee temperature: Coffee isn't as hot as it used to be.
- Visible buildup: You can see white or cloudy residue in the water reservoir or carafe.
- Off-tastes: Coffee tastes bitter, sour, or just not quite right.
Doing a quick daily clean of the carafe and filter basket after each use helps prevent major buildup. This includes rinsing the filter basket and washing the carafe with mild soap and water. For the deeper internal cleaning, aim for monthly.
Choosing Your Cleaning Agent: Vinegar vs. Descaler
When it comes to tackling that internal mineral buildup, you've got two main players: good old white vinegar and specialized commercial descaling solutions. Each has its pros and cons, and the best choice for you might depend on your preferences and how sensitive your machine is.
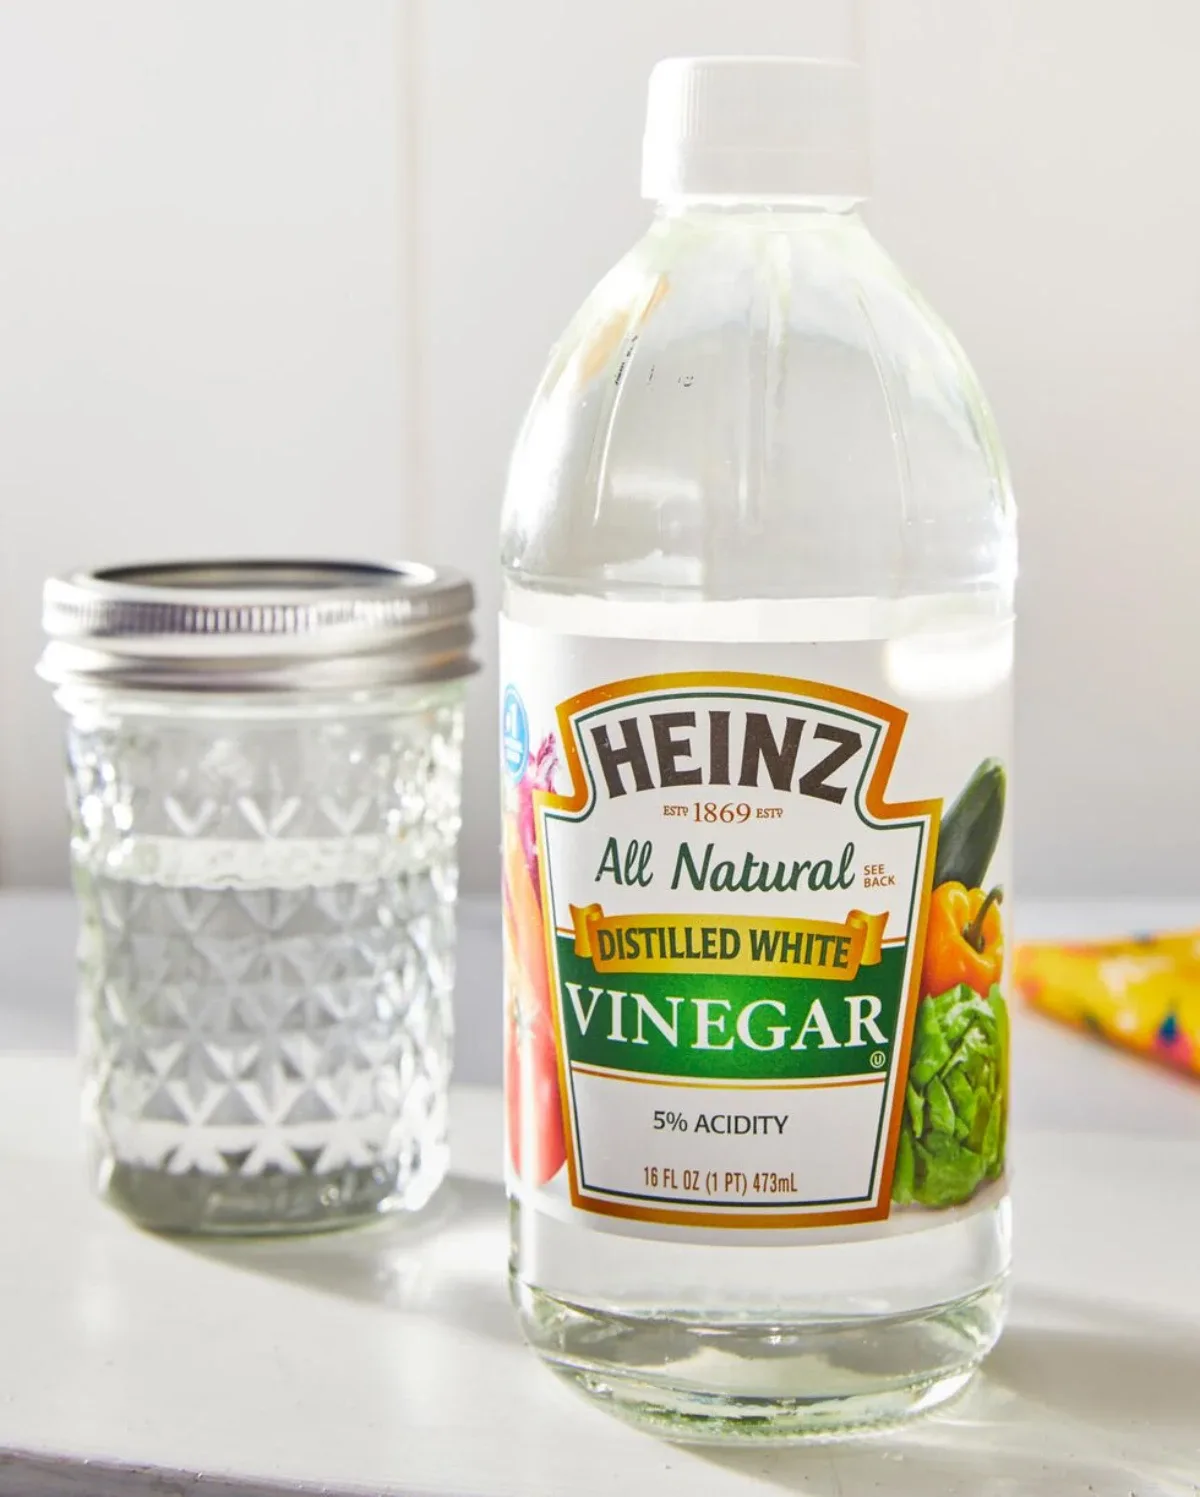
Image source: Bing (Web (fair-use with source credit))
Here's a quick rundown to help you decide:
- White Vinegar:
- Pros: It’s incredibly cheap, readily available in most kitchens, and generally considered safe and effective for descaling. Its acidity breaks down mineral deposits.
- Cons: Vinegar has a strong smell that can linger, requiring extra rinse cycles to get rid of the odor. Some manufacturers advise against using vinegar as it can potentially damage certain seals or internal components over time.
- Commercial Descaling Solutions:
- Pros: These are specifically formulated for coffee makers, often working faster and without the strong odor of vinegar. They are designed to be gentle on machine parts. Many manufacturers recommend them.
- Cons: They cost more than vinegar and you need to buy them specifically for this purpose. Always follow the product's instructions precisely, as some can be more potent.
Our research indicates that if your coffee maker's manual doesn't explicitly forbid vinegar, it's a perfectly viable and budget-friendly option. However, if you have a high-end machine or want the quickest, most odor-free experience, a descaling solution might be worth the extra cost.
Step-by-Step: Cleaning Your Drip Coffee Maker with Vinegar
Ready to tackle that mineral buildup? Using white vinegar is a common and effective method. It’s simple, but you'll want to follow these steps to ensure you get your coffee maker clean without leaving a vinegary taste behind.
This process will involve running a cleaning cycle, so make sure you have a bit of time.
Prepping for Vinegar Cleaning
First things first, gather your supplies. You'll need white vinegar and fresh water. A clean, empty carafe and the machine's removable filter basket are also essential.
Ensure your coffee maker is unplugged and cool if it was recently used. Empty out any old coffee grounds and filter from the basket, and rinse the carafe.
Running the Vinegar Cycle
Now, let's get down to business. Mix equal parts white vinegar and water in the coffee maker's water reservoir. For a standard 12-cup machine, this might mean filling the reservoir halfway with vinegar and halfway with water.
Place the empty carafe onto the warming plate and ensure the filter basket is in place (with no filter or grounds).
Start a brew cycle as you normally would. Let the machine run about halfway through the cycle, then pause it. Let the vinegar-water mixture sit in the reservoir and internal components for about 30 to 60 minutes.
This soaking time is crucial for the vinegar to effectively break down mineral deposits. After the soak, resume the brew cycle until the reservoir is empty.
Rinsing Away the Vinegar
This is perhaps the most important part after the vinegar cycle. You don't want your morning coffee to taste like a salad dressing! Discard the hot vinegar-water solution from the carafe.
Rinse the carafe and filter basket thoroughly with clean water.
Then, fill the water reservoir with fresh, clean water only. Run a full brew cycle with just water. Once that cycle is complete, discard the water.
Depending on how strong the vinegar smell is, you might want to run one or two more full brew cycles with fresh water to completely flush out any residual odor or taste.
Step-by-Step: Cleaning Your Drip Coffee Maker with Descaler
If you prefer to avoid vinegar's strong smell or want a solution specifically formulated for coffee makers, a commercial descaling solution is a great choice. These are designed to be effective and generally gentle on your appliance. Always check your coffee maker's manual first, as some manufacturers might have specific recommendations or even proprietary descaling products.
Prepping for Descaling Solution
Before you start, grab your chosen commercial descaling solution. You'll need fresh water. Make sure your coffee maker is unplugged and cool.
Empty out any old coffee grounds from the filter basket and rinse the carafe and basket.
Running the Descaler Cycle
Carefully read the instructions on your descaling product. Most will instruct you to mix a certain amount of descaler with water in the reservoir. For example, a common ratio is one packet or a specific amount of liquid descaler per 4-6 cups of water.
Once mixed, place the empty carafe on the warming plate and the empty filter basket in its usual spot. Start a brew cycle as directed by the descaler's packaging. Some descalers recommend running the cycle halfway, letting it sit, and then finishing, similar to vinegar.
Others might suggest running the full cycle at once. Follow the product's specific guidance.
Rinsing Away the Descaler
After the descaling cycle is complete, discard the solution from the carafe. Rinse the carafe and filter basket thoroughly with clean water. Then, fill the water reservoir with fresh, clean water.
Run at least two full brew cycles using only fresh water. This thorough rinsing is critical to remove any remaining descaling solution and prevent any impact on your coffee's flavor. Check your descaler's instructions, as some might recommend more rinse cycles.
Cleaning Removable Parts
Beyond the internal workings, the carafe, filter basket, and sometimes the lid are the parts you handle most. These removable components are prime spots for coffee oil residue and dried-on coffee grounds. Neglecting them means even a descaled internal system will still produce coffee with off-flavors.
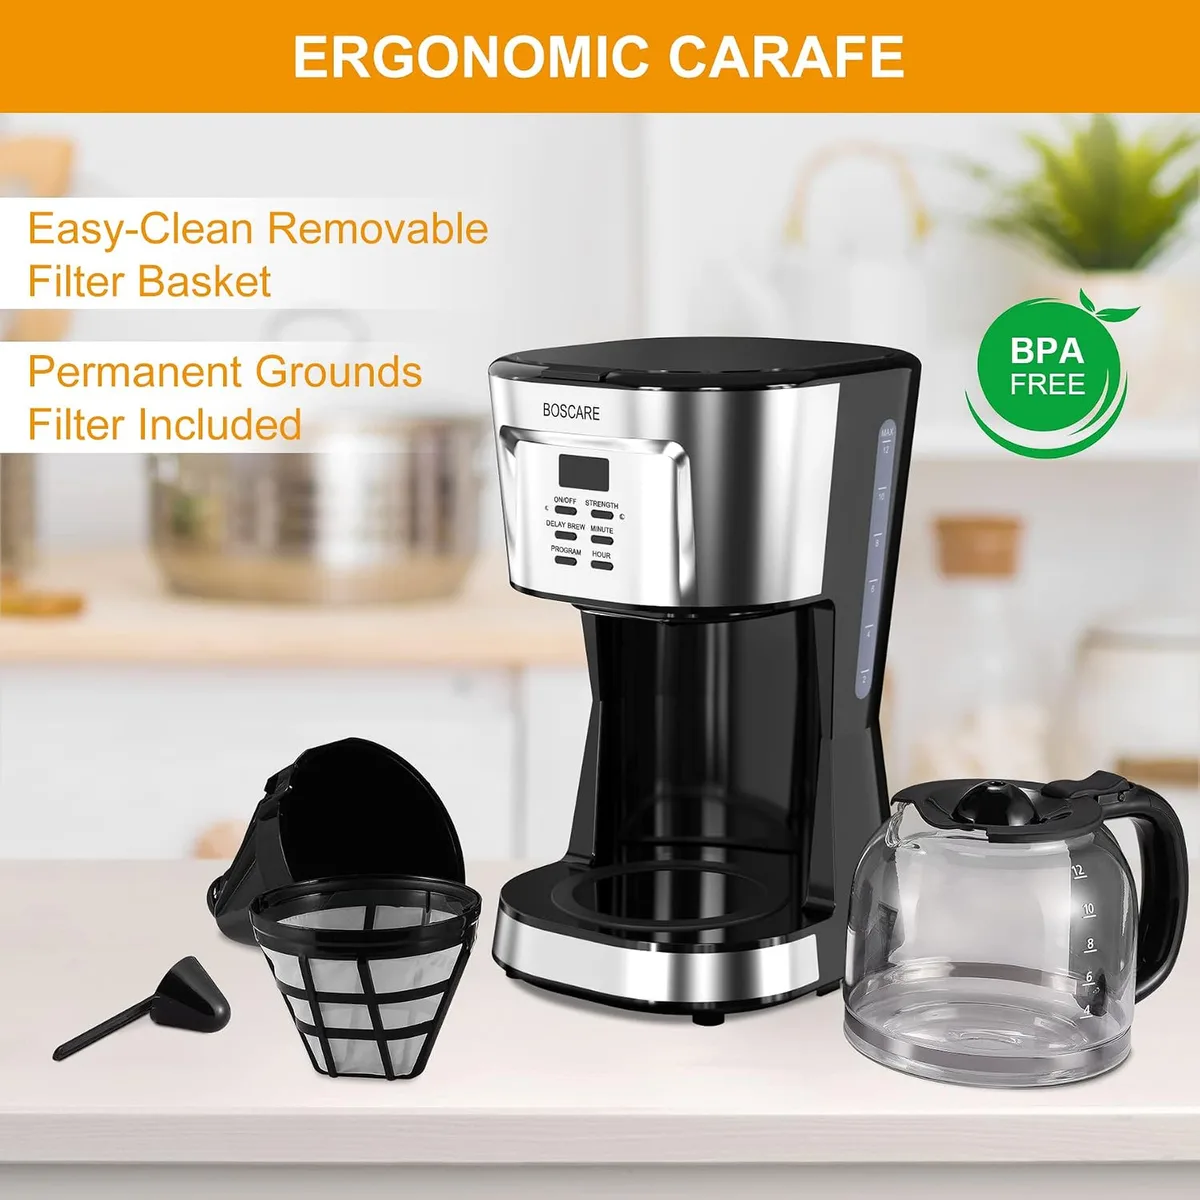
Image source: Bing (Web (fair-use with source credit))
You can usually wash these parts by hand with warm, soapy water. A soft sponge or cloth works best to avoid scratching. For tougher stains or dried-on residue in the carafe, you might need to let it soak for a bit before scrubbing.
Make sure to rinse them thoroughly. Some parts might be dishwasher safe, but always check your coffee maker's manual before tossing them in. Top-rack washing is usually the safest bet if your dishwasher manual confirms it's okay.
Common Mistakes When Cleaning Coffee Makers
It’s easy to slip up when cleaning, and a few common mistakes can mean your coffee maker doesn’t get truly clean or even gets damaged. One biggie is not running enough rinse cycles after using vinegar or a descaling solution. This leaves behind that unpleasant taste or smell.
Manufacturer specifications often call for at least two full water-only brew cycles.
Another error is using abrasive scrubbers or harsh chemicals on the exterior or interior parts. This can scratch surfaces, damage the finish, or even leave behind residues that can leach into your coffee. Also, not cleaning the removable parts regularly is a miss.
Leaving them dirty defeats the purpose of deep cleaning the internal system. Finally, skipping the manual entirely can be a mistake; always refer to it for model-specific advice.
How Often Should You Deep Clean?
The frequency of deep cleaning, or descaling, your drip coffee maker depends on your water quality and usage. A good baseline is once a month. If you live in an area with hard water, you’ll see mineral buildup accumulate faster.
You might notice white, chalky deposits in the water reservoir or the brewing area. In such cases, increasing the cleaning frequency to every two to three weeks is advisable.
Consider your coffee maker's performance. If it's brewing slower than usual, making more noise, or the coffee isn't as hot, these are all signs that descaling is needed. Regularly checking the water reservoir for visible scale is a smart move.
For busy households or offices where the machine is in constant use, monthly cleaning is a good minimum.
Frequently Asked Questions
Can I use bleach to clean my coffee maker?
No, you absolutely should not use bleach. Bleach is a harsh chemical that can damage your coffee maker's internal components and leave behind toxic residues that are unsafe to ingest. It’s far too aggressive for appliance cleaning and can impart a chemical taste to your coffee that's impossible to rinse out.
What if my coffee maker's manual says not to use vinegar?
If your manual specifically prohibits vinegar, it's best to follow that advice. Instead, opt for a commercial descaling solution that is approved by the manufacturer or specifically designed for coffee makers. These products are formulated to be safe for your appliance's materials and avoid the strong odors associated with vinegar.
How do I get rid of mold in my coffee maker?
Mold can grow in damp, dark places, and a coffee maker can be an ideal spot if not cleaned regularly. If you find mold, immediately unplug the machine. For removable parts, wash them thoroughly with hot, soapy water and a stiff brush.
For the internal system, use a descaling solution or a vinegar-water mixture as described in the cleaning steps, ensuring extra rinse cycles. Always check the manual for specific mold remediation advice for your model.