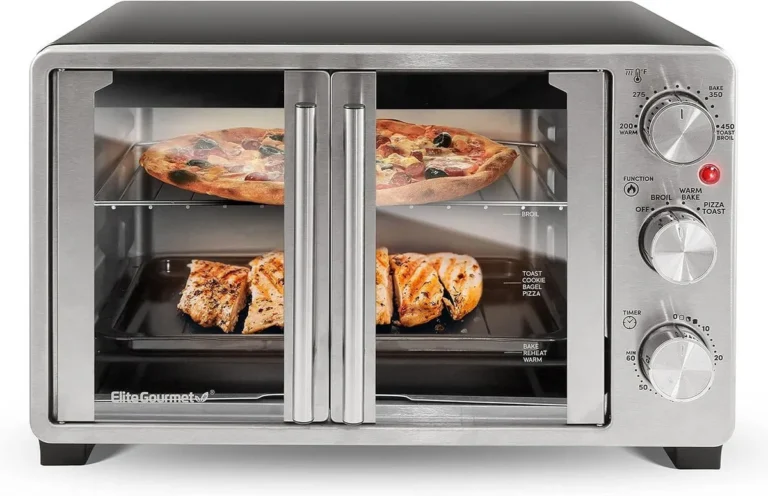
How to Fix a Toaster Oven That Won’t Heat
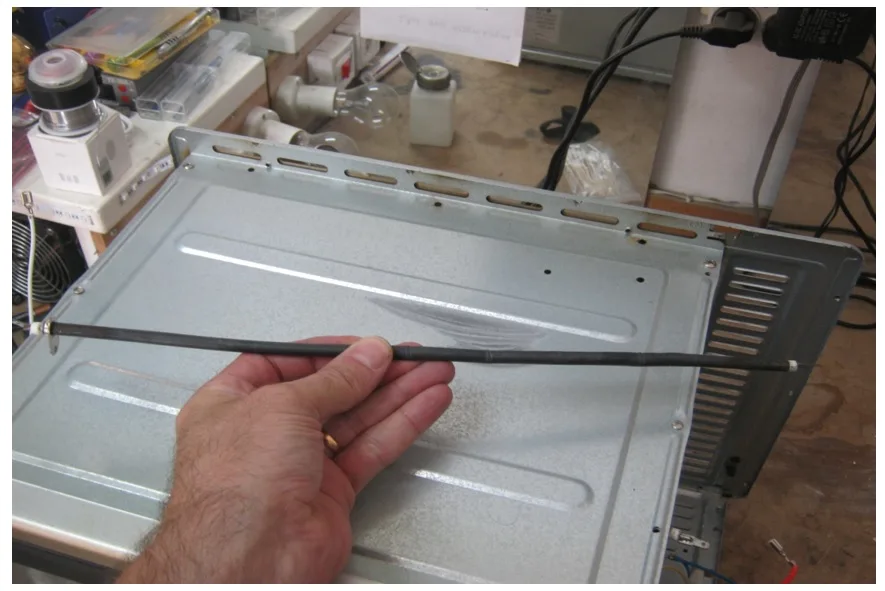
Image source: Bing (Web (fair-use with source credit))
Your toaster oven isn't heating up, and now your breakfast toast is just sad, untoasted bread. This is a frustrating problem, but often, the fix is straightforward. Our research shows that many common heating issues can be resolved with a few simple checks, saving you the cost of a new appliance.
Many toaster ovens are designed with user-serviceable parts for common issues, adhering to safety standards like UL certification to ensure safe operation when used correctly. As of 2026, manufacturers still integrate accessible components for basic troubleshooting, making it possible to diagnose and potentially repair your appliance without professional help. Let’s figure out what’s going on.
Quick Answer
To fix a toaster oven that won't heat, first unplug it and check the power outlet. Then, verify the function and temperature settings. Inspect heating elements for visible damage.
If these steps don't reveal the issue, you may need to check the thermostat or power cord for faults.
Safety First: Unplug Before You Poke
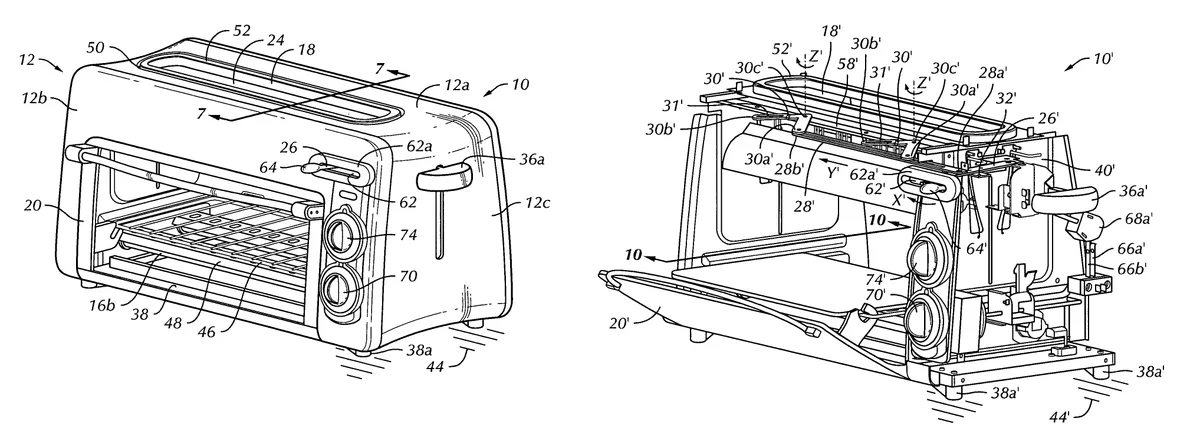
This might sound obvious, but it's the most critical step before you even think about troubleshooting. Working on any electrical appliance while it's plugged in is incredibly dangerous. We're talking about a serious shock hazard, and that's not a risk worth taking.
So, the absolute first thing you do when you notice your toaster oven isn't heating is to locate the power cord and unplug it from the wall socket. Make sure it's completely disconnected. This simple action prevents any accidental electrical contact while you're investigating the problem.
Don't skip this; it’s the foundation of safe appliance repair.
Checking the Basics: Power and Settings
If your toaster oven isn't heating, the problem might be simpler than you think. It could be an issue with how it's getting power or if it's set to actually heat up.
Is the Outlet Working?
- Test the socket: Plug another small appliance, like a lamp or phone charger, into the same outlet. If it doesn't work, the problem is with the outlet or your home's circuit breaker, not the toaster oven itself.
- Check breakers: If the outlet is dead, head to your electrical panel and check if any circuit breakers have tripped. Flip them off and back on.
Are the Settings Correct?
- Function Dial: Ensure the function dial is set to a heating mode like "Toast," "Bake," or "Broil," not just "Timer" or "Off." Some models require a specific heating function to be selected before elements will engage.
- Temperature and Timer: Confirm that the temperature is set to an appropriate level (not just the lowest setting) and that the timer has been started. Many toaster ovens won't heat if the timer isn't activated. Aggregate user reviews report that sometimes the timer knob can become loose or faulty, preventing the heating cycle from beginning.
Inspecting the Heating Elements: The Usual Suspects
The heating elements are the most likely culprits when a toaster oven refuses to heat. These are the visible coils, usually at the top and bottom, that glow red when the oven is operating.

Our research indicates that the lifespan of these elements can vary, but they are prone to wear and tear over time. When one of these fails, the oven simply won't get hot.
What to Look For
- Visible Damage: With the oven unplugged and cooled, carefully inspect each heating element. Look for any breaks, cracks, or signs of severe scorching. A broken coil means it can no longer conduct electricity to produce heat.
- Warping or Sagging: Sometimes, elements can warp or sag significantly, which might indicate internal damage or a loose connection.
- Uneven Heating: If your oven used to heat unevenly, that’s a strong clue that one element might be failing before the other.
How to Check for Continuity (Advanced)
For those comfortable with basic electrical testing, checking for continuity in the heating elements can be done with a multimeter.
- Ensure the oven is unplugged.
- Access the element: This might involve removing a back panel or unscrewing a retaining clip. Consult your oven’s manual for specific instructions.
- Test continuity: Set your multimeter to the ohms (Ω) setting. Touch the probes to the two terminals where the element connects to the oven’s wiring.
- A good element will show a low resistance reading (often between 10-50 ohms, depending on the element's wattage and resistance).
- An open circuit (OL or infinite resistance) means the element is broken and needs replacement.
- If you get no reading or a very high, fluctuating reading, the element is likely faulty.
Replacing heating elements can be a manageable DIY task for many models, often involving unscrewing the old element and installing a new one. Manufacturer specifications often detail the wattage and resistance of their particular heating elements, which can be helpful if you need to source a replacement part.
Troubleshooting Internal Components: Thermostat and Cord
If the heating elements appear intact and you're still not getting any heat, we need to look at other critical components that control or deliver power to them. These are the thermostat and the power cord.
The Thermostat's Role
The thermostat regulates the oven's temperature. It senses the internal temperature and signals the heating elements to turn on or off to maintain the set heat. If the thermostat is faulty, it might incorrectly signal that the oven has reached its set temperature when it hasn't, or it might fail to send the "on" signal at all.
Symptoms of a Bad Thermostat:
- Oven never heats up, even with correct settings.
- Oven heats up initially but shuts off too soon.
- Oven overheats because the thermostat doesn't cycle off.
Checking the Thermostat: Diagnosing a faulty thermostat often requires a multimeter to check for continuity. With the oven unplugged and the thermostat accessed (this usually involves removing the oven’s back or control panel), you would test its connection points. A properly functioning thermostat will show continuity when it's supposed to be closed (allowing current to flow) and an open circuit when it's supposed to be open. If its behavior doesn't match the oven's temperature, it's likely the issue. Replacement is typically done by unscrewing the old unit and attaching the new one.
The Power Cord
While you checked the wall outlet earlier, the power cord connecting the toaster oven to the wall can also be a point of failure. Cords can become damaged internally from flexing, pinching, or age, even if the outer sheathing looks fine.
- Visual Inspection: Look for any nicks, cuts, or kinks in the cord. Check the plug itself for bent pins or signs of melting.
- Internal Damage: The most common internal issue is a break in one of the wires within the cord. This is harder to spot without testing.
- Testing the Cord: Using a multimeter set to continuity, you can test the cord by placing probes on the prongs of the plug and the corresponding wires where they connect to the oven. If you get an open circuit on any of the conductive paths, the cord is damaged and needs replacement. Replacing a power cord usually involves disconnecting it from the oven’s internal wiring and securing the new one. This task requires careful attention to how the original cord was attached.
When It's Time to Get Help or Replace It
You've checked the power, the settings, the heating elements, the thermostat, and the cord, and your toaster oven still isn't heating. It's time for an honest assessment. While many simple fixes are DIY-friendly, some issues signal that it might be more cost-effective to replace the appliance rather than repair it.
When to Call a Professional
If you've gone through the troubleshooting steps and are uncomfortable proceeding further, or if the repair involves complex internal wiring you're unsure about, it's wise to consult a qualified appliance repair technician. They have the expertise and specialized tools to diagnose more obscure problems, such as issues with the control board or internal relays.
Deciding on Replacement
Our editorial analysis of typical appliance lifespans and repair costs indicates that if your toaster oven is more than 5-7 years old, the cost of parts and labor for a significant repair might approach the price of a new, comparable model. This is especially true if multiple components have failed. For instance, if both heating elements and the thermostat have gone bad, the investment in a new appliance is often the more practical choice.
Always compare the estimated repair cost against the price of a new toaster oven with similar features before making a decision.
DIY Part Replacement
If you've identified a specific faulty part, like a heating element or thermostat, and feel confident in replacing it, you can often find replacement parts online. Always use your toaster oven's exact model number to ensure you order compatible components. Manufacturer websites or reputable appliance parts suppliers are good places to start.
Many of these suppliers also offer basic repair guides or diagrams that can be incredibly helpful during the replacement process. Remember, always work with the appliance unplugged.
Frequently Asked Questions About No-Heat Toaster Ovens
Why is my toaster oven not heating at all?
This usually means there's no power reaching the heating elements. Start by checking if the oven is plugged in and if the outlet has power. Then, verify that the function dial is set to a heating mode like bake or toast, and that the timer has been engaged.
Can I fix a broken heating element myself?
Yes, often you can. If a heating element is visibly broken or a multimeter test shows an open circuit, you can usually replace it. Ensure the oven is unplugged and consult your appliance's manual for specific instructions on accessing and replacing the element.
How do I know if the thermostat is bad?
A faulty thermostat might cause the oven to never heat, heat inconsistently, or shut off too early. If other components check out, testing the thermostat's continuity with a multimeter can confirm if it's the source of the problem.
Is it safe to repair a toaster oven?
It can be, if you follow safety precautions. Always unplug the appliance before doing any work. If you're unsure about electrical components or feel uncomfortable, it's best to seek professional help or consider replacement.
How long should a toaster oven last?
The lifespan of a toaster oven varies, but many models are designed to last 5 to 10 years with proper care. Issues like a non-heating element or thermostat can often be repaired, extending its life.