How to Cook Chicken in a Toaster Oven
When you're craving perfectly cooked chicken but don't want to fire up the full-size oven, your trusty toaster oven is the answer. Learning how to cook chicken in a toaster oven is a skill that offers convenience and fantastic results for smaller portions. It’s about mastering the heat and knowing what to look for.
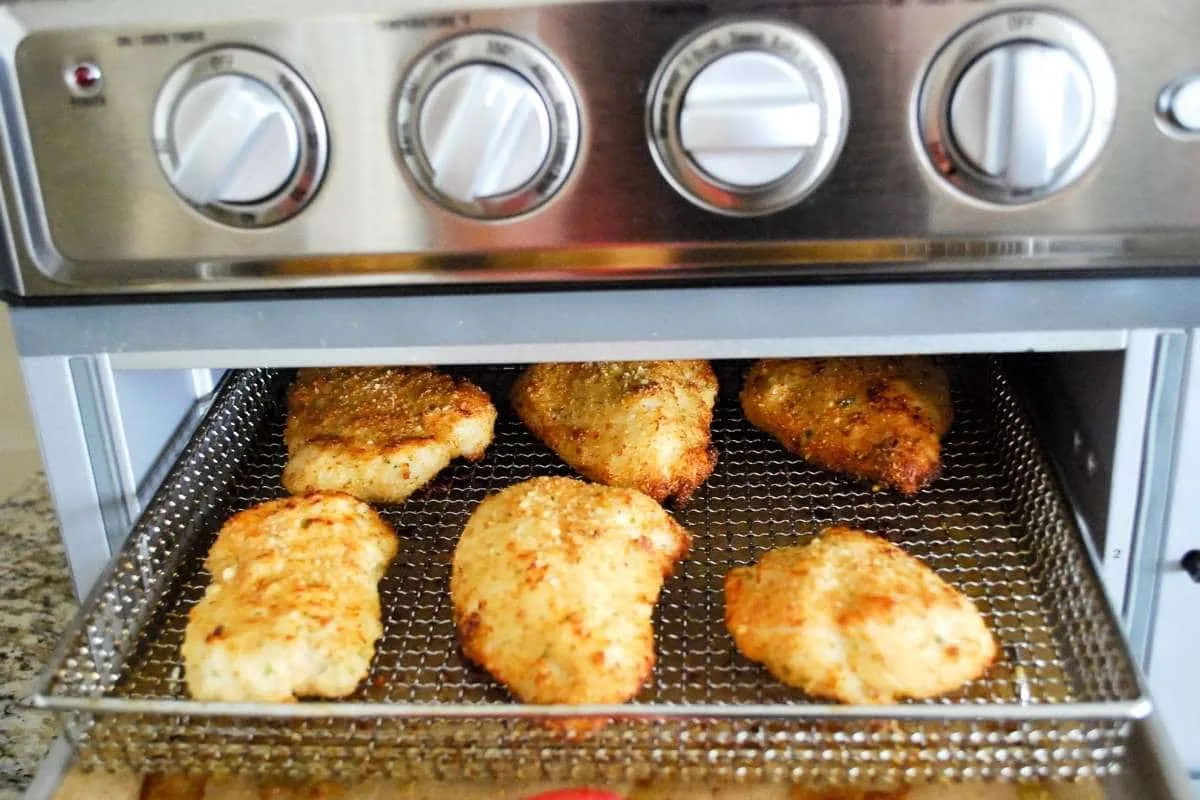
Image source: Bing (Web (fair-use with source credit))
Aggregate reviews confirm that toaster ovens can achieve a golden-brown exterior and juicy interior, with proper technique, hitting an internal temperature of 165°F (74°C) as recommended by the USDA. This guide will walk you through the visual cues and steps to get it right every time.
Quick Answer
To cook chicken in a toaster oven, preheat to 400°F (200°C). Pat chicken dry, season well, and arrange on a pan. Bake until golden brown and internal temp reaches 165°F (74°C).
Boneless breasts take about 20-25 minutes; bone-in pieces take longer. Watch for clear juices.
Why Visuals Make the Difference for Toaster Oven Chicken
Cooking chicken in a toaster oven isn't just about timers; it's a visual art. Unlike a large oven where you might rely more on written recipes, the compact nature of a toaster oven means you can easily peer inside. This allows you to use your eyes to judge doneness and texture in ways that are harder in a big oven.
Observing the chicken's color, the crispness of the skin, and the clarity of its juices provides crucial real-time feedback. This direct visual assessment helps prevent overcooking or undercooking, ensuring your chicken is both safe and delicious. As of 2026, visual guidance remains a primary method for home cooks mastering this appliance.
Toaster Oven Chicken: What You'll Need and Why
Getting ready to cook chicken in your toaster oven is pretty straightforward. You don't need much, but having the right items makes the process smoother and the results better.
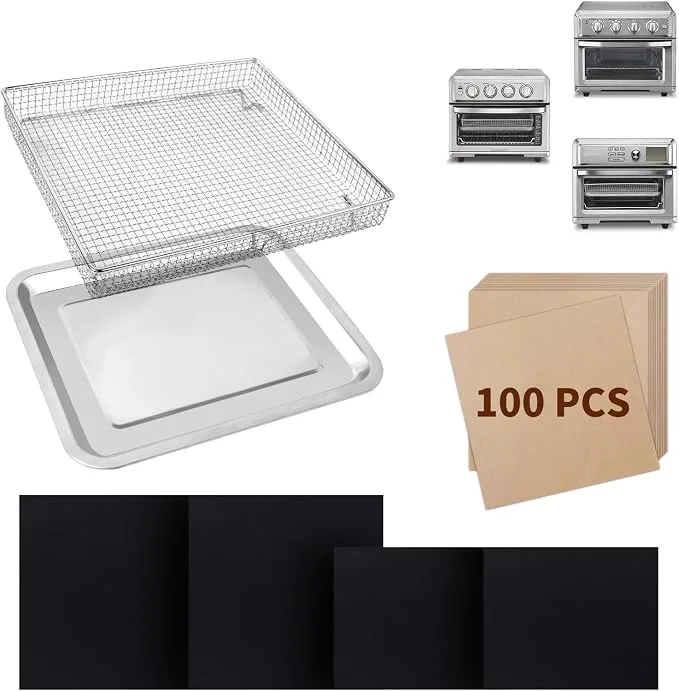
Image source: Bing (Web (fair-use with source credit))
- Toaster Oven: Your main appliance. Make sure it's clean inside to avoid transferring any off-flavors or burnt bits to your chicken.
- Chicken: This can be anything from boneless, skinless chicken breasts or thighs to bone-in drumsticks or thighs. The type and cut will affect cooking time.
- Seasonings: Basic salt and pepper are essential, but don't stop there. Garlic powder, onion powder, paprika, dried herbs like thyme or rosemary, or a pre-made spice blend all work wonders.
- Baking Pan or Sheet: You’ll need a small, oven-safe pan or a baking sheet that fits comfortably inside your toaster oven. A shallow dish works well for chicken pieces.
- Optional: Parchment Paper or Foil: Lining your pan with parchment paper or aluminum foil makes cleanup incredibly simple, especially if you're dealing with sticky marinades or drippings.
- Meat Thermometer: This is arguably the most critical tool for food safety and perfect results. It removes all guesswork. Manufacturer specifications for food safety dictate an internal temperature of 165°F (74°C) for poultry to be considered safe to eat.
Prepping Your Chicken for the Toaster Oven
Getting the chicken ready is more than just seasoning it; a few key steps can dramatically improve the final taste and texture. Proper preparation ensures that your chicken cooks evenly and develops that appealing exterior.
- Pat Dry Thoroughly: Use paper towels to get your chicken pieces as dry as possible. This is especially important if you want crispy skin or a nice sear on boneless cuts. Moisture steams instead of browning.
- Season Generously: Coat the chicken pieces evenly with your chosen seasonings. Don't be shy with the salt and pepper, and explore other spices like garlic powder, onion powder, paprika, or any blends you enjoy. If you're using fresh herbs, chop them finely.
- Consider a Marinade (Optional): If you're using a marinade, ensure you pat the chicken dry after marinating and before seasoning and cooking. Excess marinade can lead to steaming. For safety, never reuse a marinade that has touched raw chicken without boiling it thoroughly first.
- Arrange for Even Cooking: Place your seasoned chicken on the prepared baking pan. Leave a little space between each piece so that air can circulate around them. This prevents them from steaming and helps them brown properly. If you have bone-in, skin-on pieces, arrange them skin-side up.
The Step-by-Step Process: Cooking Chicken Visually
This is where we bring it all together. Follow these steps, and keep an eye on the chicken as it cooks; that’s how you’ll truly master it.
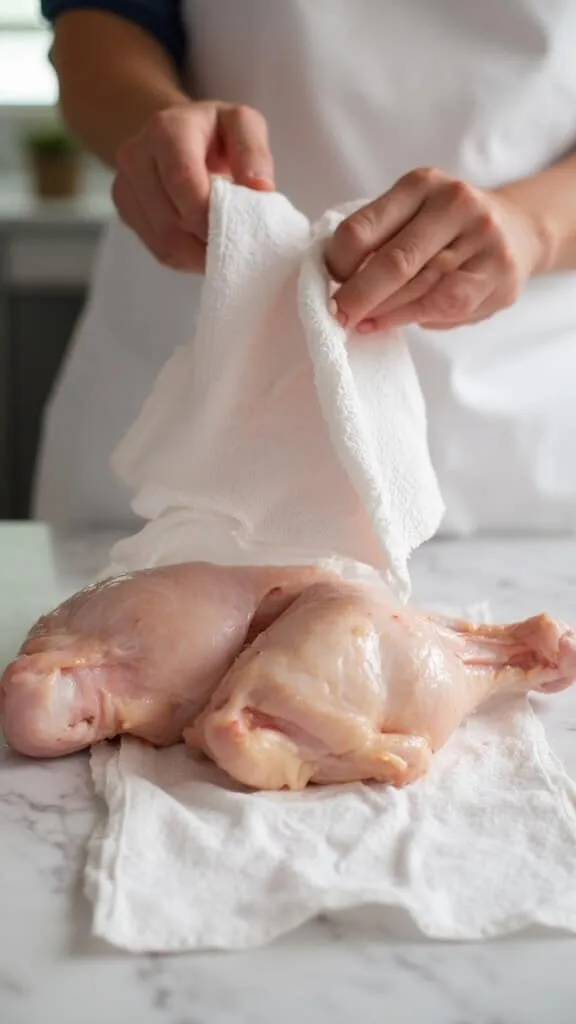
Image source: Bing (Web (fair-use with source credit))
- Preheat Your Toaster Oven: Turn on your toaster oven and set the temperature. For most chicken preparations, a good starting point is 400°F (200°C). This high heat helps achieve browning and crisping quickly. Allow it to preheat fully, which usually takes about 5-10 minutes.
- Arrange Chicken on Pan: Place your seasoned, prepped chicken pieces onto your lined baking pan or into your oven-safe dish. Ensure there's space between each piece for air circulation.
- Place Pan in Oven: Carefully slide the pan into the preheated toaster oven. Position it in the center of the oven for the most even heat distribution.
- Bake and Monitor: This is where your eyes come into play. Start checking around the minimum estimated cook time for your specific cut of chicken. For boneless, skinless breasts, this might be as early as 20 minutes. For bone-in pieces, it could be 30-40 minutes or more.
- Use Your Thermometer: For definitive doneness, insert a meat thermometer into the thickest part of the chicken, avoiding bone. Poultry is safely cooked when it reaches an internal temperature of 165°F (74°C).
How to Tell When Toaster Oven Chicken Is Done: Key Visual Cues
While a thermometer is your best guarantee, your eyes can also tell you a lot about whether your chicken is ready. Learning these visual indicators will make you a more confident cook.
- Golden-Brown Color: The surface of the chicken should have a pleasing, rich golden-brown hue. This indicates that the Maillard reaction has occurred, contributing to flavor and a desirable crust. If it's looking pale after the expected cooking time, it may need a few more minutes or a slightly higher temperature if your oven allows.
- Juices Run Clear: This is a classic sign of properly cooked poultry. When you gently pierce the chicken with a fork or skewer (or when you cut into it), the juices that run out should be completely clear. If you see any pinkness or blood, it needs more cooking time.
- Firm Texture: Cooked chicken will feel firm to the touch. If it still feels soft, squishy, or excessively jiggly, it’s likely not done.
- Skin Crispness (if applicable): If you’re cooking chicken with skin, you’re looking for that skin to be nicely crisped and browned, not pale and flabby. This also relies on patting the chicken very dry before cooking.
If you're unsure, it's always better to cook it a little longer rather than risk serving undercooked chicken. You can always trim off any slightly overcooked bits, but undercooked chicken is a food safety concern.