How to Toast Sourdough Bread
Tired of sourdough toast that’s either pale and doughy or burnt to a crisp? Getting that perfect golden-brown crust with a chewy interior isn't complicated, but it does require a little know-how. Mastering how to toast sourdough bread means understanding heat and timing.
Our research shows that the key to excellent sourdough toast lies in respecting its unique structure, which differs from standard white bread. Manufacturer specifications for common kitchen appliances, like toasters, often don't account for the denser crumb and varied crust of artisan loaves.
Quick Answer
Toast sourdough bread evenly by controlling heat and watching closely. Use a toaster on a medium setting, an oven at 350-400°F, or a skillet over medium heat. Aim for a golden-brown crust and slightly chewy interior.
Avoid burning by monitoring toast frequently.
The Art of Toasting Sourdough: Getting That Perfect Crust
Sourdough bread, with its tangy flavor and distinctive chewy crust, deserves more than just a hurried zap in a toaster. Toasting it properly brings out its best qualities, transforming it into a delicious canvas for your favorite toppings. It’s about achieving that ideal balance: a crisp exterior that gives way to a satisfyingly tender crumb.
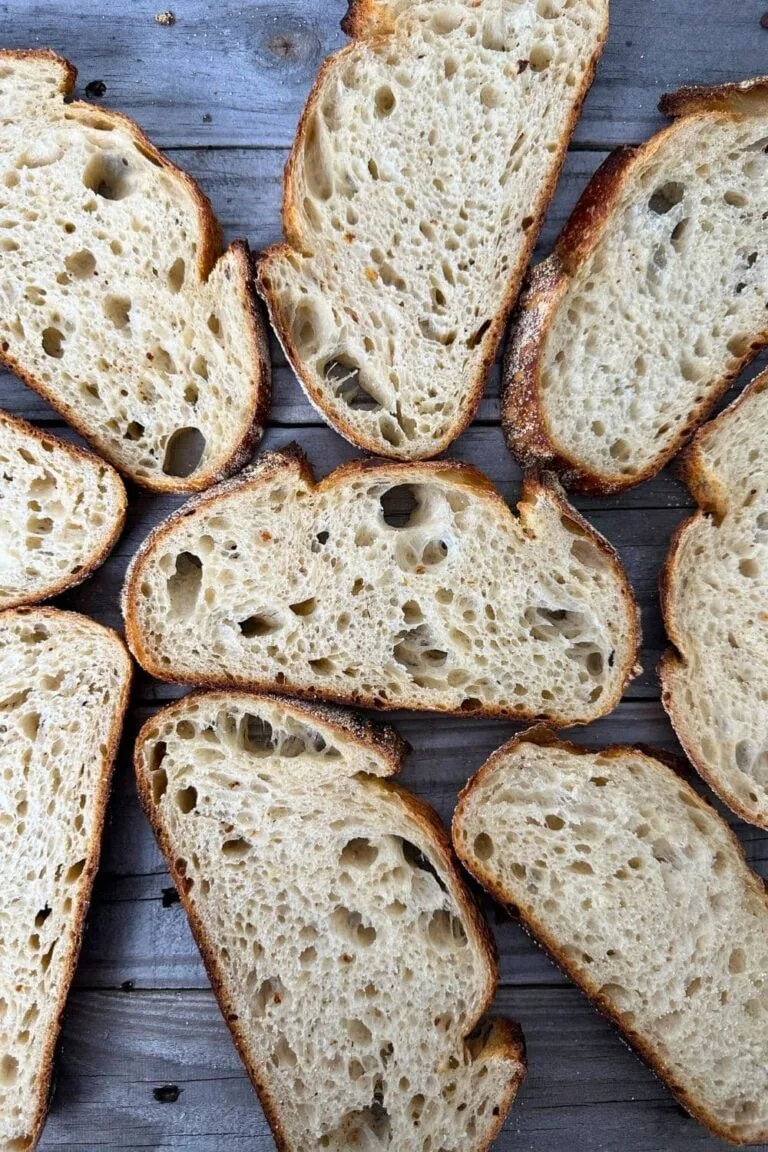
Image source: Bing (Web (fair-use with source credit))
The goal is a toast that’s neither too hard nor too soft. Aggregate reviews consistently point to visual cues as the most reliable indicator of perfect toast, rather than relying solely on time settings. These cues tell you when the Maillard reaction has optimally browned the bread's surface.
Why Visuals Are Key for Sourdough Toast
When you’re aiming for that perfect piece of toast, relying on a timer alone can be a gamble, especially with sourdough. Every loaf is a little different, and every toaster, oven, or skillet heats up a bit differently. That's where your eyes become your most important tool.
Visual cues are paramount because they tell you what's actually happening to the bread's surface at any given moment. You’re looking for a specific shade of golden brown, a slight puff of the crust, and the absence of any charred spots. Understanding these visual indicators helps you adapt to your specific equipment.
Manufacturer specifications for heat often provide a starting point, but visual confirmation is what seals the deal.
Step-by-Step to Golden Perfection: The Visual Guide
Getting your sourdough toast just right involves a few simple steps, but paying attention to how the bread looks at each stage makes all the difference. It’s about coaxing out the best texture and flavor without overdoing it.
Slicing Your Sourdough: Not Too Thick, Not Too Thin
The foundation of great toast starts with the slice. If your slices are too thin, they tend to burn quickly before the inside warms up. Too thick, and they might not heat through evenly or might take ages to toast.
Our editorial analysis suggests a slice thickness of about 3/4 inch to 1 inch is ideal. This provides enough structure to hold up to heat without being overly dense. You want to see the airy interior structure clearly when you cut.
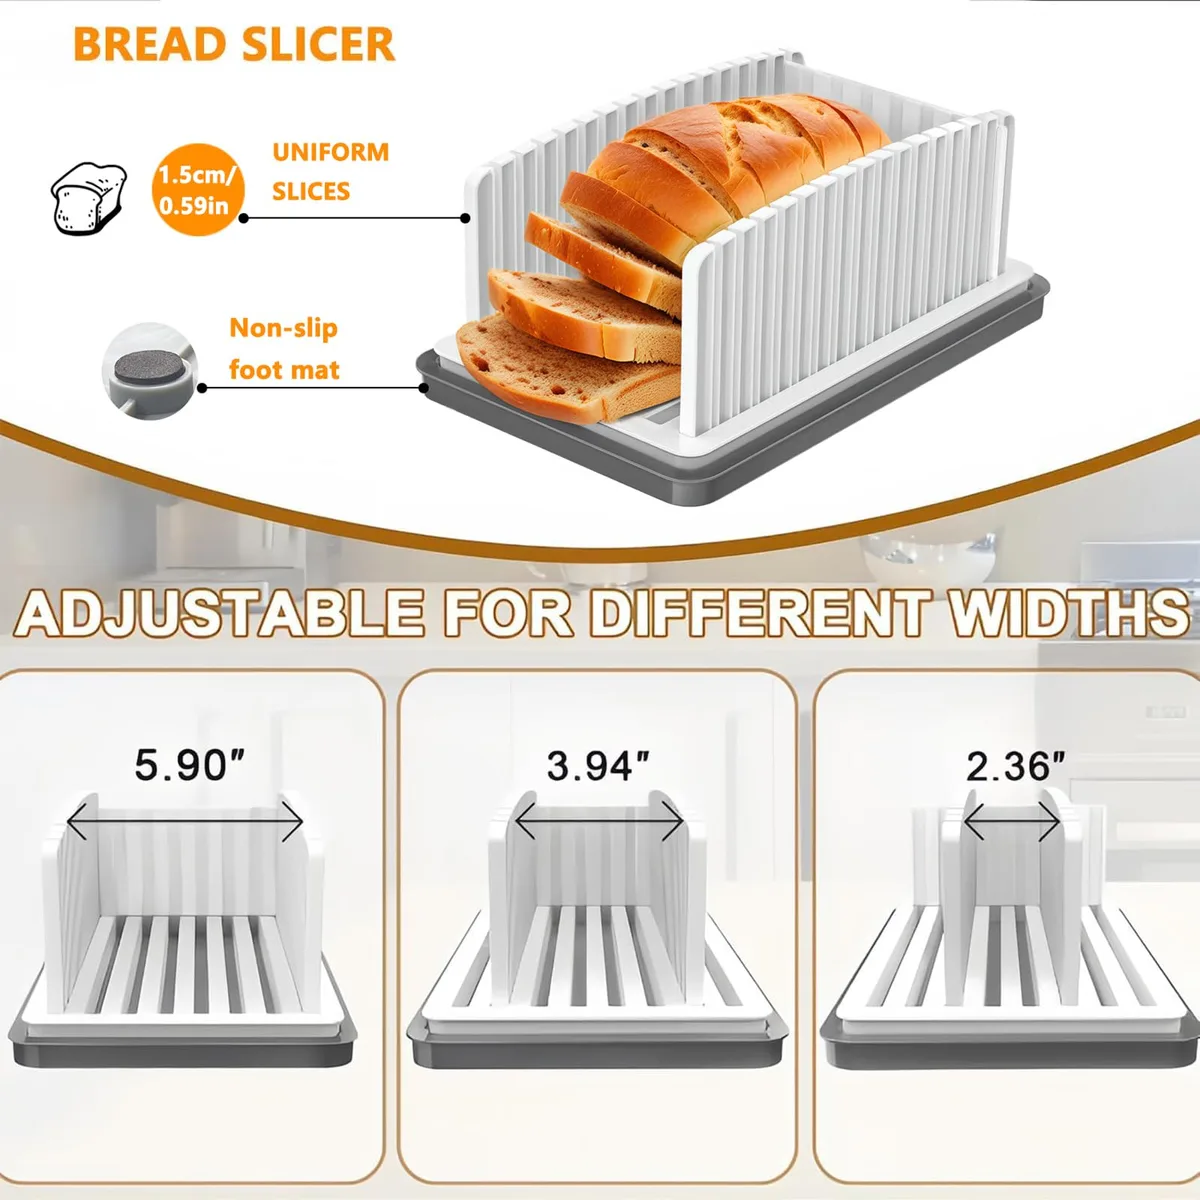
Image source: Bing (Web (fair-use with source credit))
If your sourdough loaf is particularly large or has a very open crumb, you might find a slightly thinner slice works better for certain toasting methods, like using a standard pop-up toaster.
Getting Your Heat Right: Toaster, Oven, or Pan
Choosing your heat source is the first practical decision. Each method offers a different experience and requires you to watch for specific visual cues. For example, a toaster's slots offer a very direct heat application to both sides simultaneously.
An oven, on the other hand, provides more ambient heat. This can be fantastic for even toasting but requires you to monitor the top and bottom surfaces. When using a skillet, you're essentially pan-frying your toast, which can yield incredible crispness and char, but demands constant attention.
Aggregate user feedback often highlights that consistent, medium heat is better than blasting with high heat. High heat can scorch the outside before the inside is properly warmed.
Watching for the Signs: How to Spot Perfect Toast
This is where your eyes are key. Forget the dial settings for a moment; look at the bread itself. You're aiming for a beautiful, even golden-brown color across the entire surface.
A properly toasted slice will also have a subtle crispness to its crust that you can often see, and sometimes even hear as it cools. The crumb, while still tender, will have lost its raw doughy appearance. Look for slight caramelization on the crust, but no black, burnt areas.
If you see edges starting to darken faster than the center, that’s a sign you might need to adjust your heat or rotation.
Common Visual Mistakes & How to Fix Them
One of the most frequent visual mistakes is toast that’s too pale. This means it hasn't spent enough time under heat to develop flavor or crispness. The fix?
Simply increase the toasting time or slightly raise the heat setting.
Conversely, dark, charred spots are a clear indicator of burning. If you see this happening, immediately reduce the heat or remove the bread. For uneven toasting in a toaster, try rotating the bread halfway through if possible, or consider a different method.
Per standards from organizations like the National Institute of Standards and Technology (NIST), consistent heat distribution is crucial for predictable results in cooking appliances.
Choosing Your Toasting Method: Visual Pros and Cons
There isn't one "best" way to toast sourdough; it really depends on what you're going for and the tools you have handy. Each method offers a unique outcome, and knowing their strengths and weaknesses helps you pick the right one for your craving.
The Classic Bread Toaster: Speed vs. Control
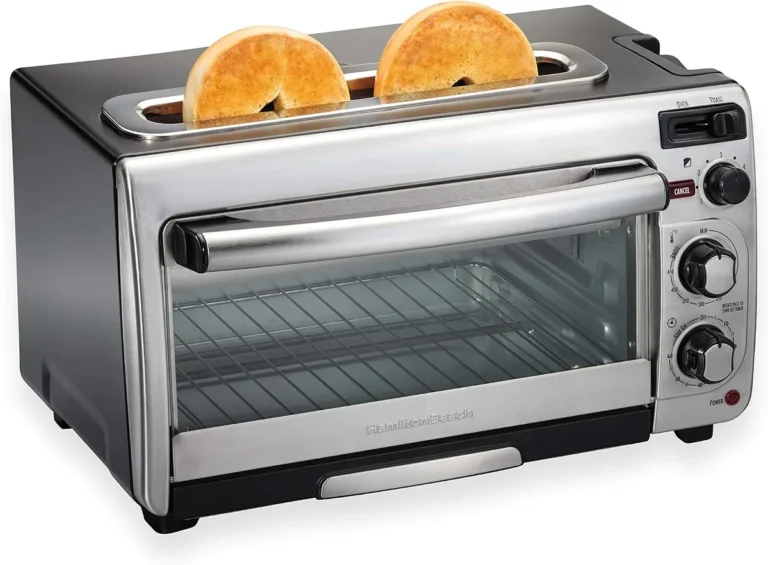
A standard pop-up toaster is undeniably fast. You can get slices of toast in just a few minutes, making it perfect for busy mornings. Its design heats both sides of the bread simultaneously.
However, control can be limited. Many toasters have wide variations in heat even on the same setting, and slot width can be an issue for thicker sourdough slices. Manufacturer specifications for toaster slot width typically range from about 1 inch to 1.5 inches, which can be snug for artisanal loaves.
You're often left relying on a general dial setting and hoping for the best.
The Oven Method: Evenness and Versatility
Using your oven gives you a lot more control over the heat distribution. You can toast slices on a baking sheet placed on the center rack. This method is excellent for achieving remarkably even browning across the entire slice, especially if you use parchment paper or a silicone baking mat.
You can also toast multiple slices at once, making it ideal for serving a crowd. It’s more versatile, too; you can even toast open-faced sandwiches this way. The trade-off is that it takes longer than a toaster because the oven needs to preheat, and the toasting process itself can take a few minutes longer.
The Skillet/Pan Method: Crispy Edges and Char
If you crave a toast with an exceptionally crispy crust and maybe even a hint of smoky char, the skillet method is your go-to. You'll treat it much like grilling cheese. Melt a little butter or add a slick of oil to a skillet over medium heat, then toast your sourdough slices.
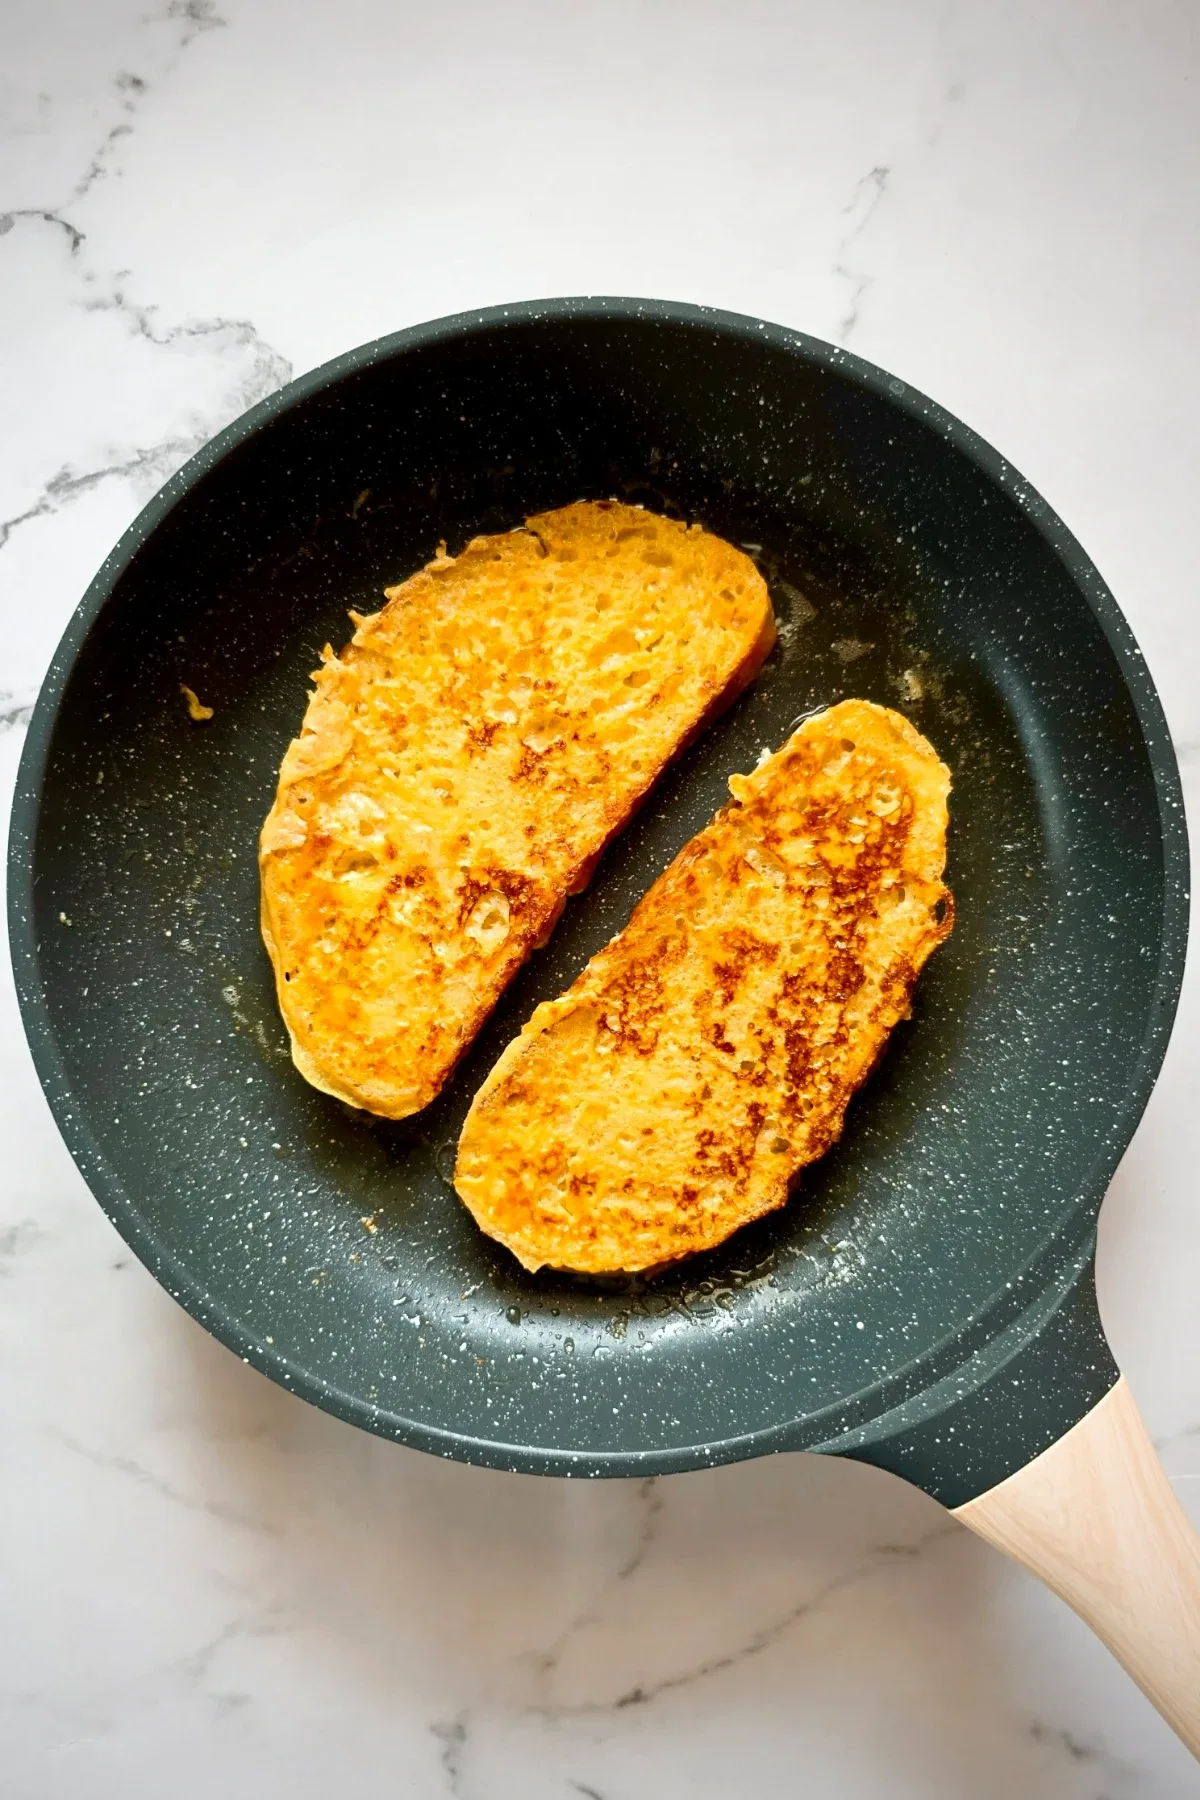
Image source: Bing (Web (fair-use with source credit))
This method demands your full attention because the bread can go from perfect to burnt very quickly. Flipping is essential to ensure both sides get beautifully browned and crispy. It’s a more hands-on approach but yields incredibly satisfying results, particularly for thicker slices.
When Your Sourdough Toast Goes Wrong: Troubleshooting Visual Cues
Sometimes, despite your best efforts, your sourdough toast might not turn out as planned. The good news is that most problems manifest visually, giving you clues on how to fix them.
- Pale & Doughy: If your toast is still soft in the middle with a light, unappealing color, it simply hasn't been heated long enough or at a high enough temperature. For toasters, try a higher setting. In an oven, increase the temperature slightly or leave it in longer. For skillet toast, keep it on the heat a bit longer, flipping as needed.
- Burnt Edges, Pale Center: This usually means the heat is too high for the thickness of the slice. The edges are exposed to more direct heat and toast faster. Reduce the heat on your toaster, oven, or skillet. If using an oven, consider moving the rack to a position further from the heating element.
- Uneven Browning: Toasters are notorious for this. You might see dark spots on one side and pale areas on the other. If your toaster has adjustable width slots, ensure the bread is centered. If not, you may need to manually rotate the toast halfway through. An oven or skillet method generally offers better evenness.
- Dry and Hard: This happens when the bread is toasted for too long, driving out too much moisture. It’s often irreversible. The best prevention is to watch the toast closely and remove it as soon as it reaches your desired level of crispness. A slightly stale loaf is actually ideal for toasting, as it already has less moisture than a fresh loaf.
Expert Tips for Next-Level Sourdough Toast
Want to elevate your sourdough toast game even further? A few simple tricks can make a big difference, turning an everyday slice into something special.
- Butter Before Toasting: For skillet toast, try buttering the slices before placing them in the pan. The butter will melt and help create an incredibly rich, golden-brown, and crispy crust. This is similar to how you'd prepare a grilled cheese sandwich for maximum flavor.
- Use a Toothbrush for Butter: If you're topping your toast after it's done, consider using a clean, soft-bristled toothbrush to spread melted butter evenly. It gets into all the nooks and crannies of the sourdough crust far better than a knife. This technique can even help preserve the delicate texture of homemade butter.
- Embrace the "Day-Old" Loaf: While fresh sourdough is delicious, a loaf that’s a day or two old often toasts up better. It has lost a bit of its initial moisture, which helps it achieve a crisper exterior without becoming too chewy. This is also a great way to use up bread that might otherwise go to waste.
- Consider the Crumb: When slicing, look at the interior crumb. If it’s very open and full of large air pockets, it might toast faster and unevenly. Thicker slices and careful monitoring are key here. If the crumb is dense, slightly thinner slices might work better.
- Don't Forget the Broiler (with Caution): For a quick crisp, you can briefly place slices under a broiler. However, this is extremely fast and requires constant watching. It's best for a quick final crisp-up rather than full toasting. Set your oven rack a good 6-8 inches from the broiler element.
Real Scenarios: What to Toast Sourdough For
Beyond a simple breakfast, toasted sourdough is incredibly versatile. Think of it as a blank slate for culinary creativity. Its hearty texture and slightly tangy flavor pair well with a wide array of toppings and can form the base for many dishes.
For example, a thick slice, toasted until golden and crisp, makes a fantastic base for avocado toast. You can also rub it with a clove of garlic after toasting for a quick bruschetta before adding tomatoes and basil. It’s also ideal for a robust open-faced sandwich, holding up better to wet ingredients than thinner breads.
If you're looking for ideas on how to prepare ingredients to go on top, learning how to prepare food with a blender can give you a head start on dips or sauces.
Frequently Asked Questions About Sourdough Toast
How long does it take to toast sourdough bread?
Toasting sourdough typically takes between 2 to 5 minutes, depending on the method and your heat setting. A pop-up toaster might be as quick as 2-3 minutes. Using an oven or skillet might take 3-5 minutes per side.
Can I toast sourdough in a toaster oven?
Yes, a toaster oven works very well for toasting sourdough. Place your slices on the rack, usually about halfway up. Use a medium heat setting and watch carefully, as toaster ovens can heat intensely.
What's the difference between toasting sourdough and regular bread?
Sourdough's denser crumb and often thicker crust mean it might require a slightly longer toasting time or a different heat setting than standard white bread. It also has a more complex flavor profile that benefits from careful browning to enhance its tanginess.
Is it better to toast sourdough in a pan or a toaster?
Toasters offer speed and convenience for multiple slices. Pans offer more control for achieving a perfectly crispy crust and can be great for thicker slices or when you want to add butter before toasting. The choice depends on your priority: speed or texture.