How to Make Soup in a Blender
Making soup in a blender is a fantastic way to achieve incredibly smooth, restaurant-quality textures right in your kitchen. It’s a method that transforms humble ingredients into silky purees with minimal effort.
Our research indicates that high-powered blenders, often exceeding 1,000 watts, are particularly effective for this task, as they can efficiently break down fibrous vegetables and create stable emulsions. This guide will walk you through the process, ensuring you get the best results every time.
Quick Answer
Making soup in a blender involves pureeing cooked ingredients until smooth. Venting the lid is crucial for hot liquids. Blend in stages, starting slow, to avoid splattering.
Aim for a consistency that flows like thick cream.
Why Your Blender is Your Next Soup Secret Weapon
You might think of your blender for smoothies and margaritas, but it's a true workhorse for soup. It takes cooked vegetables, broths, and aromatics and turns them into something velvety and luxurious. This method is especially brilliant for creamy vegetable soups, chilled soups like gazpacho, or even enriching sauces.
The sheer speed at which a good blender can achieve a silky texture is unmatched by manual methods.
The Visual Guide to Blender Soup Textures
Understanding the ideal texture is key to a great blender soup. Visual cues will tell you when you've hit the sweet spot.
Smooth & Creamy: What to Look For
When blending, you're aiming for a texture that’s like thick, flowing cream. In our research, this is often described as having a "mouthfeel" that’s rich and coating without being gritty or watery. Visually, the soup should be uniform in color and consistency, with no visible chunks or separation.
As the soup comes off the blades, it should cascade smoothly back into the jar.
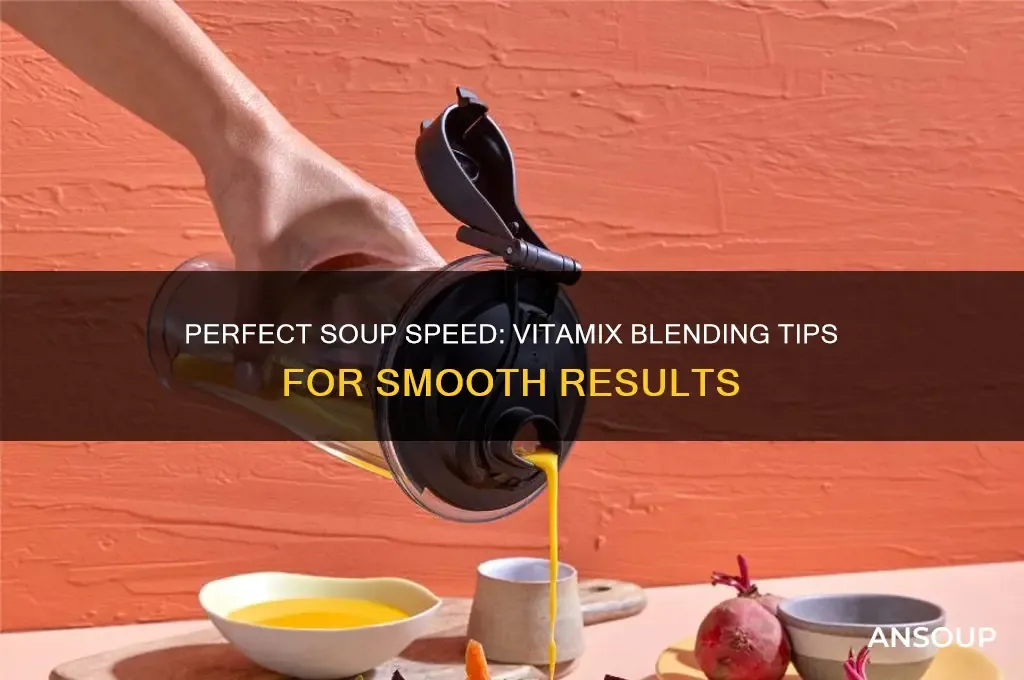
If you were to pour it from the blender, it would hold its shape briefly before settling into a smooth puddle. Some blenders, like those from Vitamix, feature a tamper you can use through the lid's opening for thick mixtures, which helps push ingredients down towards the blades for a more uniform blend and visually shows you when the mixture is moving freely.
Handling Hot Soups: Safety & Visual Cues
Blending hot liquids requires extreme caution. The steam generated inside a sealed blender can build up pressure, potentially causing the lid to blow off or the jar to burst. Manufacturer specifications, like those from Blendtec, emphasize filling the jar no more than halfway with hot ingredients.
A critical visual cue is the steam escaping from the vented lid or the opening in the lid. If your blender has a removable center cap in the lid, this is where you vent. You should see a steady stream of steam, indicating pressure is being released.
If the steam stops, it might mean the air vent is clogged, and you should stop blending immediately and let it cool. Never use a blender jar that isn't designed for hot liquids or one that feels excessively hot to the touch after a short blend.
Avoiding the "Gummy" Trap: Common Texture Mistakes
One of the most common mistakes when making soup in a blender is over-blending, particularly with starchy ingredients like potatoes or beans. This can break down starches so much that the soup becomes gummy, glue-like, or even foamy. Visually, it might look unappetizing and feel heavy in the mouth.
Another common issue is under-blending, leaving you with a chunky soup when you wanted smooth. This usually happens if you don't blend for long enough or if your blender lacks the power to break down fibrous ingredients. The visual here is clear: visible pieces of vegetables or other ingredients remain.
The key is a gradual approach, starting on a low speed and increasing, and observing the visual transformation in the jar.
Step-by-Step: Blending Your Soup to Perfection
Achieving that perfect velvety soup texture is a straightforward process when you follow these steps. It’s less about complicated techniques and more about understanding the visual and auditory feedback your blender gives you.
Prep Work: Getting Ingredients Ready
Before you even think about blending, ensure all your soup ingredients are cooked until tender. This means roasted vegetables, sautéed onions, boiled potatoes, or simmered legumes. Raw ingredients won't break down properly in most blenders, and certainly not into a smooth puree.
Make sure any large bones or tough skins are removed. If you're using ingredients like squash or sweet potatoes, ensure they are fork-tender. As per food safety guidelines from agencies like the USDA, cooked food is a safe starting point for pureeing.
If you're making a chilled soup, let the cooked ingredients cool down significantly before blending.
The Blend Itself: Speed, Time, and Tampering
Start by adding your cooked ingredients to the blender jar. Don't overfill it; manufacturer specifications from most brands, including Ninja, recommend filling no more than half to two-thirds full, especially with hot liquids. Add your liquid base (broth, water, cream, etc.), you’ll need enough to allow the ingredients to move freely.
Begin blending on the lowest speed setting. This prevents an initial violent splash and allows the ingredients to start breaking down. Gradually increase the speed.
As the mixture starts to liquefy, you'll see it swirling around the blades. If you're using a high-powered blender with a tamper, now is the time to use it to push ingredients down towards the blades, ensuring everything gets blended evenly.
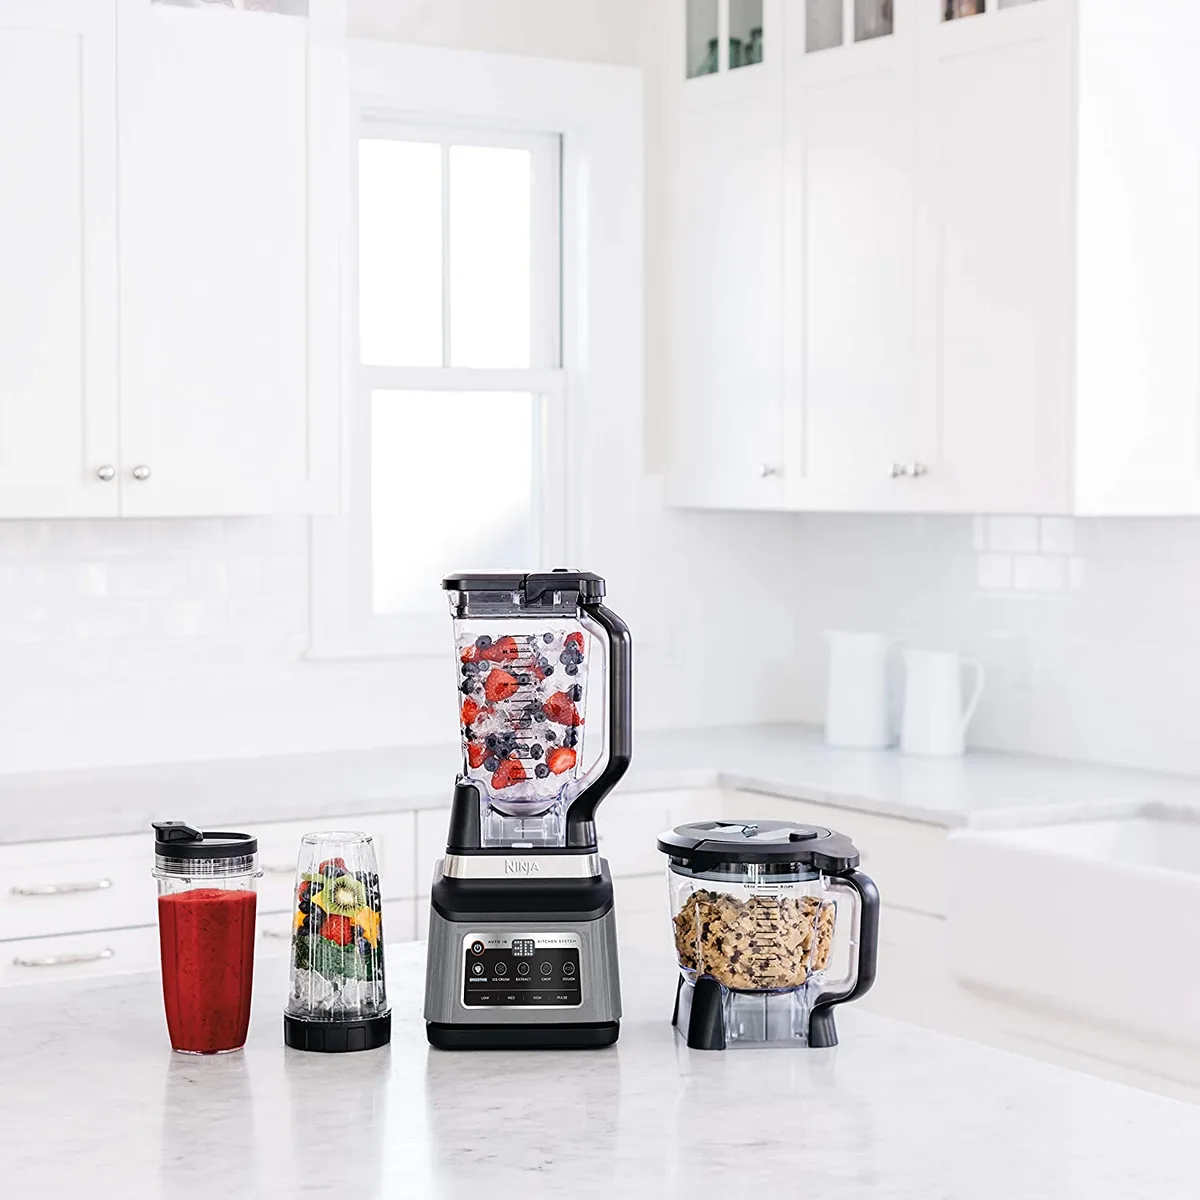
The blending time can vary greatly depending on your blender's power and the ingredients, but generally, it takes anywhere from 30 seconds to 2 minutes. Listen to the sound of the motor. When it sounds smooth and consistent, and the ingredients appear fully liquified, you're likely getting close.
Consistency Check: When to Stop Blending
You'll know your soup is ready when it has achieved that desired smooth, flowing texture. A good visual indicator is when the soup looks uniformly blended, without any visible specks or unevenness. If you tilt the blender jar slightly, the soup should move as a cohesive, thick liquid.
To test the consistency, you can carefully spoon a small amount out. It should coat the back of the spoon thickly. If it's too thick, add a little more liquid (broth or water) and give it a quick pulse blend.
If it's too thin, you may need to simmer it briefly on the stovetop to reduce the liquid, or, if it's a creamy soup, add a thickening agent like a cornstarch slurry or a bit more cooked potato. Remember, over-blending can make it gummy, so stop once you reach your target.
Essential Blender Features for Soup Success
Not all blenders are created equal when it comes to soup-making. While a basic blender might struggle, certain features make a world of difference in achieving that smooth, restaurant-quality texture.
Our research, including reviews of popular kitchen appliances, highlights a few key aspects. First, power (wattage) is paramount. Blenders with higher wattage, typically 1,000 watts and above, possess the torque needed to pulverize tough vegetables like kale or fibrous ingredients like celery effectively.
This power also helps generate enough friction to heat ingredients slightly, contributing to a warmer soup without a separate heating step if desired.
Next, blade design and material matter. Aggressively angled, hardened stainless steel blades are crucial for efficient chopping and pureeing. Some blenders feature specialized blade assemblies designed for tougher tasks.
The jar material can also play a role; while glass is inert, it can be heavy and breakable. BPA-free Tritan plastic jars are common, offering durability and lighter weight. However, when blending very hot liquids, some users prefer stainless steel jars for their durability and heat resistance, though these can obscure visual progress.
Finally, speed settings and a tamper are invaluable. Variable speed controls allow you to start slow and ramp up gradually, preventing splattering and achieving the desired texture. A tamper, often included with high-performance blenders like those from Vitamix, is an essential tool for thick mixtures.
It allows you to push ingredients down towards the blades safely while the blender is running, ensuring a uniform texture without stopping and scraping.
Common Blender Soup Pitfalls and How to Fix Them
Even with the right blender, a few common missteps can turn your soup-making dream into a textured nightmare. Knowing these pitfalls and their remedies can save your meal.
- Splattering Hot Soup: This is perhaps the most dangerous mistake. It happens when you overfill the blender, don't vent the lid properly for hot liquids, or start on too high a speed.
- Fix: Always fill hot liquids no more than halfway. Remove the center cap of the lid and cover the opening with a folded kitchen towel, holding it down firmly but allowing steam to escape. Start blending on the lowest speed and gradually increase.
- Achieving the Wrong Consistency: You end up with soup that’s either too thin and watery or too thick and gummy.
- Fix (Too Thin): If it's a hot soup, transfer it back to a pot and simmer gently, uncovered, until some liquid evaporates and it thickens. For immediate thickening, a cornstarch slurry (1 tbsp cornstarch mixed with 2 tbsp cold water, then simmered in the soup) or adding a cooked starchy vegetable like a potato can help.
- Fix (Too Thick/Gummy): Gradually add more liquid (broth, water, cream) while blending on a low setting or stirring it in, until you reach the desired fluidity. If it's gummy due to over-processing starches, adding a little extra liquid is the best way to loosen it.
- Motor Overheating: Blending for too long, especially with very thick or fibrous ingredients without enough liquid, can cause the blender's motor to overheat.
- Fix: Pay attention to your blender's sound. If it starts to strain or smell hot, stop immediately and let it cool down completely, following the manufacturer's instructions. Use adequate liquid and don't force the blender beyond its capabilities.
- Blender Jars Not Designed for Hot Liquids: Using a blender not rated for hot contents can be hazardous.
- Fix: Always check your blender's manual. Most high-powered blenders are designed to handle hot liquids with proper venting, but cheaper or older models may not be. Stick to cold ingredients if your blender isn't rated for heat.
The Right Blender for Your Soups: Key Specs to Consider
Choosing the right blender can dramatically impact your soup-making success. When researching options, focus on specifications that directly benefit pureeing cooked ingredients to a smooth finish.
Power Output (Wattage): This is your primary indicator of a blender's capability. For smooth soups, especially those with fibrous vegetables or harder ingredients, aim for blenders with at least 1,000 watts. Aggregate user reviews often report that models in the 1,500 to 2,200-watt range offer the best performance for tough tasks, allowing for quicker and more complete pureeing.
For instance, some Vitamix models offer 1,380 watts, while others reach up to 1,700 watts, differentiating their ability to handle very dense ingredients.
Jar Design and Capacity: Consider the jar material. While glass is inert, it's heavy. BPA-free Tritan plastic is a popular, durable choice.
For hot soups, ensure the jar is designed to withstand thermal shock and pressure buildup. Capacity is also important; if you're often making large batches, a 64-ounce jar is standard, but some models offer smaller or larger options. Ensure the jar shape, along with the blade configuration, creates a vortex that effectively pulls ingredients down for consistent blending.
Blade Assembly: Look for hardened stainless steel blades that are durable and sharp. The angle and design of the blades are engineered to create that smooth vortex. Some high-end blenders feature blade assemblies that are permanently attached to the jar, which can be more robust but harder to clean thoroughly.
Speed Controls and Programs: Variable speed dials offer precise control, allowing you to start slow and ramp up gradually, which is ideal for preventing splattering and achieving the desired texture. Pre-programmed settings for smoothies or soups can be convenient, automatically adjusting speed and time for optimal results. A pulse function is also useful for quick chops or breaking up larger chunks before a full blend.
The Visual Guide to Blender Soup Textures
Achieving the perfect silky smooth texture in your soup is largely about knowing what to look for during the blending process. It’s a visual journey from chunky cooked ingredients to a velvety puree.
When you’re blending, pay attention to the swirl. A good blender will create a vortex, pulling ingredients from the top down into the blades. This is your first visual cue that the blending is working efficiently.
As the ingredients break down, the soup will transform from opaque and possibly uneven to a uniform color and consistency.
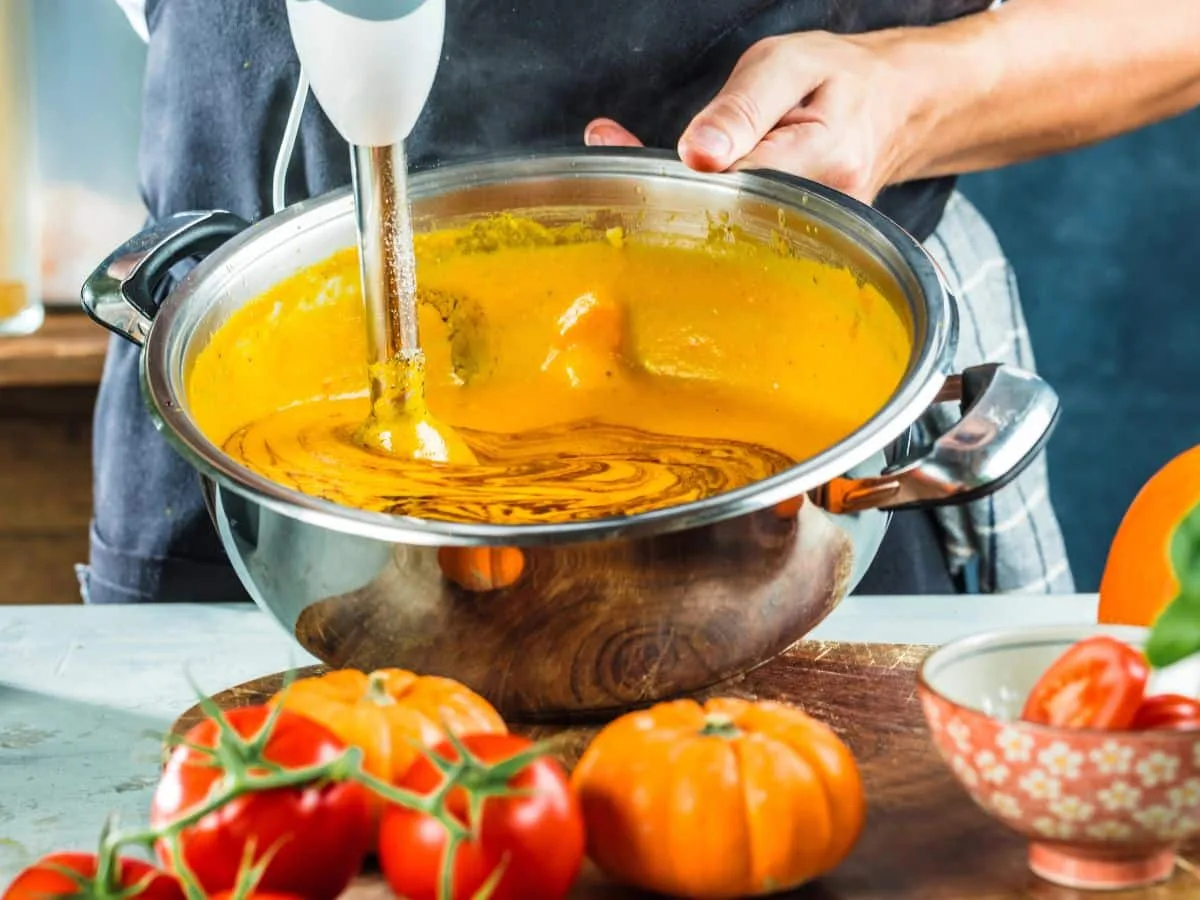
The soup should appear thick but fluid, like heavy cream or melted ice cream. If you stop the blender and look at the sides of the jar, you shouldn't see any distinct pieces of vegetables or other ingredients remaining. You want a consistent sheen across the entire surface of the soup.
For hot liquids, a steady stream of steam escaping the vented lid is a visual indicator of safe pressure release. If the steam stops suddenly, it might mean the vent is blocked, and you should stop blending.
Common Blender Soup Pitfalls and How to Fix Them
Even with the right blender, a few common missteps can turn your soup-making dream into a textured nightmare. Knowing these pitfalls and their remedies can save your meal.
- Splattering Hot Soup: This is perhaps the most dangerous mistake. It happens when you overfill the blender, don't vent the lid properly for hot liquids, or start on too high a speed.
- Fix: Always fill hot liquids no more than halfway. Remove the center cap of the lid and cover the opening with a folded kitchen towel, holding it down firmly but allowing steam to escape. Start blending on the lowest speed and gradually increase.
- Achieving the Wrong Consistency: You end up with soup that’s either too thin and watery or too thick and gummy.
- Fix (Too Thin): If it's a hot soup, transfer it back to a pot and simmer gently, uncovered, until some liquid evaporates and it thickens. For immediate thickening, a cornstarch slurry (1 tbsp cornstarch mixed with 2 tbsp cold water, then simmered in the soup) or adding a cooked starchy vegetable like a potato can help.
- Fix (Too Thick/Gummy): Gradually add more liquid (broth, water, cream) while blending on a low setting or stirring it in, until you reach the desired fluidity. If it's gummy due to over-processing starches, adding a little extra liquid is the best way to loosen it.
- Motor Overheating: Blending for too long, especially with very thick or fibrous ingredients without enough liquid, can cause the blender's motor to overheat.
- Fix: Pay attention to your blender's sound. If it starts to strain or smell hot, stop immediately and let it cool down completely, following the manufacturer's instructions. Use adequate liquid and don't force the blender beyond its capabilities.
- Blender Jars Not Designed for Hot Liquids: Using a blender not rated for hot contents can be hazardous.
- Fix: Always check your blender's manual. Most high-powered blenders are designed to handle hot liquids with proper venting, but cheaper or older models may not be. Stick to cold ingredients if your blender isn't rated for heat.