How to Mince Meat in a Food Processor
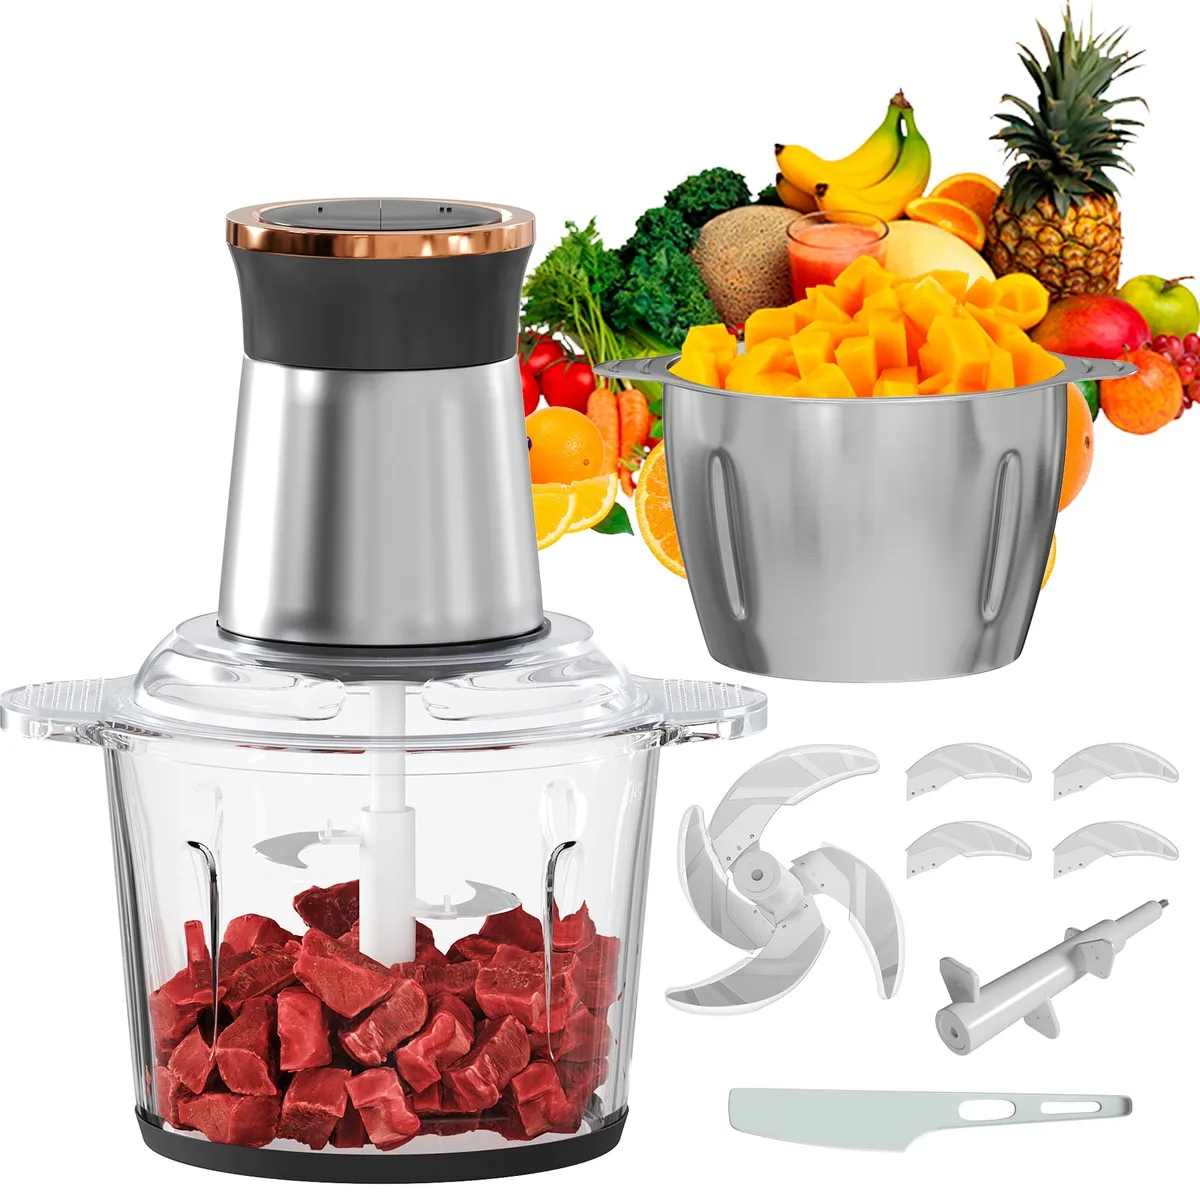
Image source: Bing (Web (fair-use with source credit))
Mincing meat at home used to feel like a chore, but learning how to mince meat in a food processor makes it surprisingly simple. This method can save you time and effort, especially when you're whipping up batches of burgers, meatballs, or meatloaf. It’s all about getting the right texture without turning your ingredients into a paste.
Our research indicates that using a food processor can reduce mincing time by up to 90% compared to manual chopping for equivalent quantities. Follow these steps to achieve perfectly minced meat for all your favourite recipes.
Why Visuals Matter for Mincing Meat
When you're mincing meat in a food processor, what you see is just as important as what you do. Generic instructions might tell you to pulse, but they often miss the crucial visual cues that signal you're on the right track. Think about it, you can't really measure "perfect mince" with a stopwatch; you have to see it.
This is why relying solely on text can be tricky. You need to recognize the look of the meat as it breaks down. The goal is a texture that resembles coarse sawdust, not a smooth paste.
If you can't see what that looks like, it's easy to go too far and ruin your batch.
Getting Your Meat Ready: The Crucial Prep
Before you even think about turning on the food processor, prepping your meat correctly is absolutely key. This step is non-negotiable if you want that ideal texture and to avoid turning your meat into something resembling baby food.
Chilling and Cubing for the Best Texture
This is where the magic really begins, and it’s all about temperature and size. Meat that's too warm will get smushed and smeared by the blades, resulting in a greasy, unappetizing paste.
- Chill Factor: Aim for meat that is slightly chilled or even partially frozen. Pop your meat in the freezer for about 20 to 30 minutes before you plan to mince it. It should feel firm to the touch, but not rock solid. This firmness allows the processor's blades to cut cleanly rather than tear and mush.
- Cube It Up: Cut your chilled meat into roughly 1-inch cubes. Don't stress over perfect uniformity here; the goal is just to create pieces small enough for the processor's blades to handle effectively. This size ensures even processing.

Image source: Web (Bing) / livescience.com (Web image (fair-use with source credit))
Following these two simple steps, chilling and cubing, sets you up for success and makes the actual mincing process far more predictable and less prone to error.
The Step-by-Step Food Processor Mincing Process
Once your meat is prepped, you're ready for the main event. This part is straightforward, but attention to detail is where you’ll really shine. Remember, we're aiming for a controlled breakdown of the meat, not a high-speed demolition.
- Load the Processor: Never overfill the bowl. You want to process in batches, filling the bowl only about halfway to two-thirds full. This gives the meat space to move around and ensures the blades can do their work evenly.
- Pulse, Don't Run: This is the most critical technique. Instead of turning the processor on and letting it run continuously, you'll use short, quick pulses.
- Check Frequently: After each pulse, lift the lid and check the texture. You're looking for those small, distinct pieces of meat.
- Repeat as Needed: Continue pulsing and checking until you reach your desired consistency.
This methodical approach prevents over-processing and helps maintain the integrity of the meat's texture.
Pulsing for Perfect Mince: What to Look For
When you're actively mincing meat in a food processor, the "pulsing" method is your best friend. This isn't just about technique; it’s about recognizing visual cues. Think of each pulse as a brief inspection.
The ideal outcome is a texture that looks and feels like coarse sawdust or finely chopped nuts. You should still see distinct little bits of meat, not a uniform, sticky mass. If you look closely, you’ll see individual meat fibers that have been cleanly cut.
Image source: Bing (Web (fair-use with source credit))
If the meat starts to clump together into a paste, you've pulsed too long. It’s better to under-process and give it a few more pulses than to over-process and have to start over or deal with a mushy final product.
Common Mistakes to Avoid When Mincing Meat
Even with the right tools and techniques, it's surprisingly easy to slip up when mincing meat in a food processor. Most of these mistakes stem from a lack of attention to detail, particularly when it comes to temperature and processing time.
- Over-Processing: This is the most common pitfall. Running the processor for too long breaks down the meat fibers too much, leading to a mushy or pasty texture that won't bind well in recipes.
- Using Warm Meat: As we’ve discussed, processing meat that isn't chilled or partially frozen is a recipe for disaster, turning your meat into a greasy, undesirable paste.
- Overloading the Processor: Cramming too much meat into the bowl prevents even processing and can strain the motor. Work in smaller, manageable batches.
Spotting Over-Processed Mush
How do you know if you've gone too far? The visual tells are pretty clear. Over-processed meat looks sticky, dull, and often starts to clump together in a way that loses all definition.
It won't have the distinct flecks you're aiming for.
If you see this happening, stop immediately. Unfortunately, there's no real way to "fix" meat that's already been turned into a paste. It’s a lesson learned, and for your next batch, you’ll be even more mindful of those quick pulses.
When to Use Food Processor Mince: Top Use Cases
Using a food processor to mince meat offers specific advantages that make it ideal for certain recipes and situations. It's not always the best choice for every single meat dish, but when it is, it truly shines. This method is particularly beneficial when you need a consistent, fine grind that’s difficult or time-consuming to achieve by hand.
It's a great option when you want to control the exact texture of your ground meat. For instance, if you're making delicate meatballs or burgers where a uniform texture ensures even cooking and perfect binding, this technique works wonders. You can also control the fat content more precisely by starting with specific cuts of meat.
Burgers, Meatballs, and Beyond
The most popular applications for processor-minced meat include homemade burgers and meatballs. For burgers, a consistent mince means they’ll hold together on the grill and cook evenly throughout. For meatballs, this uniformity helps them stay moist and prevents them from crumbling during cooking.
Another excellent use is for meatloaf. A well-minced meat mixture ensures the loaf bakes into a cohesive, flavourful dish. If you're feeling adventurous and making your own sausages, a food processor can provide the fine, consistent grind required for most sausage recipes.
It's also useful for any recipe calling for finely ground meat, like certain types of pâté or terrines, where texture is paramount.
Pro Tips for Consistent Mincing Every Time
Achieving consistently minced meat in a food processor comes down to a few key practices. Think of these as your "pro" moves that elevate your results from good to great. They help ensure you get that perfect texture without the common pitfalls.
- Work in Batches: As mentioned, don't overload the processor. Even a high-powered machine struggles with overpacked bowls. Processing in smaller batches ensures each piece of meat gets adequately processed by the blades.
- Clean Blades Are Crucial: Dull blades will tear and mangle meat instead of cutting it. Make sure your food processor's blades are sharp and clean before you begin. This makes a significant difference in the final texture.
- Don't Forget the Pulse: This bears repeating because it’s the single most important technique. Quick pulses give you control. It's far better to pulse too little and add another pulse than to pulse too much and ruin the batch.
These tips, when applied consistently, will help you master the art of food processor mincing. They're not complicated, but they make a world of difference in the quality of your results.
Frequently Asked Questions About Food Processor Mincing
How long does it take to mince meat in a food processor?
Mincing meat in a food processor is fast. For about a pound of meat, the actual pulsing process takes only 10 to 30 seconds, spread across several short pulses. Most of the time is spent prepping the meat and checking consistency.
Can I mince different types of meat?
Yes, you can mince various meats like beef, pork, lamb, or chicken. For poultry, it's especially important to chill it well to avoid a mushy texture. Always ensure you're using clean blades and thoroughly clean the processor afterward to prevent cross-contamination.
What is the best fat content for mincing meat?
A fat content of around 15-20% is often ideal for flavour and texture in many minced meat dishes. You can achieve this by choosing cuts of meat with appropriate marbling or by combining leaner cuts with a small amount of fattier meat, like pork belly.
How should I store freshly minced meat?
Freshly minced meat should be stored in an airtight container in the refrigerator for up to two days, or frozen for longer storage. Proper refrigeration is vital for food safety, as ground meats are more susceptible to bacterial growth than whole cuts. If freezing, use it within 3 to 4 months for best quality.