How to Cook Sushi Rice in a Rice Cooker
Making sushi rice that actually sticks together, holds its shape, and tastes like the stuff from your favorite sushi spot is easier than most people think. The secret isn't a fancy technique or years of practice. It's letting your rice cooker do the heavy lifting.
Once you learn how to cook sushi rice in a rice cooker properly, you can have restaurant-quality rice at home whenever you want it.
The key is understanding that sushi rice isn't just cooked rice. It's short-grain white rice, usually uruchimai, cooked with a specific water ratio, then seasoned with a mixture of rice vinegar, sugar, and salt called awasezu. As of 2026, most mainstream rice cookers handle the cooking part beautifully.
The real question is whether your machine has a dedicated sushi setting or just a standard white rice program. Let's figure that out together.
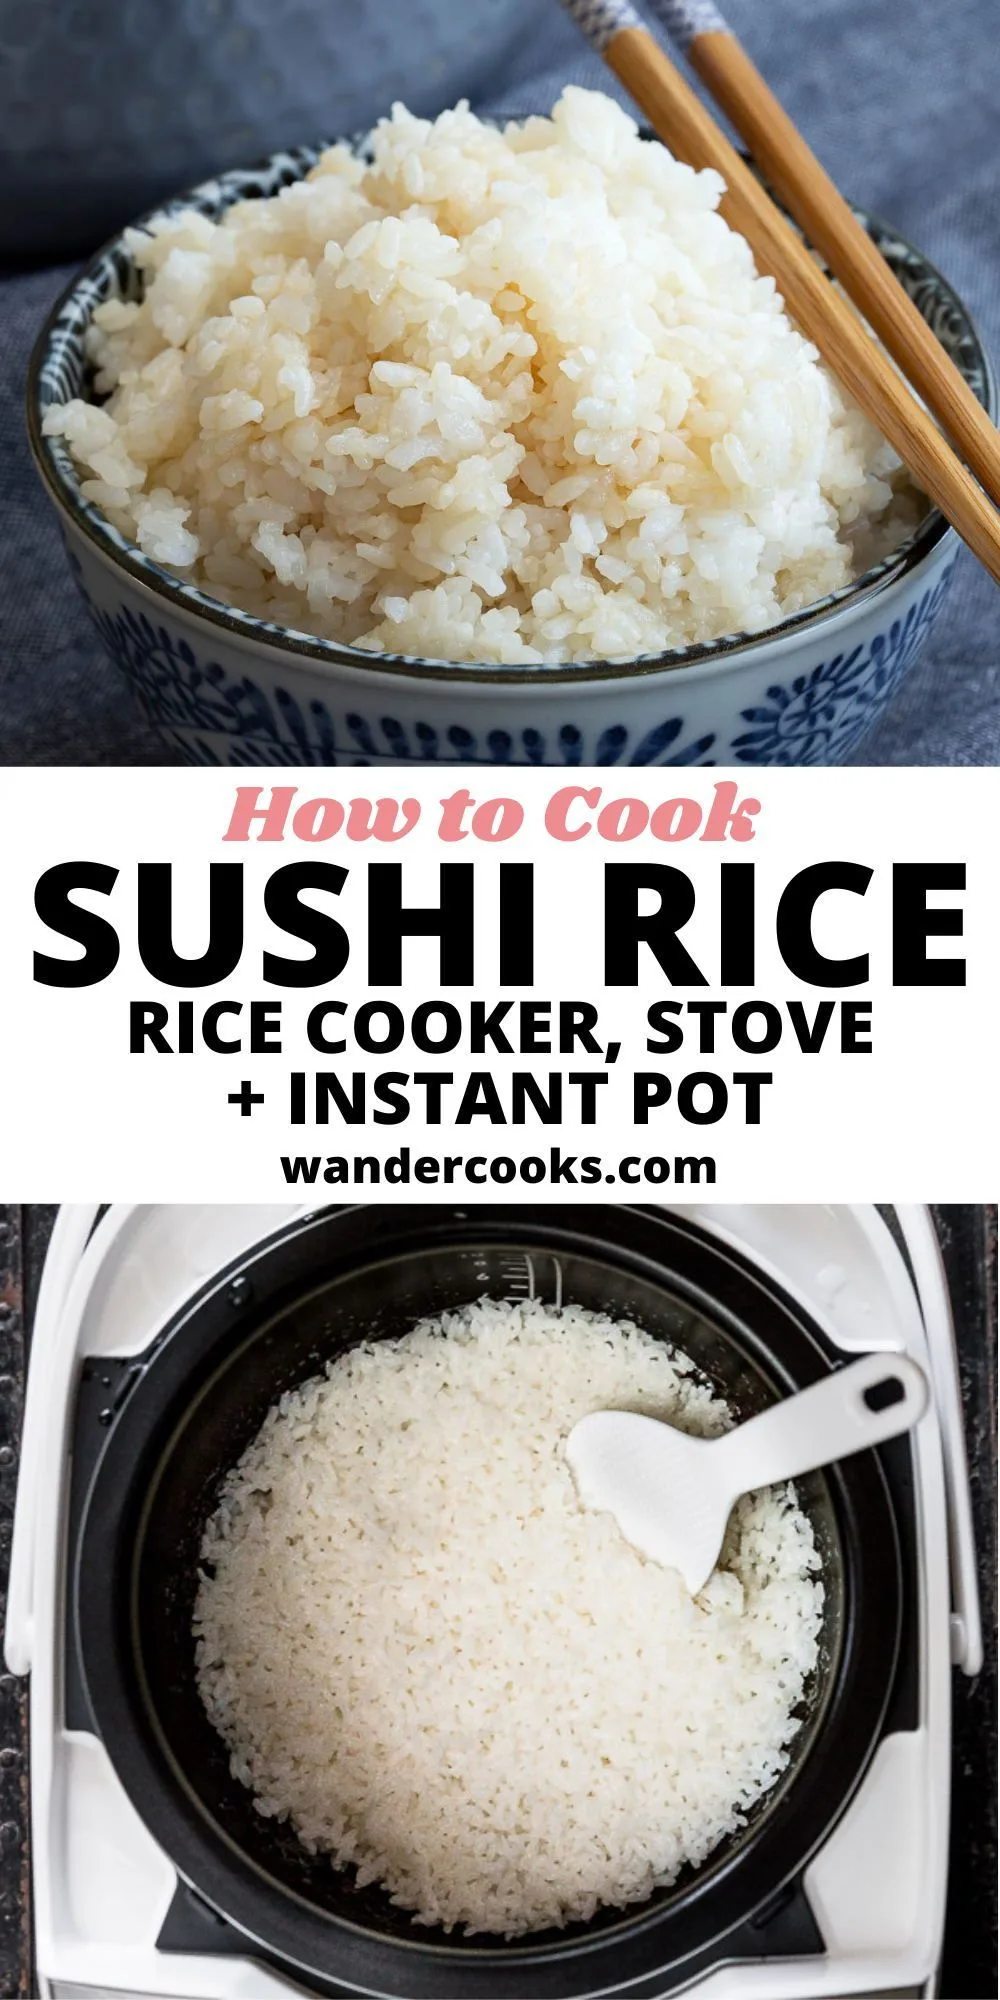
Image source: Bing (Web (fair-use with source credit))
Quick Answer
Rinse the rice, soak it for 20 minutes, and cook it in your rice cooker. Use a 1:1.1 water-to-rice ratio. Let it rest, then fold in seasoned sushi vinegar.
That's it.
Why Your Rice Cooker Is the Best Tool for Sushi Rice
The stovetop method works, but it demands constant attention. You're adjusting heat, watching for boiling over, and timing the rest perfectly. A rice cooker automates all of that.
You press one button and walk away.
Most modern rice cookers, especially micom models with fuzzy logic, adjust temperature during the cooking cycle. They monitor how quickly the water absorbs and make micro-adjustments. That consistency is hard to replicate on a stovetop.
The cooker also keeps the rice hot after finishing. That's a double-edged sword though. It's great for serving straight away, but sushi rice left on keep-warm too long can dry out.
We'll cover that in the troubleshooting section.
Another big plus is the built-in water lines. Most inner bowls have markings for sushi rice specifically. If yours does, you don't even need to measure water for the rice-to-water ratio.
You just fill to where the line tells you.
That hands-off approach is perfect for beginners and busy home cooks. You get even, properly cooked rice every time. No stirring, no watching, no guessing.
The Branch That Decides It All: Does Your Cooker Have a Sushi Setting?
Before anything else, check your cooker's control panel. If you see a "Sushi" button or a "Shari" setting, you're in luck. That program is specifically tuned for short-grain rice.
It usually includes a longer soak phase, a precise cooking temperature, and a proper steam rest built into the cycle.
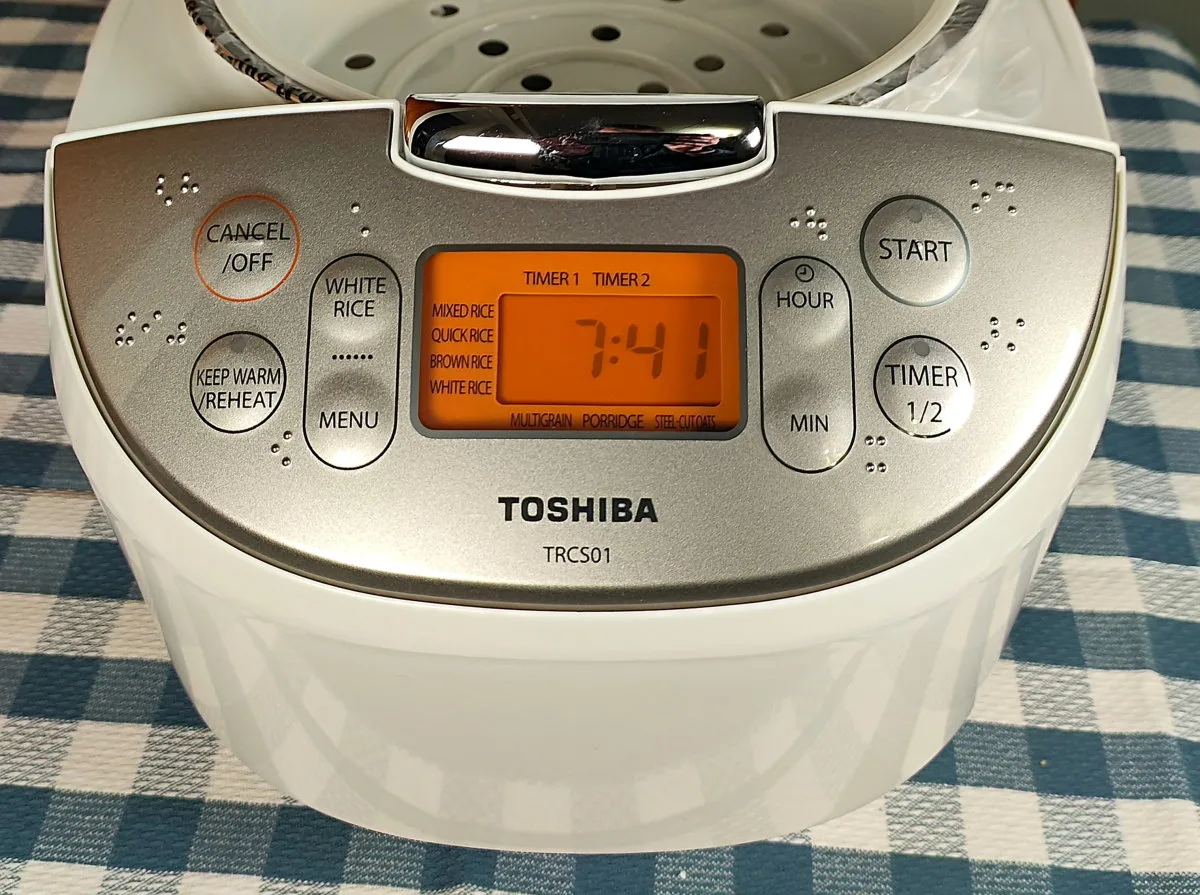
Image source: Bing (Web (fair-use with source credit))
If your cooker has this setting, the process is almost foolproof. You'll rinse and drain the rice, add water according to the inner pot's sushi water line, and press the button. The machine handles the timing from there.
If you only have a "White Rice" setting, don't panic. That works too, as long as you adjust a few things manually. You'll need to measure your water slightly differently and add your own soak time before starting the machine.
The reason the sushi setting matters is that short-grain rice needs a little more soak time and a slightly firmer texture than regular long-grain white rice. The dedicated program gives it exactly that. But a standard white rice cycle with a manual pre-soak will get you very close.
Here's a quick breakdown of what each branch means for your process:
| Cooker Type | What to Do | Best For |
|---|---|---|
| Has Sushi/Shari setting | Use it as-is. Add water to the sushi line. | Zero adjustment, perfect every time |
| White Rice setting only | Manual pre-soak for 20-30 min. Use 1:1.1 water ratio. | Still great results, requires a little planning |
Step-by-Step: Cooking Sushi Rice in Any Rice Cooker
Let's walk through the full process. This works whether your cooker has a sushi button or not. You'll just follow the branch that fits your machine.
If You Have a Sushi or "Shari" Button
First, measure your rice. Always use the rice cooker cup, which is 180 milliliters, not a measuring cup from your drawer. One cup of raw rice yields roughly 2 cups of cooked rice.
Place the rice in a bowl and add cold water. Swirl it around with your hand, then pour off the murky water. Repeat this 4 to 6 times until the water runs mostly clear.
This rinses away excess surface starch. Skip this step and you'll get gummy, sticky sludge instead of distinct rice grains.
Drain the rice well in a fine-mesh strainer. Then add it directly to the cooker's inner bowl. Pour in fresh cold water up to the "Sushi Water Line" marked on the inside of the bowl.
If your bowl doesn't have that line, use a 1:1.1 ratio. That's one cup of rice to 1.1 cups of water.
Close the lid, select the Sushi program, and press Start. The cycle typically runs 35 to 45 minutes, depending on the model. Leave the lid closed the entire time.
When the cycle finishes, the cooker will beep. Let the rice rest, still covered, for 10 to 15 minutes. This allows the moisture to distribute evenly.
Then it's ready to season.
If You Only Have a White Rice Setting
Start the same way. Rinse and drain the rice until the water runs clear. Then let the drained rice sit in the strainer for 10 to 15 minutes.
Some home cooks skip this drying step, but it helps the grains absorb water more evenly during the soak.
Add the rice to the cooker bowl with slightly less water than you'd use for standard white rice. A 1:1.1 ratio is a good starting point. For 2 rice cooker cups, use about 2.2 cups of water.
Now, here's the key difference. Let the rice soak in the cooker for 20 to 30 minutes before starting. Most white rice programs kick off with a soak phase anyway, but it's shorter than sushi rice needs.
Manually doing it first makes sure the grains hydrate properly.
Then select the White Rice setting and start. When it's done, keep the lid shut for another 10 to 15 minutes. That rest time is non-negotiable.
The Sushi Seasoning Step That Makes It Real Sushi Rice
Cooking the rice is only half the battle. Seasoning it properly is what turns plain short-grain rice into actual sushi rice. This is where the magic happens.
You have two options here. You can buy prepared sushi vinegar, sometimes labeled as "seasoned rice vinegar," at most Asian grocers and well-stocked supermarkets. Or you can make your own awasezu at home in about 30 seconds.
For homemade, combine 4 tablespoons of rice vinegar, 2 tablespoons of sugar, and 1 teaspoon of salt for every 2 rice cooker cups of raw rice. Heat the mixture slightly to dissolve the sugar and salt. Don't let it boil.
Just warm it enough to melt everything.
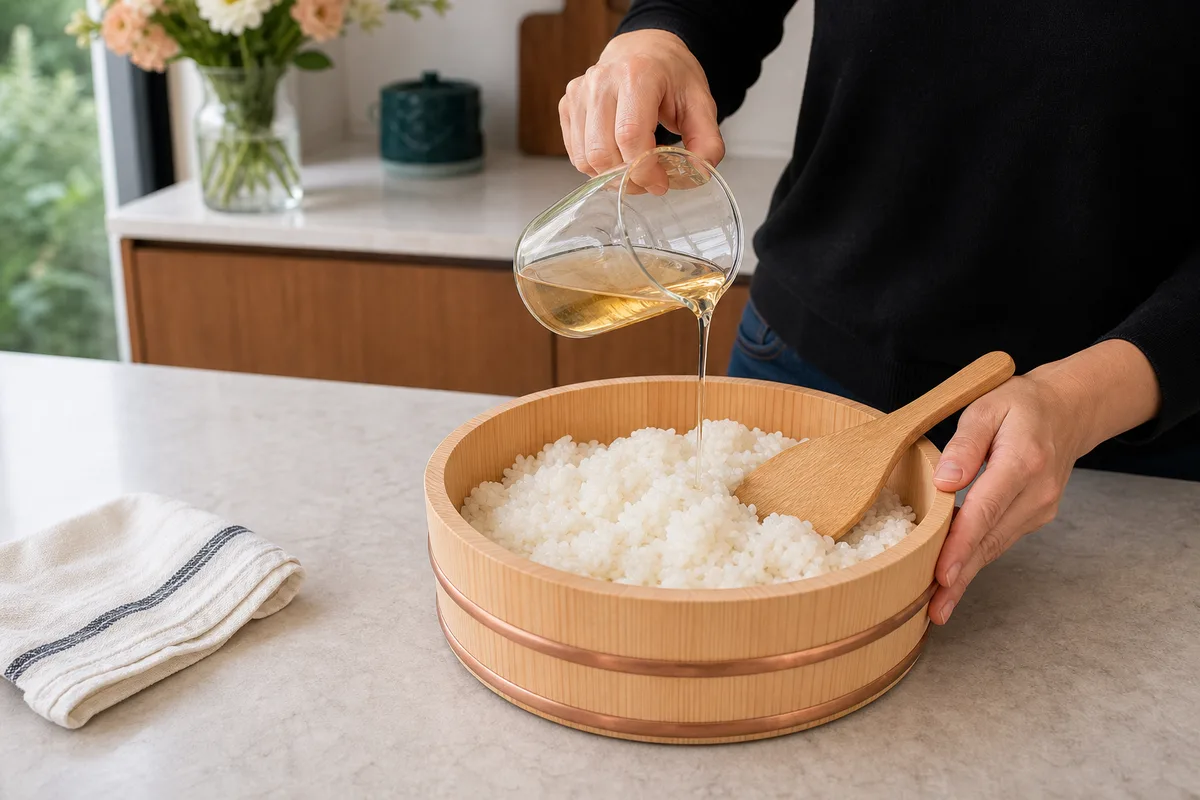
Image source: Bing (Web (fair-use with source credit))
Now, transfer the cooked rice to a hangiri, which is a shallow wooden tub, or any wide ceramic or wooden bowl. Spread the rice out gently. Using a hangiri lets excess moisture escape while you mix, which is why traditional sushi chefs swear by it.
A wide glass or ceramic bowl works as a fine backup.
Drizzle the vinegar mixture evenly over the rice. Use a shamoji, or rice paddle, to fold it in. The motion matters here.
Use a slicing, cutting motion from top to bottom, not a stirring or mashing action. You want to separate the grains while coating them, not crush them into paste.
Some recipes say to fan the rice while mixing. Realistically, a folded piece of cardboard or a small electric fan works well. The airflow cools the rice and gives it that glossy, slightly firm texture sushi rice is known for.
Taste the rice as you go. Add a little more vinegar if you like a tangier bite. Let it cool to just around body temperature.
It should feel slightly warm when you roll or shape it, not hot. Hot rice will make maki fall apart. Cold rice won't hold together well.
If you're not using the rice right away, cover it with a clean, damp towel. Never put it in the refrigerator unless you're planning to use it within a few hours for something like fried rice. Cold sushi rice turns hard and loses that pleasant bite.
Sushi Rice Mishaps: What Went Wrong (and How to Fix It)
Even with a rice cooker, things can go sideways. Here are the most common problems we see in our research and across verified user feedback.
| Problem | Likely Cause | The Fix |
|---|---|---|
| Mushy, gluey rice | Too much water, or not rinsed enough | Use less water next time. Rinse until clear. |
| Crunchy, undercooked cores | Skipped the soak | Always soak 20-30 minutes before cooking |
| Burnt layer on the bottom | Too little water, or lid opened mid-cook | Respect the water line. Keep the lid closed |
| Dry, hard rice | Left on keep-warm too long | Season and use within 30 minutes of finishing |
| Sour or sharp flavor | Over-vinegared | Start with less seasoning. You can always add more |
| Pasty, clumpy texture | Over-stirring while seasoning | Fold gently with a slicing motion, don't mash |
If you do end up with mushy rice, stop and think about your water ratio. It's the number one culprit. Start with slightly less water and taste-test until you find what works for your specific cooker.
For burnt rice at the bottom, try adding a few extra tablespoons of water for the next batch. Some cookers run hotter than others. Checking your manual's recommendations for short-grain rice can also help.
Frequently Asked Questions
Can I use regular long-grain rice for sushi?
No. Long-grain rice like jasmine or basmati won't work. Sushi rice needs short-grain uruchimai or medium-grain Calrose.
The higher starch content in short-grain rice is what gives it that sticky, cohesive texture. Long-grain rice stays fluffy and separate, which makes it fall apart when you try to roll sushi.
Do I need to soak the rice before cooking?
Yes, always. Soaking for 20 to 30 minutes lets water penetrate the grain's core. Without it, the outside cooks while the center stays crunchy.
Even the best rice cooker with a dedicated sushi setting benefits from a pre-soak if you have the time.
How much sushi vinegar do I use per cup of rice?
Start with 2 tablespoons of prepared sushi vinegar per raw rice cooker cup. That's about 180 milliliters or 3/4 of a standard US cup. Taste the rice and adjust from there.
If you're making your own awasezu, use 4 tablespoons rice vinegar, 2 tablespoons sugar, and 1 teaspoon salt for every 2 raw cups.
Why is my rice cooker sushi rice too sticky?
Excess stickiness usually means too much water or not enough rinsing. Surface starch is the glue that turns rice into paste. Rinse the rice in cold water until it runs clear, then drain it well.
Also check that you're using the sushi water line, not the white rice line, on your cooker's inner bowl.
Can I reheat sushi rice in the rice cooker?
Reheating sushi rice in the cooker will dry it out and ruin the texture. For rice that's already seasoned, the best approach is a quick steam in a bamboo basket or the microwave with a damp paper towel. Only reheat what you'll eat right away.
Refrigerated sushi rice is better used for fried rice.
How long does cooked sushi rice last?
Seasoned sushi rice is best within a few hours of cooking. If you must store it, keep it in an airtight container in the fridge for up to 24 hours. Use it for onigiri or fried rice.
Don't eat it raw after two days. Always reheat leftovers to 165°F per USDA guidelines.
If you're weighing your rice portions, a reliable digital kitchen scale takes the guesswork out of consistent batches. It's one of those small upgrades that makes a noticeable difference once you're cooking sushi rice regularly.