How to Calibrate a Treadmill
Your treadmill console says you just ran 3.1 miles, but your GPS says 2.8. Don't just trust the screen. Knowing how to calibrate a treadmill fixes that mismatch and protects your machine from premature wear.
Manufacturer specs typically allow speed accuracy within ±0.1 to ±0.2 mph, and an incline offset of just 0.5% can change your interval training results. In our research, home treadmills drift noticeably within 6 to 12 months. Calibration is routine maintenance, not a one-time fix after a move.
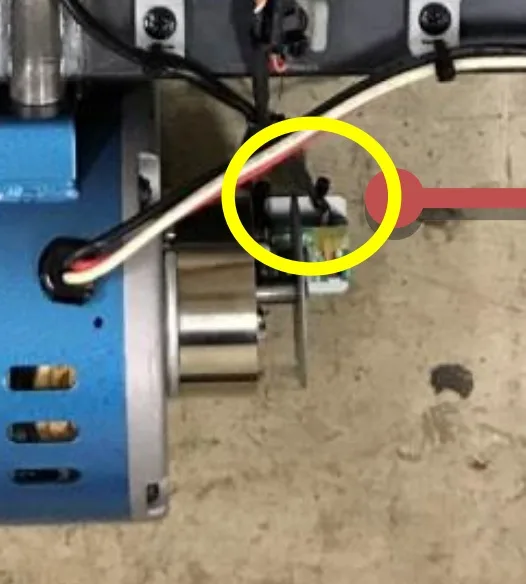
Image source: Bing (Web (fair-use with source credit))
Why Treadmill Calibration Matters More Than You Think
Calibration affects every metric your console shows, from distance to calories, and it also affects the load on the motor. When belt speed is off, the controller keeps trying to correct it. That creates extra heat and drag, which is a fast path to premature wear.
Signs that calibration is off:
- Total distance looks short or long compared with GPS or track laps.
- Belt speed feels slower or faster than the display.
- Incline deck looks flat, but the console reads 2% or higher.
- Speed surges or stutters at low settings.
Fixing these issues early saves money later. The same logic applies to other cardio equipment, where routine maintenance prevents bigger repair bills.
Speed, Incline, and Zero-Point: Which Calibration Do You Actually Need?
Not all calibration is the same. There are three separate adjustments, and fixing the wrong one wastes your time.
| Calibration Type | What It Fixes | When You Need It | | Speed | Console mph vs. actual belt speed | Distance looks off or pace feels wrong | | Incline | Ramp angle vs. console grade % | Hills feel too easy or the deck seems flat | | Zero-point | Motor's baseline at 0% | Console shows incline when the deck is level |
Speed calibration uses a tachometer to measure the belt directly. Incline calibration adjusts the lift motor so a 3% read means a true 3% grade. Zero-point calibration is the starting reference, and if it's wrong, every incline setting above it is wrong too.
Use if/then logic here. If your distance is wrong on flat surfaces, start with speed. If the deck looks flat but the display says 2%, start with zero-point.
If hills feel inconsistent, check incline after zero-point is correct.
Before You Start: Safety Checks and the Tools That Make It Work
Calibration requires access to the motor controller and sensors, so safety comes first. Unplug the treadmill before removing any covers. Disconnect the power cord and wait at least 30 seconds for the control board capacitors to discharge.
The Consumer Product Safety Commission has published treadmill safety guidance for home users, and it's worth following before any DIY repair.
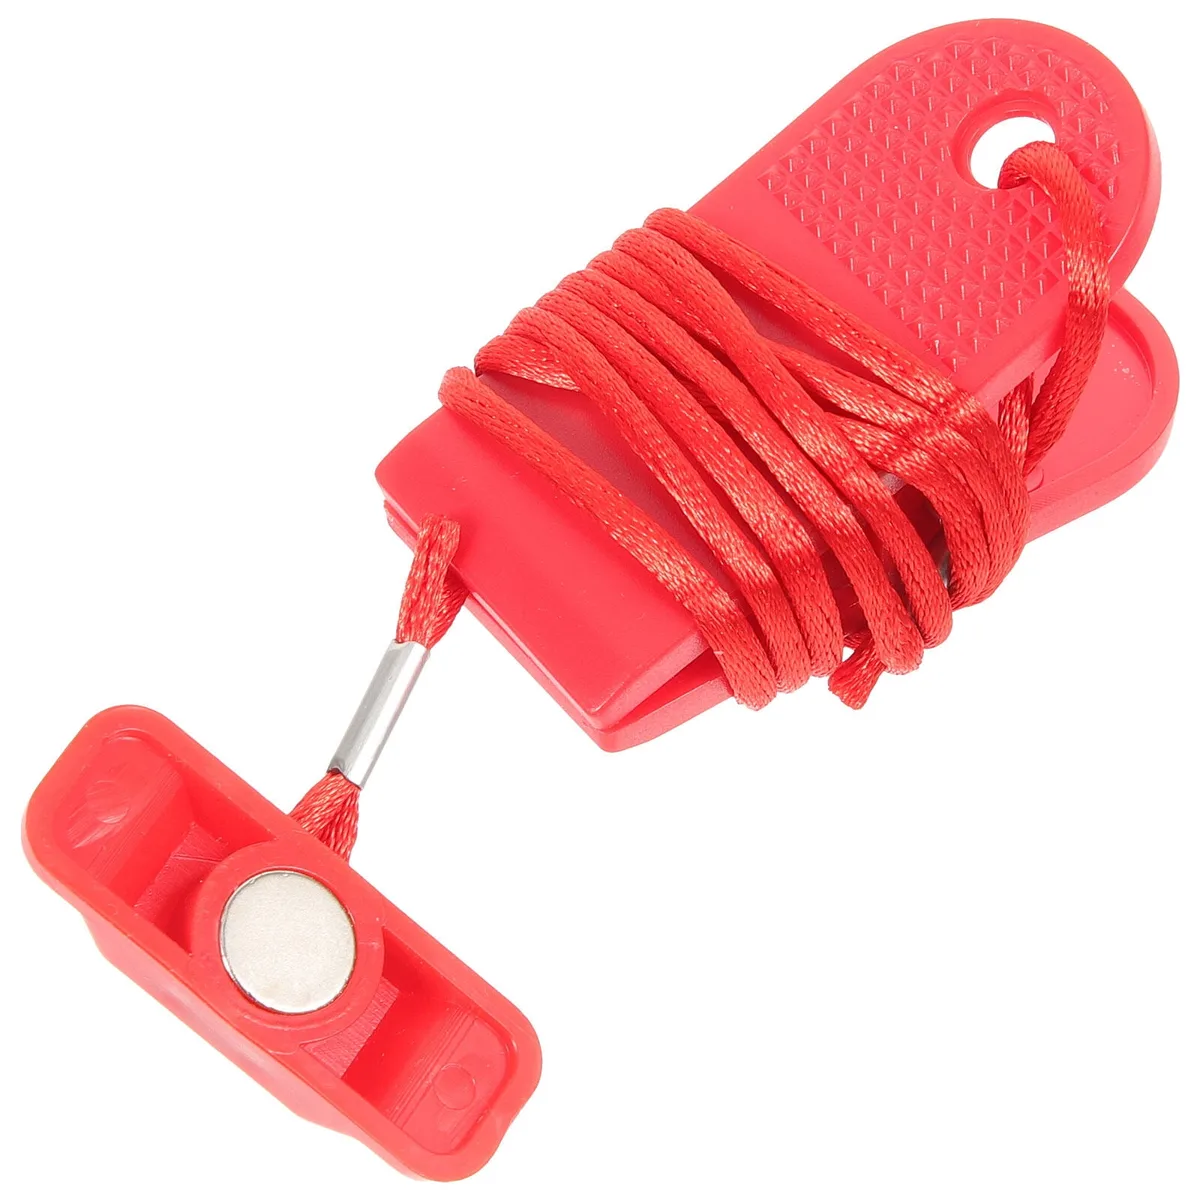
Image source: Bing (Web (fair-use with source credit))
Tools you need:
- Owner's manual or service manual with the calibration menu code
- Digital or contact tachometer
- Stopwatch, if you use the manual belt-marking method
- Masking tape and marker
- Screwdriver and hex key for the motor hood
- Level to check the deck and frame
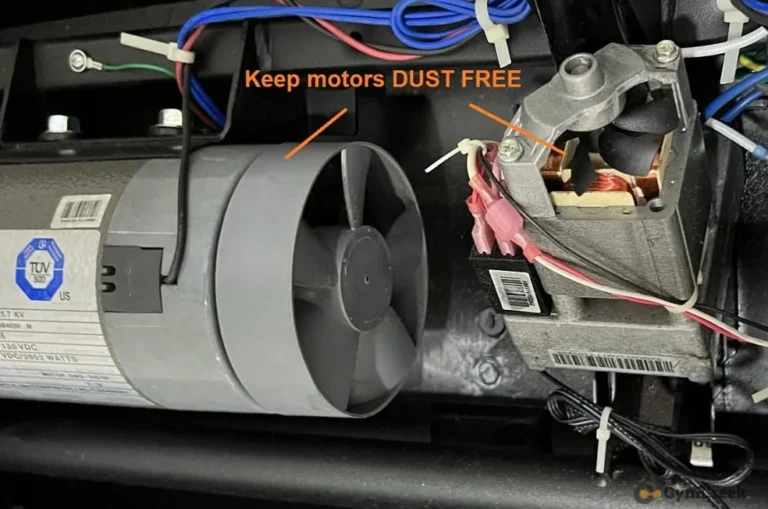
Keep the safety key out of reach while you work. A clean setup makes a huge difference too. Dust, pet hair, and debris can block the sensor or throw off readings, so clean the area around the motor first.
This is similar to the regular cleaning your other equipment needs.
How to Calibrate a Treadmill: A Step-by-Step Guide
Every brand enters service mode differently, but the general process is consistent. Follow these steps in order.
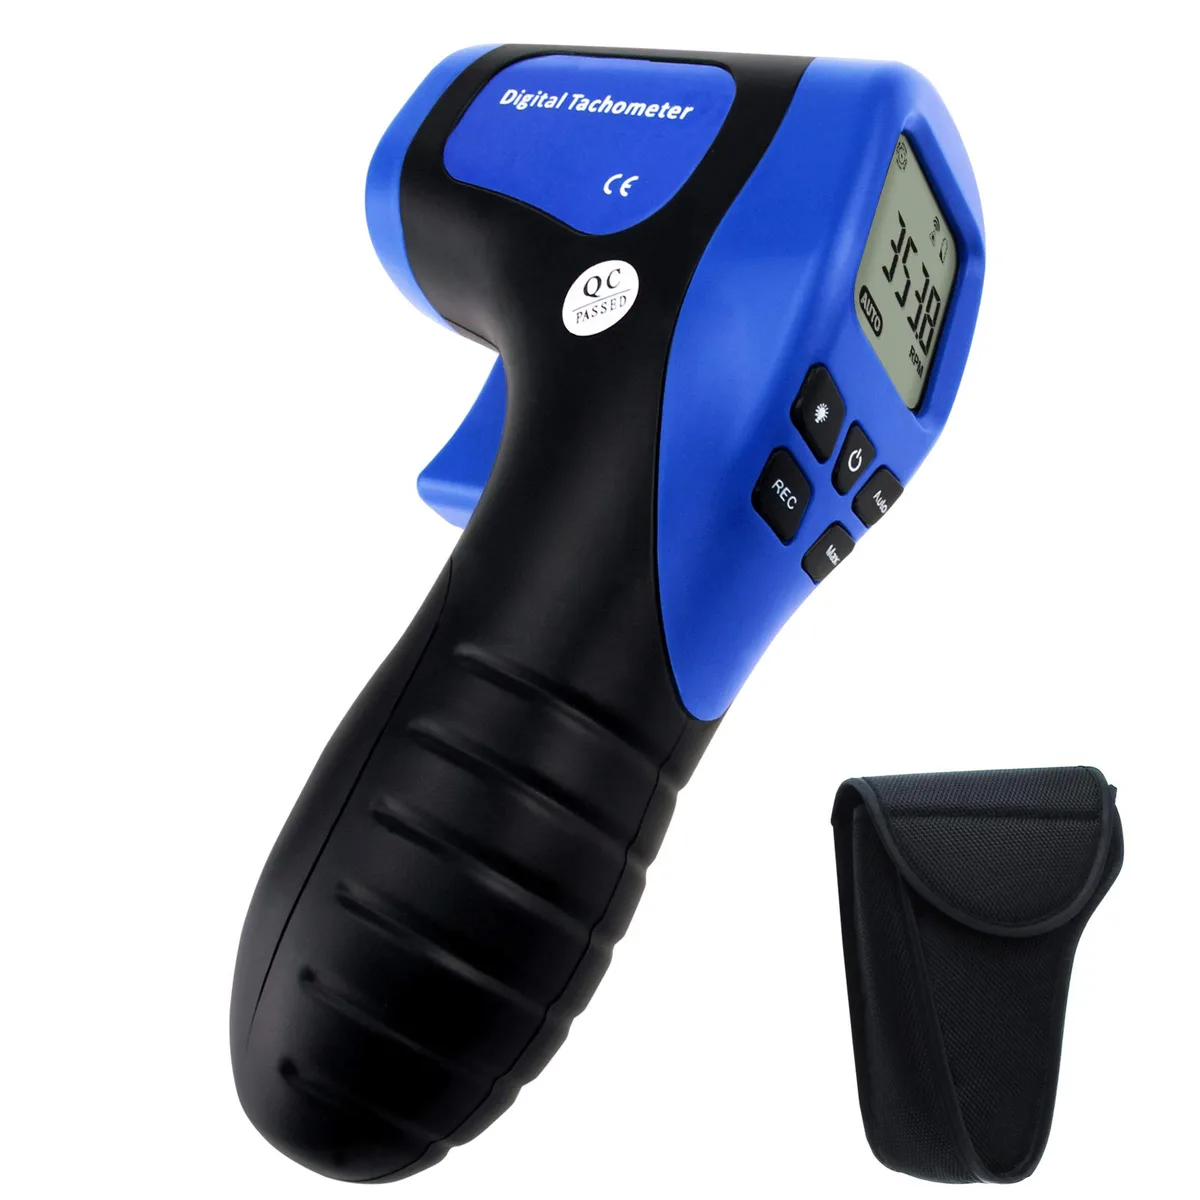
Image source: Bing (Web (fair-use with source credit))
- Position the treadmill on a flat, level floor. Check both side rails with a level.
- Unplug the unit. Remove the motor hood and locate the speed sensor near the drive roller.
- Verify the sensor gap. Most manufacturers specify 1/8 inch between the sensor and the flywheel. Adjust it if needed.
- Plug the treadmill back in and press the service-mode key combination from your manual. Common combos include holding Stop and Incline + while plugging in, but always check your brand.
- For speed calibration, set the belt to 1 mph and measure with a tachometer. Repeat at 3 mph and 6 mph.
- Adjust the speed offset value in the service menu until the tachometer matches the display within ±0.1 mph.
- For incline calibration, lower the deck to zero and set the zero-point. Then raise to 3%, measure the deck angle, and adjust.
- Save the settings, exit service mode, and complete a test run at two speeds and two inclines.
Some treadmills offer auto-calibration, where the console measures belt revolutions on its own. If your machine has that option, use it first. Switch to manual calibration only if the readings still fail.
The Most Common Calibration Mistakes (And How to Avoid Them)
Most calibration failures come from skipping a step, not from broken parts. Here's where people go wrong.
- Overtightening the belt before calibration. Belt tension changes speed readings. Calibrate first, and only adjust tension if the belt slips.
- Ignoring the sensor gap. A loose bracket can shift the sensor slightly and cause random errors.
- Using a stale service manual or wrong code. Brands change menus between model years.
- Calibrating on an unlevel floor. The incline zero-point will be wrong no matter what the console says.
- Forgetting to measure at multiple speeds. A belt can be accurate at 3 mph but off at 6 mph.
- Saving settings before confirming. Always do a final test run.
If you're still seeing errors after a clean calibration, the issue may be a damaged sensor, worn drive roller, or failing control board. That's the point where DIY stops and professional help starts.
Household treadmills drift because they get used on soft carpet or moved without being re-leveled. Before you invest in a new machine, check the basics. Other low-impact cardio options have their own quirks, but the same maintenance mindset applies.
DIY vs. Calling a Tech: How to Know When to Stop
DIY calibration makes sense for sensor gaps, zero-point offsets, and simple speed adjustments. It stops making sense when the same error code returns after a clean calibration. A repeating error points to a failing part, not a setting.
If the belt jerks or the console throws a control board error, stop working on it yourself. Burnt smells, scorched wiring, and tripped circuit breakers mean serious electrical issues. Replacing motors, controllers, and wiring harnesses crosses the DIY line entirely.
Think about it in if/then terms. If the treadmill calibrates but drifts again within a week, suspect a faulty sensor. If it never holds a calibration at all, suspect the control board.
If the belt hesitates at walking speed, fix the mechanical drag first. Calibration won't cure a slipping belt.
Many brands void the warranty if you enter hidden service menus. Others allow user calibration, but only after you register the unit and follow specific instructions. Check your manual before you start poking around.
Professional calibration visits typically run $75 to $150 for a home call. That usually includes a full speed scan, incline check, and sensor alignment. Compare that against the cost of a new motor before you decide.
A one-time service visit looks cheaper than a $400 repair bill.
Treadmill Calibration FAQs
How often should I calibrate my treadmill?
Calibrate after moving the machine, after belt or motor service, and every 12 months for regular home use. If you log more than 20 miles per week, check speed accuracy every six months. Write the calibration date on the frame so you don't lose track.
Can I calibrate without a tachometer?
Yes. Use the belt-marking method instead. Mark the belt, run it for 60 seconds at 3 mph, and count the rotations.
Multiply by the drive roller circumference to calculate distance. A contact tachometer is faster and more accurate, but the manual method works for a rough check.
Does resetting the console calibrate the treadmill?
No. A factory reset clears console settings, but it doesn't recalibrate the speed sensor or the incline motor. Resets can even erase your previous calibration values, which means the treadmill may run worse until you recalibrate.
Always finish with a full calibration cycle after a reset.
Why does my treadmill lose calibration after moving?
Lifting and sliding the treadmill shifts the sensor bracket, and a new spot often has a different floor level. The incline zero-point is especially sensitive to that. Re-level the frame and check the sensor gap before you restore the calibration values.
How much does professional treadmill calibration cost?
Professional calibration usually runs $75 to $150 per visit. That covers speed, incline, and zero-point checks, plus minor sensor adjustments. Major repairs like belt replacement or motor work add to the bill, so ask for an itemized quote first.
The Bottom Line: Calibration Is Maintenance, Not a One-Time Fix
Calibration belongs in your regular ownership routine, not just after a move. As of 2026, no home treadmill self-corrects indefinitely. Drift is normal, and it doesn't mean the machine is broken.
It means the sensors and belts need attention.
Walk through the steps in order whenever you calibrate. Clean the sensor area. Check the belt tension.
Level the frame. Use a tachometer when possible. Save your settings and test at multiple speeds.
Each step relies on the one before it, and skipping one usually means redoing the job.
The whole process takes about 15 minutes once you find the service menu. That's cheaper than a service visit, and it protects the motor from fighting false readings. Keep the routine, and your console will stay honest for years.
If you're weighing alternatives, comparing home cardio options can help you decide whether a treadmill or another machine fits your routine. The calibration principles, however, stay the same.