How to Make Nut Butter in a Blender
Making your own nut butter at home with just a blender might sound like a culinary feat, but it's surprisingly straightforward. Forget store-bought jars filled with extra sugars and stabilizers; you can control exactly what goes into your spread, ensuring maximum freshness and flavor. Imagine creamy, homemade almond butter or rich peanut butter ready for your toast, smoothies, or dipping.
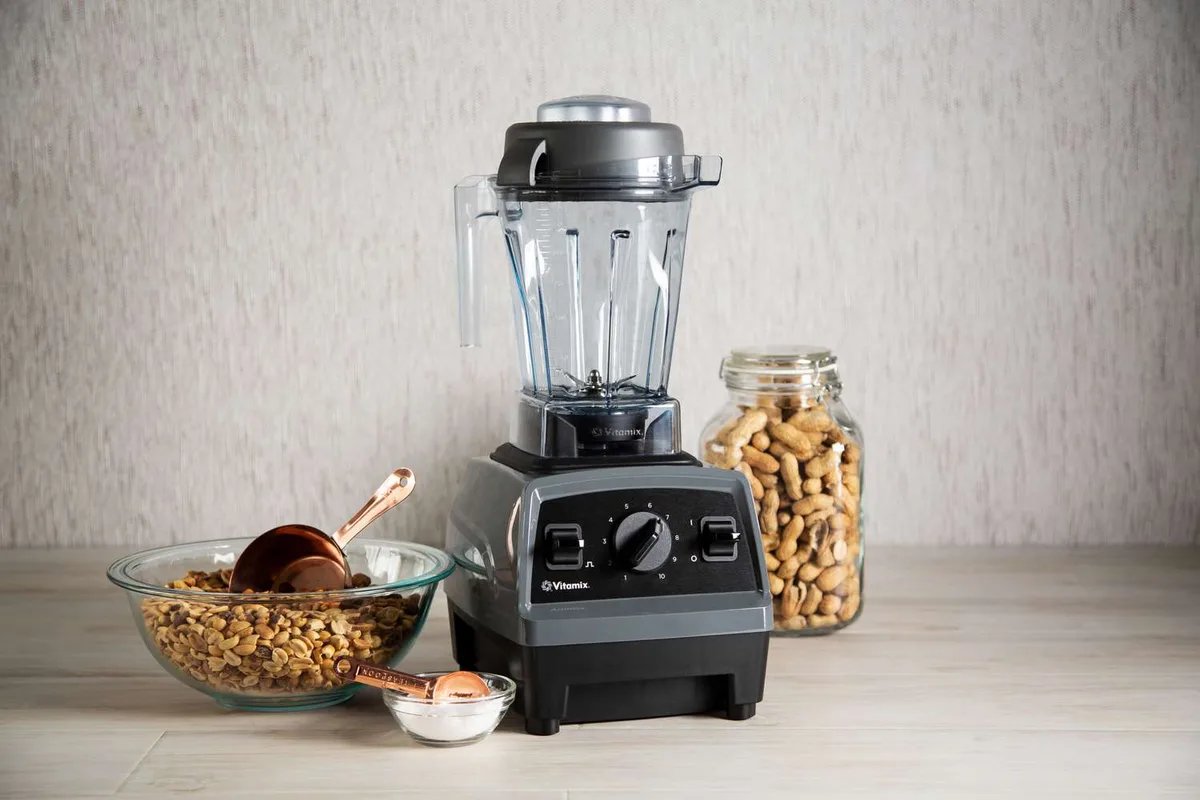
Image source: Bing (Web (fair-use with source credit))
Many standard home blenders, even those with 700 watts or more, can handle the job with a little patience, though high-powered models designed for tougher tasks often deliver results faster. Understanding the process and a few key tips will have you whipping up your own delicious nut butters in no time.
Quick Answer
To make nut butter in a blender, roast nuts, then blend them until creamy. This process typically takes 5, 15 minutes depending on your blender's power. Start by pulsing nuts into crumbs.
Then, blend continuously, scraping down the sides often. The mixture will go from dry crumbs to a thick paste, then to a smooth, spreadable butter as oils are released.
Understanding Your Blender's Potential for Homemade Nut Butter
Not all blenders are created equal when it comes to turning humble nuts into smooth, creamy butter. While you might think you need a super expensive, professional-grade machine, many common home blenders can actually do the job, though it might take a bit longer and require more patience. Our research indicates that blenders with a motor of at least 700 watts generally perform better, reducing the risk of overheating and speeding up the process.

Image source: Bing (Web (fair-use with source credit))
The key factors are motor power and blade design. A strong motor provides the torque needed to break down the tough structure of nuts, while sharp, well-designed blades help to efficiently chop and churn them. If your blender has a "smoothie" or "puree" setting, that's a good indicator it has the power to handle this task.
However, be mindful of your blender's limits; running it for too long without breaks can cause the motor to overheat, which is a common pain point for home cooks. Always check your appliance’s manual for its maximum run time before starting.
Choosing the Right Nuts for Your Butter
The world of nuts is your oyster when it comes to making butter, and each type brings its own unique flavor and texture to the table. Peanuts, of course, are a classic, offering a familiar, robust taste. Almonds yield a slightly milder, sweeter butter, and when roasted, they develop a wonderful depth of flavor.
Cashews are a fantastic choice if you're aiming for an incredibly smooth and creamy, almost decadent butter, thanks to their higher fat content and softer texture. Walnuts and pecans are also great, but they tend to have a more pronounced, sometimes slightly bitter, flavor profile. They also contain more natural oils, which can help speed up the blending process.
Macadamia nuts will give you an ultra-rich, buttery spread that's quite luxurious.
- Peanuts: Classic, robust flavor.
- Almonds: Milder, sweeter, great roasted.
- Cashews: Super creamy, smooth, mild flavor.
- Walnuts & Pecans: Richer, sometimes slightly bitter, blend faster.
- Macadamia Nuts: Extremely rich and buttery.
You can even mix and match! Try a peanut-almond blend or a cashew-pecan combination for unique flavor profiles. Just remember that nuts with higher oil content will naturally require less blending time.
Roasting Nuts: The Flavor and Texture Game-Changer
Roasting your nuts before blending them is a step that makes a huge difference in the final flavor and texture of your homemade nut butter. Raw nuts can taste a bit bland and their texture might be chalky when blended. Roasting awakens their natural oils and intensifies their inherent flavors, creating a much richer, more complex taste.
It also makes them slightly more brittle, which can aid in the breakdown process during blending.
The process itself is pretty simple. Spread your chosen nuts in a single layer on a baking sheet. For most nuts, a moderate oven temperature, around 300, 350°F (150, 175°C), works well.
The roasting time will vary depending on the type of nut and your oven, but typically ranges from 10 to 20 minutes. You'll want to keep a close eye on them, stirring occasionally, until they're lightly golden and fragrant. Over-roasting can lead to a burnt flavor, which is hard to correct once it’s in your butter.
- Temperature: 300, 350°F (150, 175°C)
- Time: 10, 20 minutes (watch closely!)
- Visual Cue: Lightly golden and fragrant.
- Key Action: Stir occasionally for even roasting.
After roasting, it's crucial to let the nuts cool completely. Blending warm nuts can put extra strain on your blender motor and affect the final texture. Once cooled, they're ready for their transformation.
Step-by-Step: Turning Nuts into Creamy Butter
Getting from whole nuts to creamy butter is a multi-stage process. It’s less about a complex recipe and more about understanding the physical transformation your nuts undergo in the blender. Patience is your best friend here.
The exact time will vary based on your blender’s power and the type of nuts you’re using, but typically expect anywhere from 5 to 15 minutes of active blending time.
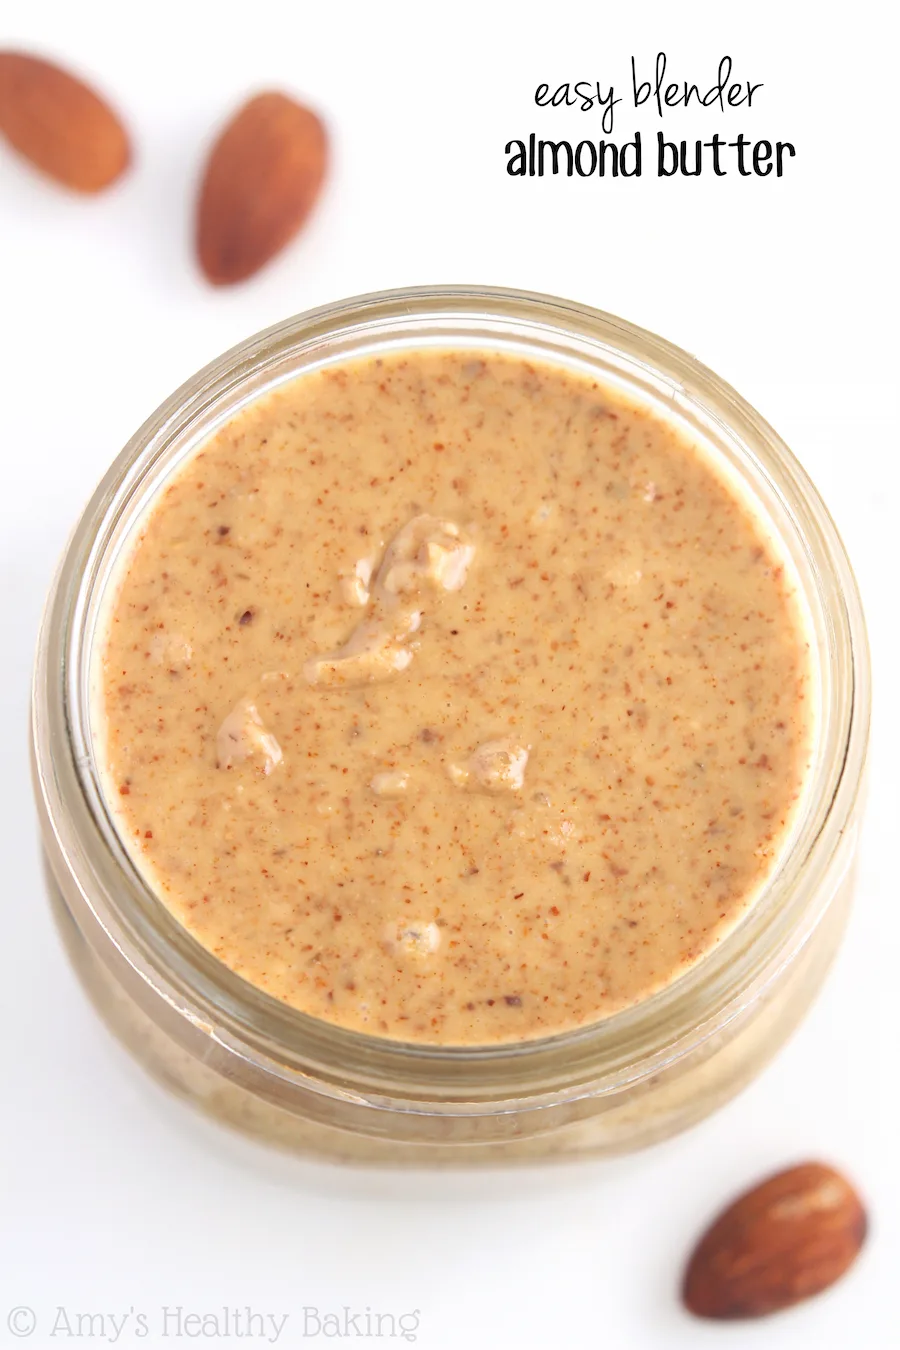
Image source: Bing (Web (fair-use with source credit))
Here’s the typical progression:
- Add Nuts: Start by adding your cooled, roasted nuts to the blender jar. Don't overfill it; you need room for the nuts to move around. If you're using a powerful blender, you can fill it about two-thirds full.
- Initial Pulse: Begin by pulsing a few times. This breaks the nuts down into smaller pieces. You’ll see them turn into a coarse meal or crumbly texture.
- Continuous Blend & Scrape: Switch to a continuous blend setting. This is where the magic starts. The nuts will begin to clump together, forming a thick paste. During this stage, and periodically throughout the process, you'll need to stop the blender and scrape down the sides of the jar with a spatula. This ensures all the nuts are incorporated and helps prevent the mixture from getting too hot in one spot.
- From Paste to Butter: Keep blending and scraping. You'll notice the paste getting smoother and looser. The oils from the nuts will start to be released, helping to create that characteristic creamy texture.
- Achieve Smoothness: Continue blending until you reach your desired consistency. This might take a few more minutes after it starts looking like butter. For the smoothest results, blend until it’s glossy and flows easily when you tilt the jar.
The "Almost There" Stage: Recognizing Texture Milestones
As you blend, you'll see distinct changes. First, it looks like coarse crumbs. Then, it transforms into a thick, dough-like paste that’s hard to scrape.
Don't stop here. Keep going, and you'll see it become a thick, slightly oily but still chunky butter. The final stage is a smooth, pourable liquid that coats the sides of the blender.
This transition from paste to liquid is your cue that the nut butter is ready.
Troubleshooting Chunky or Oily Butter
If your butter is still too chunky after 10 minutes, keep blending. If it seems excessively oily or separated, a quick pulse or two after it’s done can sometimes help re-emulsify it. Over-blending can also make it too thin, so know when to stop.
Essential Blender Features for Nut Butter Success
When you're looking to make nut butter at home, not just any blender will do the trick. While some blenders can handle the task with a bit of coaxing, certain features significantly streamline the process and improve the final result. Our editorial analysis of user feedback points to a few key areas to consider.
Motor Power: This is arguably the most critical factor. Nut butter making requires significant torque to break down the tough nuts and release their oils. Blenders with motors rated at 1000 watts or higher generally perform best, allowing for faster processing and reducing the risk of overheating.
Consumer reports often highlight that lower-wattage blenders (below 700 watts) may struggle, overheat, or simply fail to achieve a smooth consistency without extended breaks.
Blade Design: The shape and sharpness of the blender blades play a crucial role. Blades designed to create a vortex, pulling ingredients down towards them, are ideal. Look for blenders with robust, stainless-steel blades that are sharp enough to pulverize nuts efficiently without dulling quickly.
Some blenders come with specialized tamper tools that help push ingredients down, which is incredibly useful for thick mixtures like nut butter.
Jar Material and Capacity: A sturdy jar is essential. While glass jars are heavy, they are non-reactive and easy to clean. High-quality BPA-free plastic or stainless steel jars are also excellent options.
Capacity matters too; you don't want to overcrowd the jar, as this hinders proper blending. A capacity of at least 48 ounces (about 1.4 liters) is generally recommended for making a decent batch of nut butter.
Speed Settings and Pulse Function: Multiple speed settings allow you to start slow and gradually increase the speed as the nuts break down. The pulse function is invaluable for initial processing, breaking the nuts into smaller pieces before the continuous blending begins. This helps prevent motor strain and gives you more control.
For reference, manufacturer specifications for high-performance blenders often list run times. For example, some blenders are rated for continuous operation for up to 10 minutes, which is ample for most nut butter tasks. Always refer to your specific appliance's manual for its capabilities and recommended usage.
Beyond the Basics: Flavor Boosters and Consistency Tricks
Once you've got the basic nut butter smooth, you can really start to play with flavor and texture. Adding a pinch of salt is almost always a good idea; it really brings out the nutty notes. Even a quarter teaspoon can make a noticeable difference.
If you prefer a touch of sweetness, a little honey, maple syrup, or a date or two (pitted, of course) blended in can work wonders.
For a different flavor profile, consider adding spices. A dash of cinnamon is fantastic with almond or cashew butter. A touch of cocoa powder transforms it into a chocolate-nut spread that’s a real treat.
Some people even add a tiny bit of vanilla extract. When adding liquids like sweeteners or flavorings, start with a small amount and blend to incorporate before adding more. This prevents making your nut butter too thin.
Here are some ideas to get you started:
- Salt: 1/4 to 1/2 teaspoon per cup of nuts.
- Sweetener: 1-2 teaspoons of honey or maple syrup, or 1-2 pitted dates per cup of nuts.
- Spices: Pinch of cinnamon, nutmeg, or cardamom.
- Flavor: 1/2 teaspoon cocoa powder, or a drop of vanilla extract.
If your nut butter ends up a little too thick, don’t despair. You can thin it out by adding a tablespoon of neutral oil, like a light olive oil or avocado oil, while the blender is running on low. Blend until smooth.
Common Nut Butter Blender Mistakes to Sidestep
Even with a great blender, it's easy to run into a few snags when making nut butter for the first time. One of the most common issues is overheating the blender motor. If your blender starts to smell hot or seems to be struggling, stop it immediately and let it cool down for at least 15, 20 minutes.
Overfilling the jar is another frequent mistake; nuts need space to move freely to be processed efficiently.
Another common pitfall is not scraping down the sides of the blender often enough. The mixture is thick and sticky, and parts of it will cling to the walls, leading to uneven processing and potentially a chunky final product. Always stop the blender, unplug it for safety, and use a spatula to push everything back towards the blades.
Also, be patient. Trying to rush the process by blending for too long without breaks or by expecting immediate smoothness can lead to motor burnout or a less-than-ideal texture.
- Overheating: Let the motor cool down for 15-20 minutes.
- Overfilling: Don't fill the jar more than two-thirds full.
- Infrequent Scraping: Stop and scrape down the sides regularly.
- Impatience: Allow sufficient blending time and breaks.
Finally, many people forget to cool their nuts completely after roasting. Blending warm nuts adds unnecessary heat and strain to the motor. Ensure nuts are at room temperature before they hit the blender.
Storing Your Homemade Nut Butter and Keeping It Fresh
Storing your homemade nut butter properly is key to maintaining its freshness and preventing spoilage. Because it doesn't contain the preservatives found in store-bought versions, it needs a bit more care. Our research indicates that airtight containers are your best friend here.
Glass jars with tight-fitting lids are ideal.
If you used roasted nuts and no added oil, your nut butter should be fine in the refrigerator for several weeks, or even up to a couple of months. Refrigeration helps slow down the natural oxidation process of the oils, preventing rancidity. You might notice that the oils naturally separate from the solids over time; this is completely normal.
Just give it a good stir before using it.
- Container: Airtight glass jar with a tight lid.
- Storage Location: Refrigerator.
- Shelf Life: Several weeks to 2 months (when refrigerated).
- Separation: Natural oil separation is normal; just stir to recombine.
For longer storage, you can freeze your nut butter. It will last for several months in the freezer. Thaw it in the refrigerator before you need it.
If you added sweeteners or other ingredients, the shelf life might be slightly shorter, so always do a sniff test if you're unsure.
Frequently Asked Questions About Blender Nut Butter
How long does it typically take to make nut butter in a blender?
The time can vary quite a bit, generally ranging from 5 to 15 minutes of active blending. This depends heavily on the power of your blender and the type of nuts you're using. Higher-powered blenders, like those with 1000 watts or more, will finish the job much faster than less powerful models.
Do I have to roast the nuts first?
While you can technically make butter from raw nuts, roasting them is highly recommended. Roasting deepens their flavor and makes them more brittle, which aids in the breakdown process. It transforms a bland paste into a rich, aromatic spread.
My nut butter is too thick. What can I do?
If your nut butter is too thick, you can thin it out by adding a tablespoon of a neutral oil, such as avocado, grapeseed, or a light olive oil. Add the oil while the blender is running on a low setting and blend until it reaches your desired consistency.
Can I add ingredients like salt or sweetener?
Absolutely. Adding a pinch of salt can enhance the nutty flavor. For sweetness, you can add honey, maple syrup, or pitted dates.
It's best to add these gradually and blend them in thoroughly.
Is it safe to run my blender for that long?
You need to be mindful of your blender's motor. High-powered blenders are typically designed to run for several minutes continuously. However, if you have a standard blender, it's wise to take breaks every 1, 2 minutes to prevent the motor from overheating.
Always check your appliance’s manual for its maximum run time.
Your Homemade Nut Butter Journey: A Quick Recap
Making your own nut butter in a blender is a rewarding process that offers incredible control over ingredients and flavor. It all starts with selecting your favorite nuts, ideally roasting them to bring out their best taste, and then patiently transforming them in your blender. Understanding your appliance's capabilities, remembering to scrape down the sides, and allowing for breaks to prevent overheating are key to success.
Don't be afraid to experiment with add-ins like salt, sweeteners, or spices once you've mastered the basic technique. Proper storage in an airtight container in the refrigerator will keep your homemade spread fresh for weeks. With a little practice, you'll find that whipping up your own delicious, creamy nut butter is an easy and cost-effective way to elevate your snacks and meals.