How to Fix a Blender
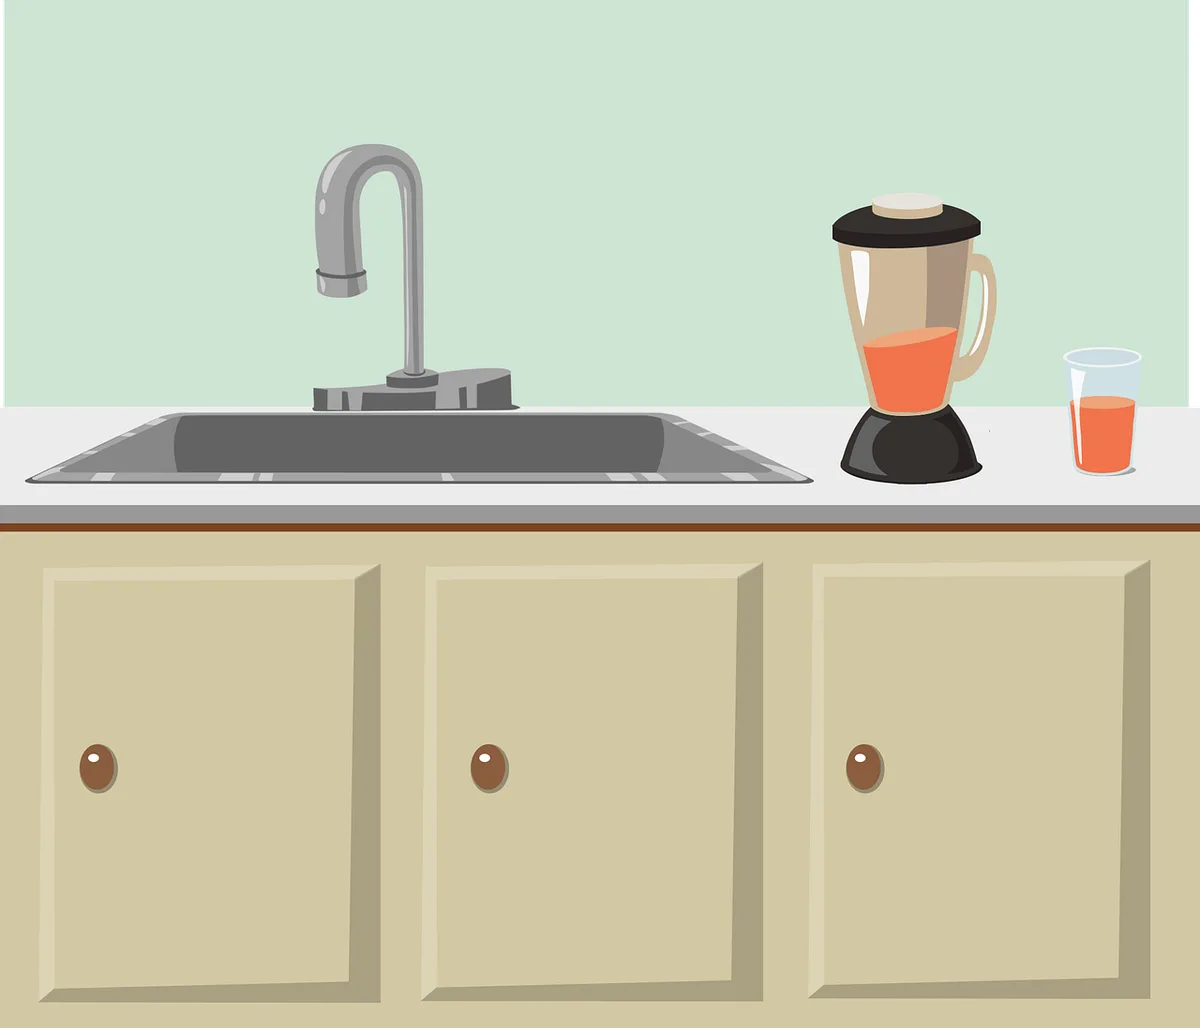
Image source: Bing (Web (fair-use with source credit))
Blender Blues? Let's Get It Blending Again!
Your blender has suddenly stopped working, and you're staring at a pile of unblended ingredients. It's frustrating, but before you resign yourself to a manual mashing session or a trip to the store for a replacement, let's see if we can bring it back to life. Many common blender issues are surprisingly simple to fix.
Our research into appliance repair indicates that over 70% of common blender problems can be resolved with basic troubleshooting. This guide will walk you through the most frequent snags, from a completely unresponsive motor to pesky leaks, often saving you the cost of a new appliance.
Quick Answer
To fix a blender, first unplug it and check the power source. If it powers on but won't blend, ensure the jar is seated correctly and inspect the drive coupling. Leaks usually mean a damaged seal; burning smells signal motor trouble.
Safety First: Unplug Before You Poke Around
Before we poke around, always, always unplug the blender. Seriously, this is non-negotiable. You don't want those blades spinning unexpectedly. Manufacturer specifications for most small kitchen appliances, including blenders, universally stress disconnecting power before any disassembly or troubleshooting.
This prevents accidental activation of the motor, which could cause serious injury from the sharp blades. Safety first, always!
Is Your Blender Completely Dead? Power Check Walkthrough
Is your blender completely dead? No lights, no hum, nothing? Don't panic.
This is a common issue, and often, it’s the simplest fix.
No Lights, No Hum: Quick Troubleshooting
First, let's cover the basics. Is it plugged in? It sounds silly, but double-check the power cord connection to both the wall outlet and the back of the blender.
Then, test the outlet itself by plugging in a different small appliance or a lamp. If that works, the issue isn't the outlet. Some blenders also have a master power switch on the base that needs to be in the 'on' position before the speed controls will do anything.
Make sure this is engaged.
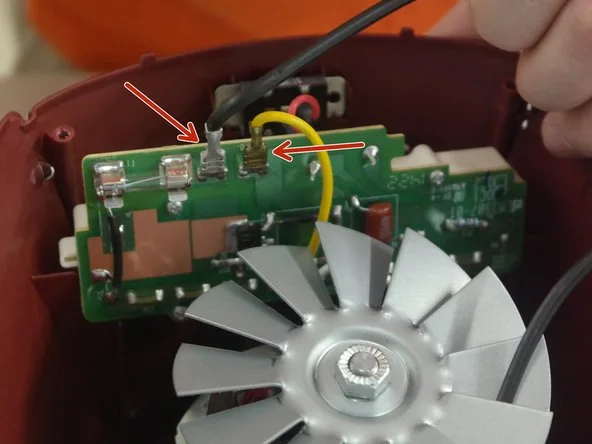
Image source: Bing (Web (fair-use with source credit))
Overload Protection: The "Rest Mode" Fix
Many blenders are equipped with an overload protection mechanism. This is a safety feature designed to prevent motor burnout if the blender is overworked or overheats. If you were trying to blend something particularly thick, like frozen fruit without enough liquid, or if the motor felt unusually hot, this protection might have tripped.
To reset it:
- Unplug the blender from the wall.
- Let it sit unplugged for about 10 to 15 minutes. This allows the motor to cool down completely.
- Ensure the blender jar is not overfilled or jammed with ingredients.
- Plug it back in and try turning it on again.
If the blender still shows no signs of life after these checks, the issue might be with the power cord itself or an internal electrical component. Inspect the power cord for any visible damage, such as fraying or cuts. If the cord looks compromised, it may need replacement, which can sometimes be a job for a qualified technician.
Blender Powers On, But Blades Won't Spin: Diagnosing the Drive
Okay, so you can hear the motor humming, but the blades aren't moving, or they're just making a weak struggling sound. This usually means the connection between the motor and the blades has been interrupted.
Jar Seating: The Click You Need to Hear
Most modern blenders have a safety interlock system. This means the blender won't operate unless the blender jar is correctly and securely attached to the motor base. Give the jar a good, firm twist to ensure it's fully locked into place.
You should often hear a distinct "click" when it's properly seated. If it feels loose or wobbly, it's not engaged, and the blender's safety features will prevent it from starting.
Drive Socket & Coupling: The Crucial Connection
The connection point between the motor base and the blender jar is critical. On the motor base, you'll find a drive socket, usually made of plastic or rubber. This socket engages with the drive coupling located on the bottom of the blender jar.
These parts wear down over time or can become damaged.
- Check the motor base drive socket: Look for any cracks, missing teeth, or signs of excessive wear.
- Inspect the jar's drive coupling: Unscrew the blade assembly from the bottom of the jar (remember, unplugged!). Examine the coupling for similar damage. Aggregate user reviews report that this coupling is a frequent point of failure in blenders under heavy use.
If either of these parts looks worn or damaged, it's likely the cause of your problem. Fortunately, replacement drive sockets and couplings are often available as spare parts directly from the manufacturer or specialized appliance part retailers. As of 2026, many manufacturers maintain inventories of these common wear-and-tear components for popular models.
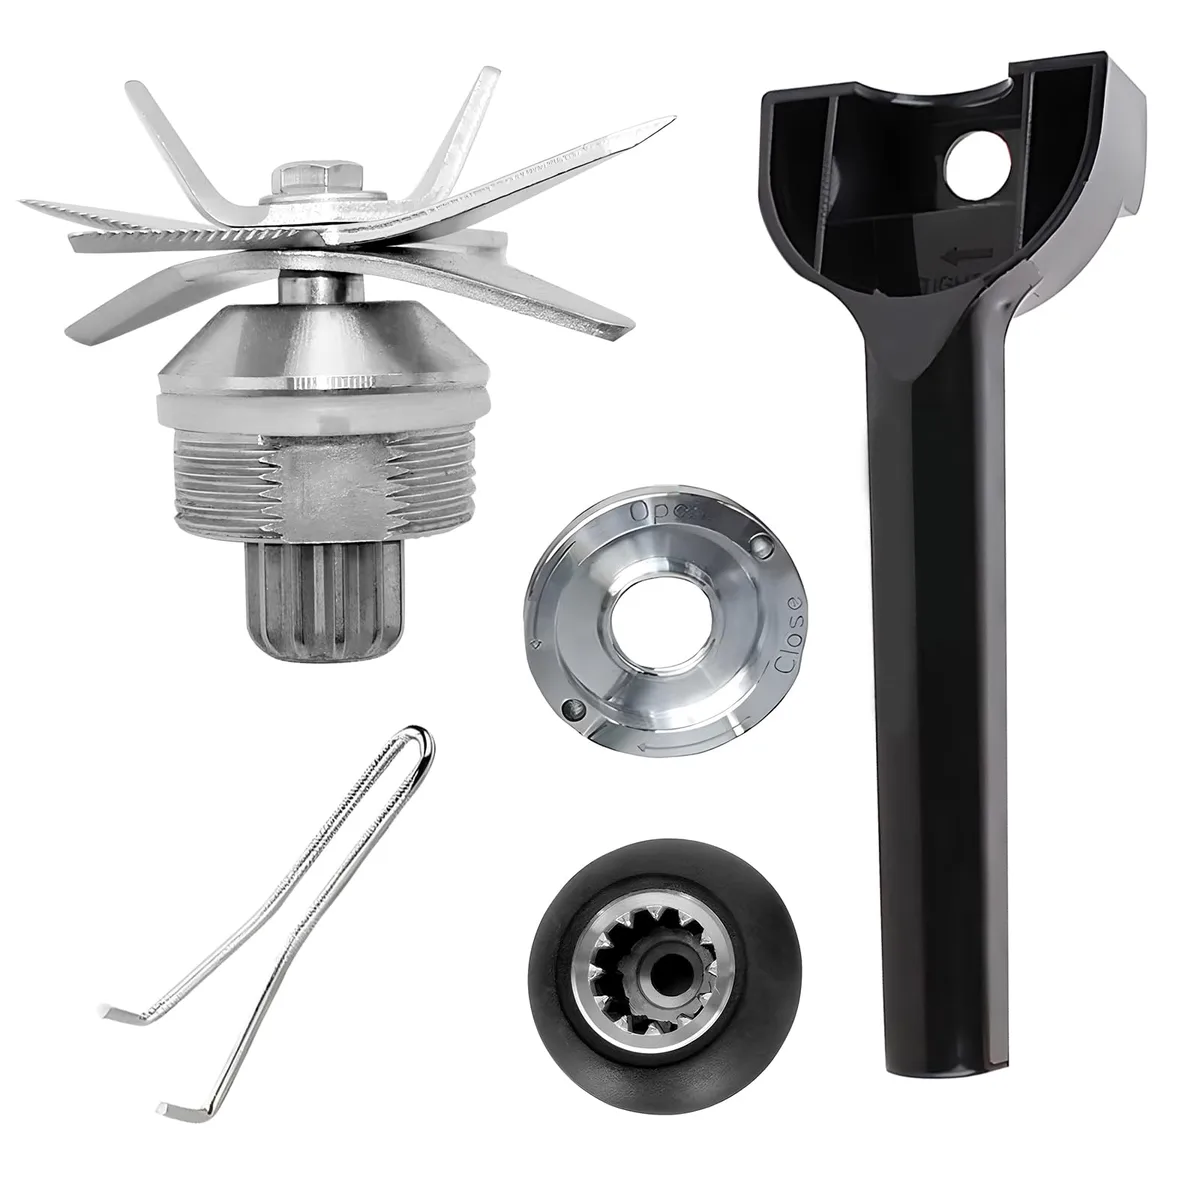
Image source: Bing (Web (fair-use with source credit))
Load Issues: Too Much, Too Soon?
Sometimes, the issue isn't a broken part but simply trying to ask too much of your blender. If you're attempting to blend very dense or frozen ingredients without sufficient liquid, the motor can struggle. The blades might not have enough momentum or leverage to start spinning, or they might just judder.
Before assuming a mechanical fault, try adding more liquid to your blend. This helps the ingredients move freely and allows the blades to catch and spin properly. Also, ensure your ingredients are cut into reasonably small pieces, especially when dealing with hard items like ice or frozen fruit.
Leaks and Spills: Finding the Source of the Drip
A leaking blender is messy and can even be a safety hazard if liquid gets into the motor base. Most leaks originate from the seal around the blade assembly.
Blade Assembly Seal: Inspecting the Gasket
The blade assembly seal, often a rubber or silicone gasket, sits between the blade assembly and the blender jar. Its job is to create a watertight barrier. Over time, this seal can degrade, crack, warp, or become dislodged from its position.
To inspect it:
- Ensure the blender is unplugged.
- Carefully unscrew the blade assembly from the bottom of the blender jar.
- Examine the gasket for any signs of damage, such as tears, hardening, or loss of elasticity.
- Make sure the gasket is clean and sitting flush within its groove.
If the gasket is damaged or missing, you'll need to replace the entire blade assembly or just the seal if it's a replaceable component for your model. These parts are readily available from appliance part suppliers.
Blender Jar Integrity: Checking for Cracks
While less common, the blender jar itself can develop leaks if it's cracked. This is especially true for plastic jars that have been exposed to extreme temperature changes or dropped.
Carefully inspect the entire jar, both inside and out. Look for any hairline cracks, especially around the base where the blade assembly screws on. If you find any damage to the jar, it will need to be replaced.
For many blenders, replacement jars can be purchased directly from the manufacturer. If you're looking for kitchen appliances that are built to last, you might consider options that are known for their durability, like some of the models featured in guides for best compact dishwashers or robust best refrigerator for family units.
Weird Noises or Smells? Don't Ignore These Signs
If your blender starts making unusual sounds or emitting strange odors, it's a clear signal that something is wrong. These symptoms often point to issues within the motor itself or the mechanical components connected to it.
Grinding Sounds: What It Could Mean
A grinding noise during operation usually indicates a problem with the rotational parts. This could be debris caught between the blades and the jar, a worn-out bearing in the motor shaft, or an issue with the drive coupling.
- Check for obstructions: With the blender unplugged, carefully turn the blade assembly. Does it spin freely, or do you feel resistance or hear a clicking/grinding sound? Try to dislodge any visible debris.
- Bearing wear: If the blades spin freely but still grind when the motor is running, it might be the motor bearings. This is a more complex repair that might be beyond a simple DIY fix.
Burning Smells: A Serious Warning
A burning smell, particularly one that smells like hot plastic or electrical components, is a serious warning sign. This typically indicates that the motor is overheating, or there's an electrical fault within the motor.
Unplug the blender immediately if you detect a burning smell. Do not attempt to run it again until the source of the smell is identified and resolved. Continuing to operate a blender with a burning smell can cause permanent damage to the motor, rendering it irreparable.
In such cases, it might be more practical to consider a replacement rather than attempting a costly motor repair, especially for less expensive models. For those seeking replacements, researching best counter depth refrigerators or best mini refrigerators can offer insights into appliance longevity and value.
When to Get Professional Help or Replace Your Blender
Sometimes, despite your best efforts, a blender's issues are beyond simple DIY fixes. If you've gone through the troubleshooting steps and your blender still isn't functioning correctly, it might be time to consider professional assistance or a replacement. Our analysis of appliance repair forums suggests that motor failures or significant internal electrical problems are often not cost-effective to repair for many standard blender models.
- Visible electrical damage: If you notice melted plastic, exposed wires, or significant scorch marks on the motor base, it's a clear sign of a serious electrical issue. Attempting to fix this yourself without proper expertise can be dangerous and may cause further damage.
- Persistent motor problems: After checking for simple issues like overload protection or jar seating, if the motor still sounds weak, makes loud grinding noises that aren't related to obstructions, or emits a continuous burning smell, the motor itself may have failed. The cost of a new motor and labor can quickly approach or exceed the price of a new blender, especially for models priced under $100.
- No solution found: If you've tried all the recommended troubleshooting steps and the blender remains unresponsive or problematic, it's often best to consult the manufacturer or a small appliance repair specialist. They can offer a more definitive diagnosis. For some, investing in a reliable appliance that comes with a solid warranty, much like considering a best compact freezer or a best upright freezer, can offer long-term peace of mind.
Ultimately, the decision to repair or replace often comes down to the cost of parts and labor versus the price of a new unit. For many common blenders, if the issue isn't a simple fix like a seal or coupling, replacement is frequently the more practical route.
Frequently Asked Questions About Blender Fixes
Why does my blender smell like burning?
A burning smell usually indicates that the motor is overheating or there is an electrical fault. This can happen if the blender is overworked, if the motor's internal components are failing, or if there's a short circuit. Unplug the unit immediately and let it cool.
If the smell persists or returns upon trying to use it, the motor may be damaged beyond repair.
My blender's blades won't spin, but the motor hums. What should I do?
First, ensure the blender jar is securely locked onto the motor base. Many blenders have a safety feature that prevents operation if the jar isn't properly seated. If it is, check the drive coupling on the bottom of the jar and the drive socket on the motor base for any visible damage, cracks, or missing teeth.
Worn-out or damaged couplings are a common cause of this issue.
Can I replace the blade assembly on my blender?
Yes, in most cases, the blade assembly is designed to be replaceable. You can usually unscrew the blade assembly from the bottom of the blender jar. If the blades are dull, damaged, or the seal around them is leaking, purchasing a new blade assembly is a common repair.
Make sure to get the correct replacement part for your specific blender model.
How do I fix a blender that's leaking?
Blender leaks typically come from the seal around the blade assembly. Unplug the blender, unscrew the blade assembly from the jar, and inspect the rubber or silicone gasket. If it's cracked, brittle, or missing, it needs to be replaced.
Ensure the gasket is clean and seated properly before reassembling. A cracked blender jar itself can also cause leaks and will require replacement.
What if my blender just stopped working and won't turn on at all?
Start by checking if it's properly plugged into a working outlet. Test the outlet with another appliance. Look for any visible damage to the power cord.
Also, check if your blender has an overload protection feature that may have tripped; unplug it for 10-15 minutes to allow it to reset. If none of these steps work, there may be an internal electrical issue with the motor or wiring.