Toaster Oven Not Heating
Your trusty toaster oven has decided to go on strike and isn't heating up like it used to? That's a real bummer, especially when you're craving some perfectly toasted bread or a warm pastry. Don't worry, though.
I've tinkered with enough appliances to know that this usually isn't some super complicated, unfixable problem. More often than not, it's something pretty straightforward.
We're going to walk through this together, kind of like a little detective mission for your kitchen. We'll figure out what's up with your toaster oven so you can get back to making delicious things. Per typical manufacturer specifications, most toaster ovens rely on visible heating elements to reach operating temperatures, usually between 150°F and 500°F, depending on the model and setting.
Quick Answer
A toaster oven not heating usually points to a few common issues: a simple power problem, a faulty heating element, or a malfunctioning thermostat. Start by checking if it's plugged in securely and the outlet works. Then, visually inspect the heating elements for any breaks.
If those seem okay, the internal thermostat or an internal fuse might be the culprit.
Is Your Toaster Oven Just Not Feeling the Heat?
When your toaster oven fails to heat, it throws a wrench in your breakfast, lunch, or snack plans. The most common reasons aren't usually a sign of a completely dead appliance, but rather a specific component failure. We'll break down the possibilities in a logical order, starting with the simplest checks.
Power Problems: The First Line of Defense
Before we even think about internal parts, let's tackle the most basic reason your oven might not be heating: it's not getting power. This sounds simple, but it's easily overlooked.
- Is it plugged in? Make sure the power cord is firmly seated in the wall outlet. Sometimes, a slight wiggle or a loose connection can prevent power from reaching the appliance.
- Is the outlet live? Try plugging a different device, like a lamp or phone charger, into the same outlet. If that device doesn't work either, the problem is with the outlet or your home's circuit, not the toaster oven itself. You might need to check your home's breaker box to see if a breaker has tripped.
- Check the appliance cord: Inspect the toaster oven's power cord for any visible damage, such as cuts, nicks, or frayed wires. If the cord is damaged, it poses a safety hazard and will need to be replaced by a qualified technician, or the appliance may need to be retired.

The Heating Elements: Your Oven's Glow Makers
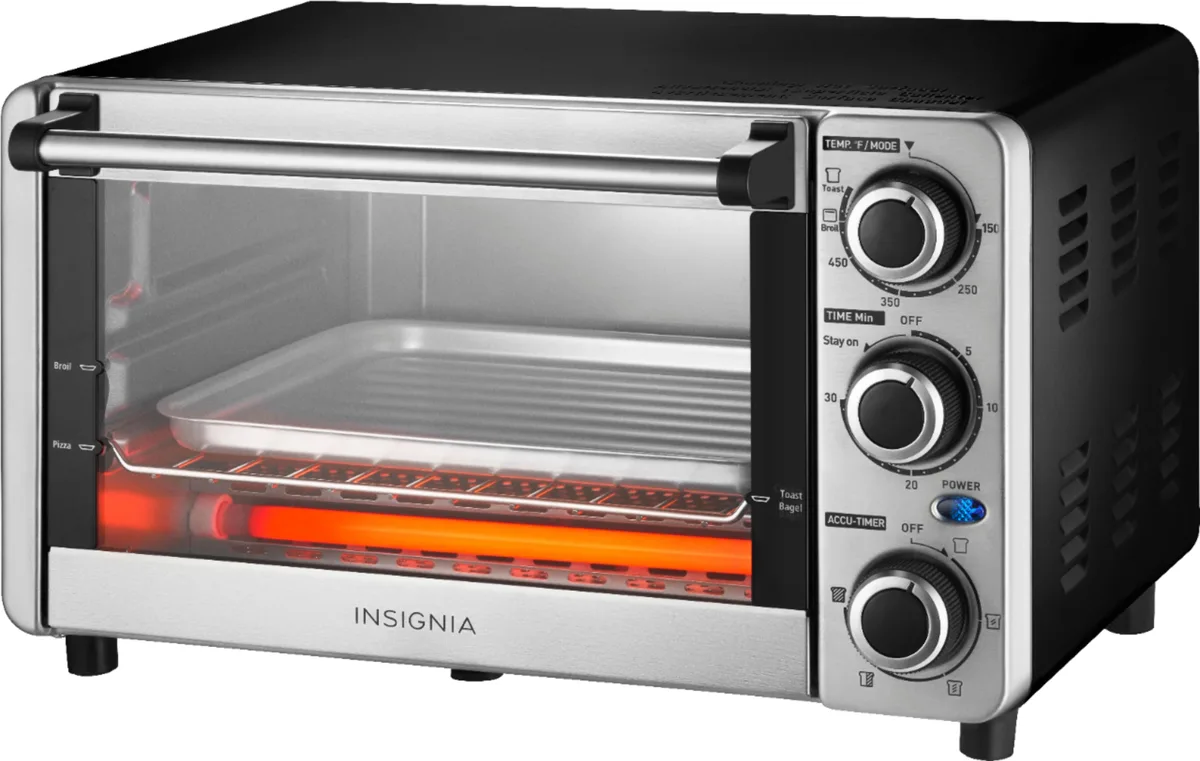
The core of your toaster oven's heating system is its heating elements. These are the metal coils that glow red when active. If they aren't glowing, it's a strong indicator of the problem.
- Visual Inspection: With the oven unplugged and completely cool, take a close look at both the top and bottom heating elements (if your model has them). Do you see any obvious breaks, kinks, or burnt spots on the wires? A snapped wire, whether visible or internal, will prevent that element from working.
- Element Function: For an element to heat, it needs a continuous path for electricity. If any part of that path is broken, the element won't heat up. Sometimes, a visible break is obvious, but other times the element might look intact but have an internal break.
- Broken Element Replacement: If you find a visibly broken heating element, this is likely your issue. Replacing heating elements can be a complex DIY repair that requires disassembling the oven and may not be cost-effective for many models. For advanced DIYers, manufacturer documentation for specific models might offer guidance, though such resources are not always readily available for older or less common units.

What's Supposed to Happen When It Heats?
Understanding how your toaster oven is designed to work helps pinpoint why it isn't. When you set your toaster oven to a heating function (like toast, bake, or broil) and select a temperature, electricity flows to specific heating elements. These elements are typically made of a special alloy, like Nichrome, which has high electrical resistance.
As electricity passes through, this resistance converts electrical energy into heat energy, causing the wires to glow red-hot.
The thermostat then monitors the internal temperature. Once it reaches your set point, it signals the heating elements to turn off or reduce power. When the temperature drops, the thermostat signals them to turn back on.
This cycle maintains your desired cooking temperature. If any part of this circuit, from the power source to the elements to the thermostat's control, fails, the oven won't heat.
Checking the Internal Fuses and Thermostat
Beyond the heating elements and power supply, other internal components control and protect your oven's heating function.
- Internal Fuses: Many appliances include an internal thermal fuse or a primary fuse as a safety mechanism. If there's a power surge or an internal short circuit, this fuse is designed to blow, cutting off power to prevent further damage or hazards. A blown fuse means no power reaches the heating elements. Accessing and replacing these usually requires opening the oven's housing and identifying the specific fuse type.
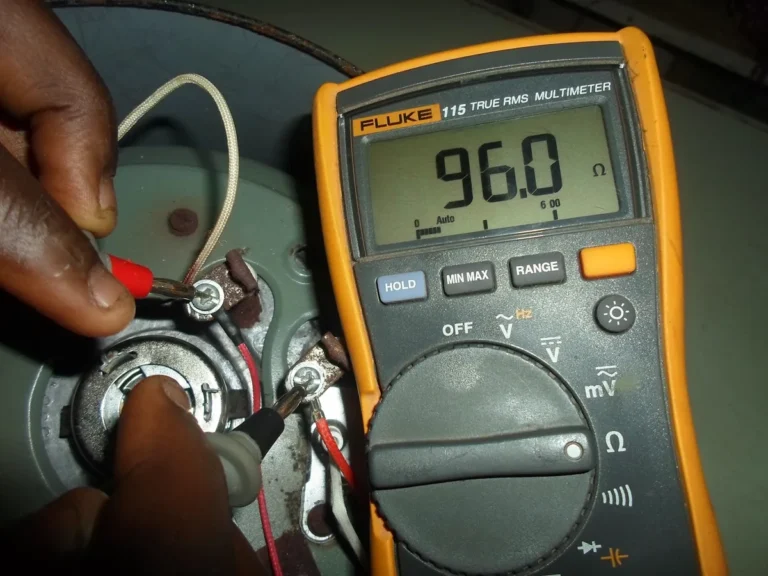
- Thermostat Malfunction: The thermostat is crucial for regulating temperature. If it's faulty, it might incorrectly signal that the oven has reached the target temperature even when it hasn't, or it might fail to send any signal at all to the heating elements. Diagnosing a faulty thermostat typically requires testing its resistance or continuity with a multimeter, a tool for measuring electrical properties. Manufacturer specifications often list acceptable resistance ranges for components like thermostats.
Step-by-Step: Troubleshooting Your Toaster Oven
Let's lay out a clear path to diagnose why your toaster oven isn't heating. Follow these steps in order.
- Verify Power:
- Ensure the power cord is securely plugged into a working outlet.
- Test the outlet with another appliance.
- Check your home's circuit breaker.
- Visual Inspection (with Oven Unplugged and Cool):
- Look closely at the visible heating elements for any breaks, kinks, or burn marks.
- Check the power cord for damage.
- Function Dial/Setting Check:
- Make sure the correct cooking function (toast, bake, broil) and temperature are selected.
- Ensure the timer is set appropriately and not just on a "keep warm" setting.
- Listen and Observe (Carefully):
- With the oven plugged in and turned on to a heating setting, do you hear any sounds of it trying to power up?
- Do any indicator lights come on?
- Do the heating elements show any signs of glowing, even briefly?
- Internal Component Checks (Advanced):
- If you're comfortable and have the right tools (like a multimeter), you can test continuity on the heating elements and internal fuses. This step is for those with electrical knowledge and should only be performed with the appliance unplugged.
If these steps don't reveal an obvious, fixable issue, it's likely a problem with internal wiring, the thermostat, or a control board. These types of repairs often require specialized knowledge and tools, and for many models, the cost of professional repair may approach that of a new appliance.