How to Use a Pour Over Coffee Maker
Making a truly exceptional cup of coffee at home often comes down to control and technique. If you've ever wondered how to use a pour over coffee maker to achieve that nuanced flavor, you're in the right place. This method, while simple in principle, rewards attention to detail with a remarkably clean and aromatic brew.
It's less about complicated machinery and more about understanding how water interacts with coffee grounds. By mastering a few key steps, like the precise water temperature (between 200-205°F or 93-96°C is ideal, per industry standards) and a steady pour, you can unlock incredible flavor profiles.
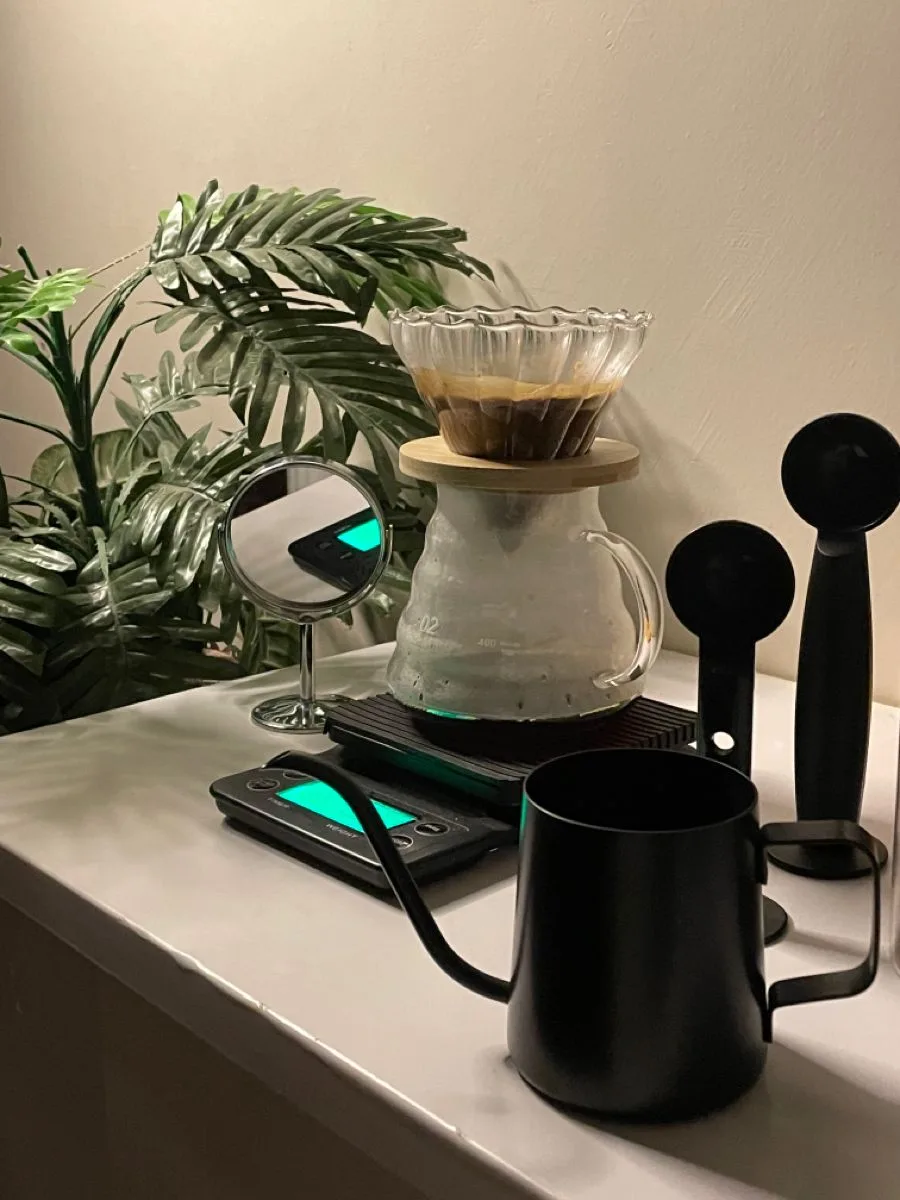
Image source: Bing (Web (fair-use with source credit))
Quick Answer
To use a pour-over coffee maker, heat water to 200-205°F, grind fresh beans to a medium-coarse consistency, rinse the filter, and wet the grounds for a 30-45 second bloom. Then, slowly pour the remaining water in controlled circles for 2-2.5 minutes. This ensures even extraction for a clean, flavorful cup.
Why Visuals Matter for Pour-Over Success
When you're first learning how to use a pour over coffee maker, relying solely on written instructions can feel a bit like trying to follow a dance routine from a script. Coffee brewing, especially pour-over, is very visual. What you see happening in the brewer as you pour the water tells you a lot about what's going on with the extraction.
For instance, the way the coffee grounds swell during the bloom, or how the water level rises and falls as you pour, are crucial indicators of your technique. These visual cues help you adjust your grind size, pour rate, and overall approach to get the best taste. Understanding these visual signals is often the fastest path to consistently delicious coffee.
Step-by-Step Pour-Over: A Visual Breakdown
Let's walk through the process, focusing on what you should be seeing at each stage. This is where the real magic happens, and having a visual reference can make all the difference.
The Bloom: What to Look For
The bloom is your first crucial step after you've prepped your filter and added your coffee grounds. You'll start your timer and gently pour just enough hot water over the grounds to saturate them completely. You want to see all the dry coffee grounds turn dark and wet, with no dry patches.
Image source: Web (Bing) / inkl.com (Web image (fair-use with source credit))
What you should see is the coffee bed puffing up and bubbling. This is the coffee degassing, releasing trapped carbon dioxide. It looks a bit like a tiny, brown volcano erupting.
If you don't see much bubbling, your beans might be old and have lost most of their CO2. A good bloom takes about 30 to 45 seconds.
The Main Pour: Achieving Even Saturation
After the bloom, you'll begin pouring the rest of your hot water. This is where your gooseneck kettle really shines. You're aiming for a slow, steady, and controlled pour.
Start pouring in gentle, concentric circles from the center of the coffee bed outward, then back inward.
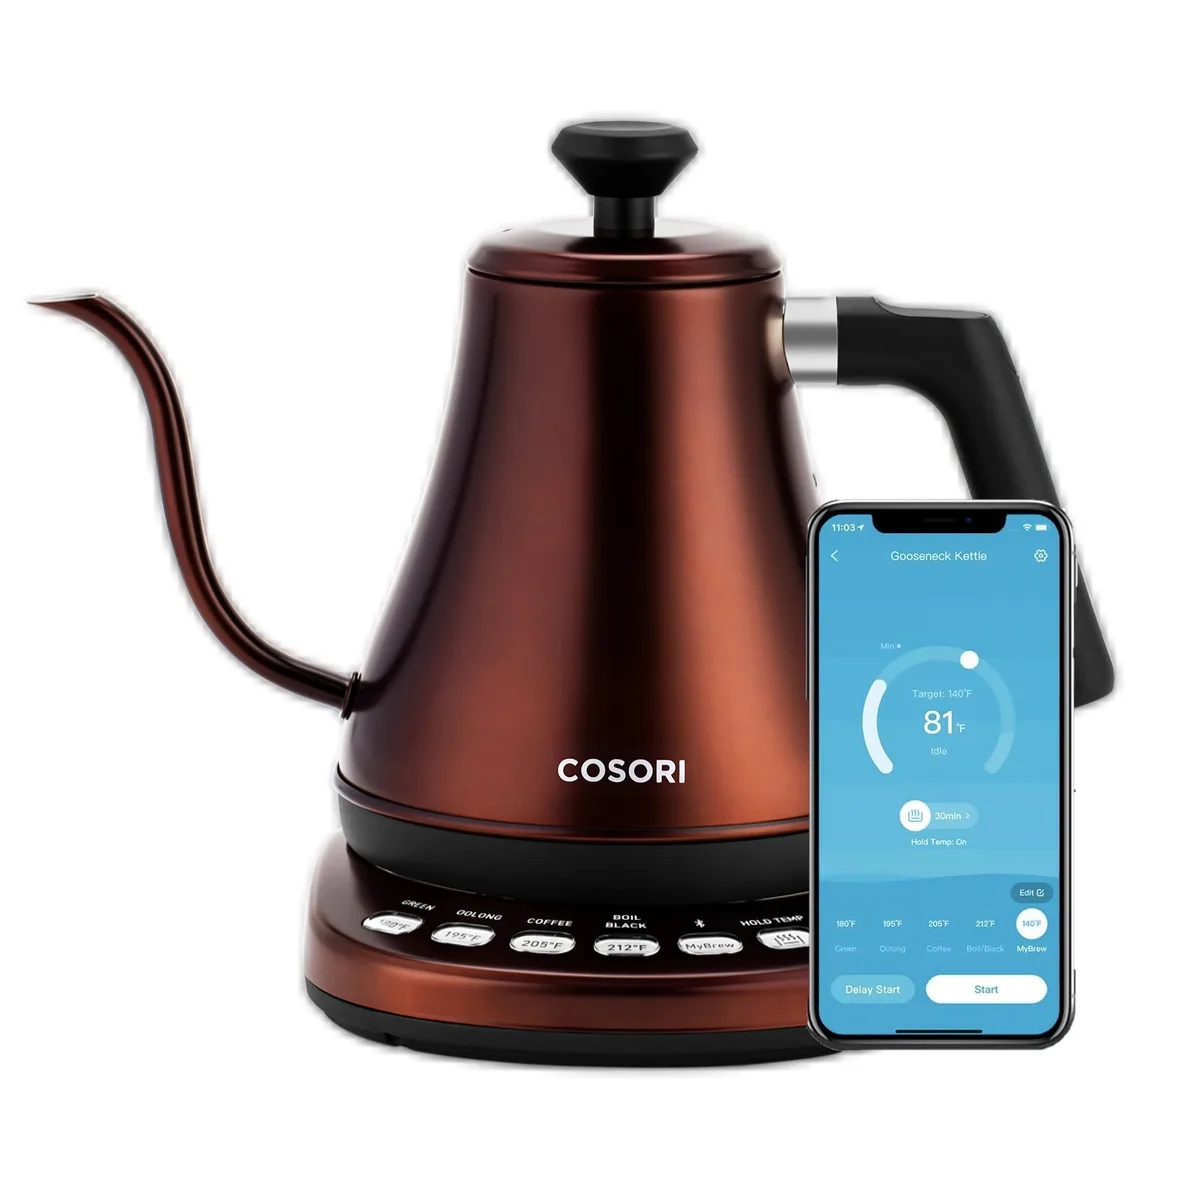
Image source: Bing (Web (fair-use with source credit))
What you're trying to achieve is even saturation. You don't want to create deep craters or pour too fast, which can cause water to bypass the coffee grounds altogether, leading to an under-extracted, sour cup. Conversely, don't let the water drain completely between pours if you're doing a pulse pour.
The goal is to keep the coffee bed consistently wet without overfilling the brewer, a balance that's best learned by watching the water level and the grounds.
Draining: Signs of a Good Brew
As your pour-over progresses, you'll observe the coffee dripping steadily into your mug or carafe. The rate at which this happens is a good indicator of your grind size and pour technique.
If the coffee is draining too quickly, your grind might be too coarse. This means the water is flowing through too fast, not giving the coffee enough time to extract its full flavor, likely resulting in a weak or sour taste. If it's draining very slowly or even looks like it's getting stuck, your grind is probably too fine.
This can lead to over-extraction and a bitter taste. Ideally, the entire brew process, from the start of the bloom to the last drip, should fall within a typical range of 2.5 to 4 minutes, depending on the brewer and amount of coffee.
Key Identifiers: What a Perfect Pour Looks Like
Beyond just the process, there are specific visual cues that signal you're on the right track to a perfect pour-over. Noticing these details helps you replicate success and troubleshoot when things go awry.
One of the most telling signs is the coffee bed itself once the dripping has finished. It should look relatively flat and even, like a gently sloped landscape. If you see distinct peaks and valleys, or if one side is significantly higher than the other, it often points to uneven pouring or grind distribution.
The color of the liquid dripping into your mug should be a consistent, medium-brown hue, not too dark or too light. A good brew will also have a pleasant aroma that fills the air, a sign that the volatile aromatic compounds are being released properly.
Common Visual Mistakes & How to Fix Them
Even with the best intentions, it's easy to make a few visual missteps when you're learning how to use a pour over coffee maker. Recognizing these common errors by sight is half the battle in improving your brew.
A frequent mistake is creating a "dry ring" around the edge of the filter. This happens if you don't wet the entire surface area of the coffee grounds, especially during the initial bloom or subsequent pours. To fix this, consciously aim your pour to reach the edges, ensuring all the coffee particles get saturated.
Another visual red flag is seeing large air pockets or channels forming in the coffee bed. This indicates water is finding easy paths through the grounds, leading to uneven extraction. Try to maintain a more consistent water level and a slower, more deliberate pour to prevent this.
If your coffee tastes weak, it might be because the water level dropped too low between pours, effectively stopping extraction. Ensure you maintain a consistent liquid level in the brewer throughout the main pour.
Expert Tips for Elevating Your Pour-Over Game
Once you've got the basic steps down, a few pro techniques can really elevate your pour-over experience. These aren't necessarily about changing the fundamental process, but rather refining it for even better results.
- Pre-heat Everything: Ensure your brewer, filter, and mug are thoroughly pre-heated with hot water. This prevents temperature loss during brewing, which is critical for proper extraction.
- Use a Scale Religiously: Measuring your coffee beans and water by weight, not volume, is the single best way to ensure consistency. A starting ratio of 1:15 or 1:16 (coffee to water) is a great baseline.
- Stir Gently: After the bloom, a very gentle stir or two with a spoon can help break up any clumps and ensure all grounds are evenly exposed to water. Over-stirring can lead to bitterness.
- Adjust Your Grind: If your coffee is consistently sour, try a finer grind. If it’s consistently bitter, go coarser. This fine-tuning is where you really dial in the flavor.
- Experiment with Water: While 200-205°F is standard, slight variations can impact taste. Some sources, like the Specialty Coffee Association, offer guidelines on ideal brewing water composition for optimal flavor extraction.