How to Make Bread Dough With a Stand Mixer
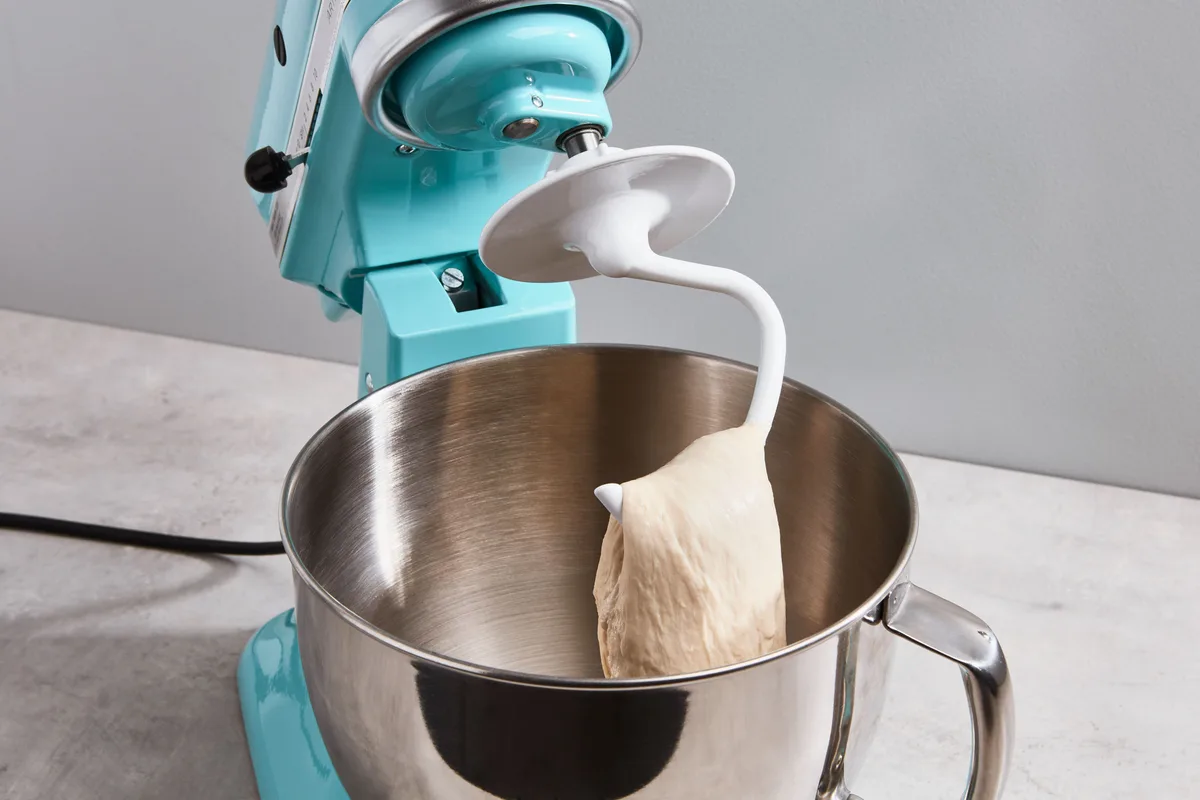
Image source: Bing (Web (fair-use with source credit))
Making bread dough with a stand mixer transforms baking from a chore into a joy. If you've ever dreamed of fresh, homemade bread without the arm workout, this is your answer. It’s about harnessing a kitchen workhorse to achieve perfect dough consistency every time.
Our research confirms that stand mixers, when used correctly, can significantly improve the texture and rise of your bread. With a typical motor ranging from 250 to 500 watts, they provide the consistent power needed for proper gluten development, a key factor in achieving that ideal, airy crumb.
What Makes the Stand Mixer Great for Dough?
The stand mixer is a game-changer for dough. It's not just about convenience; it’s about what the tool actually does to your dough. The unique action of the dough hook mimics the stretching and folding that happens during hand-kneading, but with a relentless consistency.
This mechanical kneading is more efficient than most home cooks can achieve manually, leading to better gluten development.
Properly developed gluten forms a strong, elastic network within the dough. This network traps the gases produced by the yeast, allowing the dough to rise beautifully. Manufacturers design these mixers specifically for this task, ensuring consistent speed and torque, which are crucial for repeatable baking results.
Getting Your Stand Mixer Ready for Dough
Before you even think about flour, a little preparation ensures everything goes smoothly. This isn't complicated, but these small steps prevent common frustrations down the line. Think of it as setting the stage for baking success.
Attaching the Dough Hook
This is the primary attachment you'll use for bread dough. It's designed to hook around the dough and pull it down, mimicking the kneading motion.
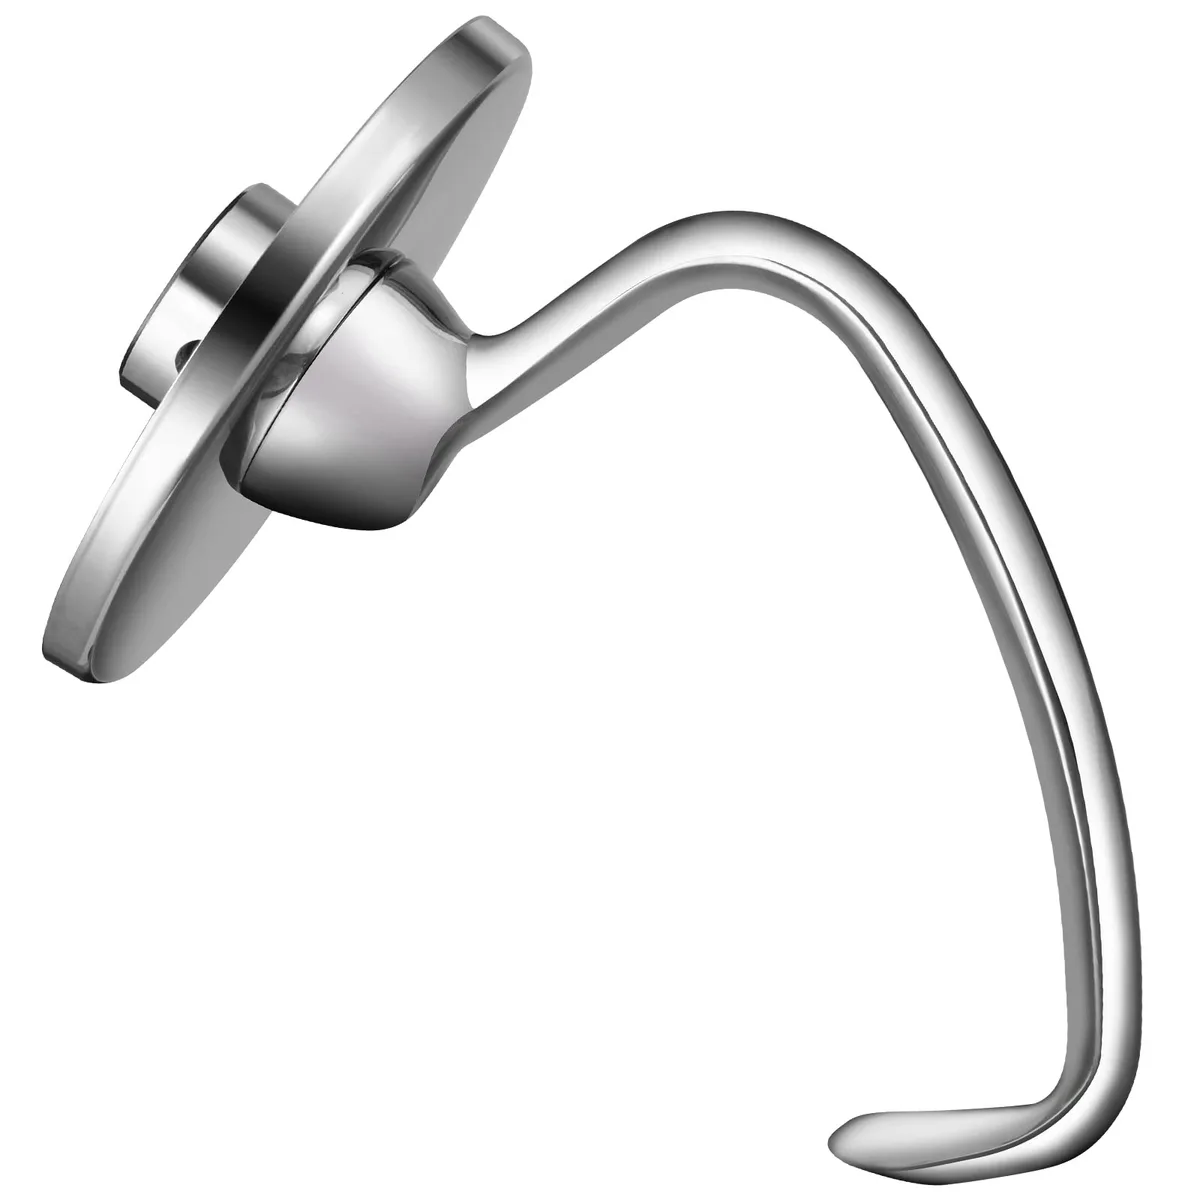
Image source: Bing (Web (fair-use with source credit))
- Locate the attachment hub: This is usually at the top of the mixer head.
- Align the dough hook: Most dough hooks have a specific way they slot into the hub. Give it a gentle twist until it clicks into place.
- Secure it: Make sure it's firmly attached. A loose dough hook can wobble and potentially cause damage.
Assembling Your Ingredients
Having your ingredients measured and ready to go is critical for efficient mixing. This "mise en place" approach prevents stopping mid-process to hunt for salt or measure flour, which can affect dough temperature and yeast activity.
- Flour: Use the type specified in your recipe, usually all-purpose or bread flour.
- Yeast: Ensure it's fresh. Active dry yeast will need to be "proofed" in warm liquid, while instant yeast can often be added directly to dry ingredients.
- Liquid: Warm water or milk is typical. The temperature matters, too hot kills yeast, too cold slows it down. Aim for between 105, 115°F (40, 46°C) for active dry yeast.
- Salt: Essential for flavor and controlling yeast activity.
- Sugar/Fat: These are optional, depending on the recipe, and affect flavor, texture, and browning.
The Step-by-Step Stand Mixer Dough Process
This is where the magic happens. Follow these steps carefully, paying attention to the visual cues your dough gives you. The goal is a smooth, elastic dough that’s ready to rise.
Step 1: Waking Up the Yeast and Mixing Liquids
If your recipe calls for active dry yeast, this is where you start. In the mixer bowl, combine your warm liquid (water or milk) with the yeast and any sugar. Let it sit for 5 to 10 minutes.
You're looking for it to become foamy and bubbly on top. This tells you the yeast is alive and active. If you don’t see any activity, your yeast might be old, or the liquid was too hot or too cold.
Step 2: Adding Flour and Salt
Once your yeast is active, it's time to add the bulk of your ingredients. Add the measured flour directly into the bowl with the yeast mixture. Sprinkle the salt around the edges of the bowl, rather than directly on top of the yeast mixture.
This prevents the salt from potentially inhibiting the yeast’s activity too early in the process.
Step 3: The Initial Mix and Combining
Attach your dough hook to the stand mixer. Start the mixer on the lowest speed setting. The goal here is just to combine the ingredients into a shaggy mass.
You don't want to see a lot of dry flour floating around. As the mixer runs, it will start to bring the ingredients together. This usually takes about 30 to 60 seconds.
Step 4: Kneading: Speed, Time, and What to Watch For
Once the ingredients are mostly combined, increase the mixer speed to a medium-low setting, typically speed 2 or 3 on most models. This is where the actual kneading begins. The dough will start to wrap around the dough hook and pull away from the sides of the bowl.
You’ll notice it becoming smoother and more elastic over time.
Manufacturer specifications for stand mixers often highlight their ability to handle dough for extended periods without overheating. For most bread recipes, a kneading time of 8 to 10 minutes on this speed is sufficient. During this time, observe the dough's behavior.
It should consistently clear the sides of the bowl.
Step 5: The All-Important Windowpane Test
This is your ultimate check for properly developed gluten. After the recommended kneading time, stop the mixer. Pinch off a small piece of dough, about the size of a golf ball.
Gently stretch it between your fingers.

Image source: Bing (Web (fair-use with source credit))
If you can stretch the dough thin enough so that light can pass through it without the dough tearing, you’ve achieved the "windowpane" effect. This indicates the gluten network is strong and elastic. If the dough tears easily, it needs more kneading.
Return it to the mixer and knead for another minute or two, then test again. This visual cue is critical for understanding dough readiness.
Common Dough Mistakes and How to Fix Them
Even with a stand mixer, a few common slip-ups can happen. Understanding these pitfalls can save your bake and help you learn what your dough needs.
Dough Too Sticky?
If your dough feels excessively sticky, more so than expected for your recipe, resist the urge to dump in a ton of extra flour. Adding too much flour can make your bread dense and dry. Instead, let the mixer continue kneading for another minute or two; often, the gluten development will make it less sticky.
If it’s still unmanageable after 12-15 minutes of total kneading, add flour one teaspoon at a time until it just starts to pull away cleanly from the sides of the bowl. This ensures you don't overdo it.
Dough Too Dry?
Conversely, if your dough seems too dry and isn't coming together, you might need to add a little more liquid. This is often due to environmental factors like low humidity. Add liquid very gradually, just a teaspoon of water or milk at a time, while the mixer is running on low speed.
Watch for the dough to start incorporating the extra moisture and become more cohesive.
What Happens if You Over-Knead?
While stand mixers are efficient, it’s possible to over-knead bread dough. If you knead for significantly longer than recommended (e.g., 20-25 minutes for a standard recipe), the gluten strands can actually break down. This results in a dough that becomes very slack, sticky, and may tear easily during the windowpane test, even if it previously passed.
Over-kneaded dough can lead to bread that doesn't rise well and has a dense, crumbly texture. The key is to stop once the windowpane test is successful.
Expert Tips for Perfect Stand Mixer Dough
To truly master bread dough with your stand mixer, a few pro insights can make a difference. These aren't complicated tricks, but rather subtle adjustments based on understanding the dough’s behavior.
- Monitor Dough Temperature: Aggregate user feedback suggests that dough temperature can impact rise time. If your kitchen is warm, the dough might rise faster. If it's cool, it might take longer. Aim to keep the dough temperature around 75, 80°F (24, 27°C) after kneading for optimal yeast activity.
- Scrape Down the Bowl: Periodically, pause the mixer and use a rubber spatula to scrape down the sides of the bowl. This ensures all ingredients are incorporated evenly and prevents dry pockets from forming.
- Trust Your Senses: While recipes provide timings, rely on the visual cues of the dough and the success of the windowpane test. Flour absorption varies, so what works for one batch might need a slight tweak for the next.
- Don't Fear a Little Stickiness: Especially with enriched doughs (those containing eggs, butter, or milk), a bit of residual tackiness is normal. The dough will firm up as it chills slightly and during the initial rise.
FAQs About Stand Mixer Bread Dough
How long should I knead bread dough in a stand mixer?
Most standard bread doughs require 8 to 10 minutes of kneading on a medium-low speed after initial ingredient incorporation. Always check for the windowpane test to confirm gluten development.
What if my stand mixer dough is too wet?
If your dough is excessively wet and won't come together, add flour one teaspoon at a time while the mixer is running on low. Wait for the dough to incorporate the moisture before adding more.
Can I use the dough hook for cake batter?
No, the dough hook is designed for heavy, elastic doughs. For cake batters, you'll typically use the paddle attachment, which is better suited for creaming butter and sugar or mixing lighter batters.
How do I know if my yeast is still good?
To check if your yeast is active, mix it with warm liquid (around 105, 115°F or 40, 46°C) and a pinch of sugar. If it becomes foamy and bubbly within 5, 10 minutes, it's active and ready to use.